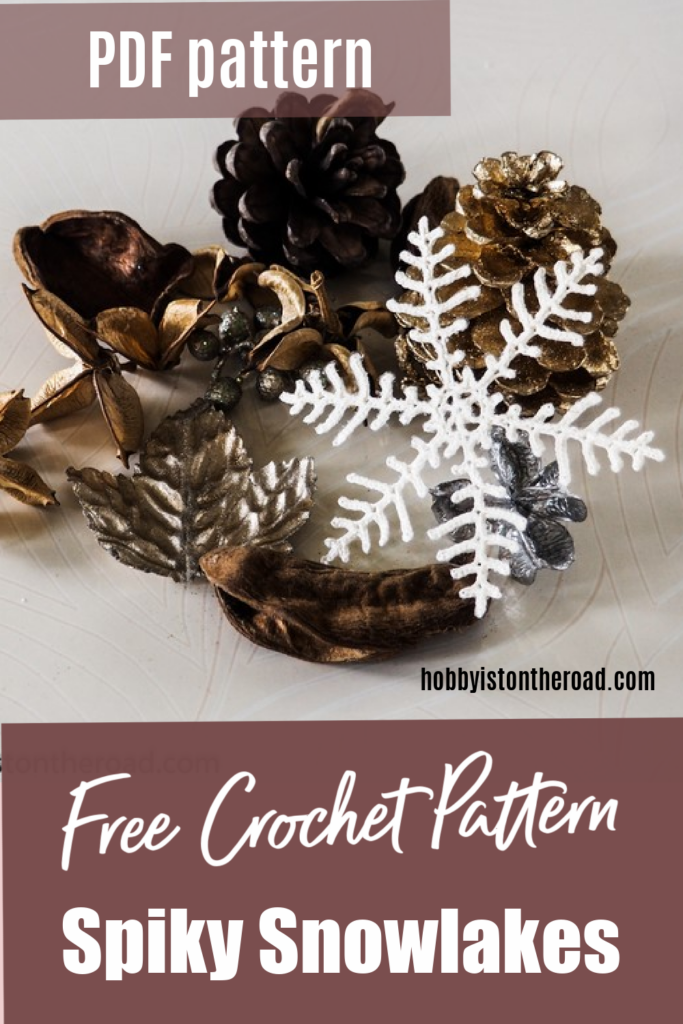
Crochet Spiky snowflakes and decorate your Christmas tree, home or office this Holiday Season!
These spiky snowflakes also make a beautiful unique gift for anyone who appreciates handmade items.
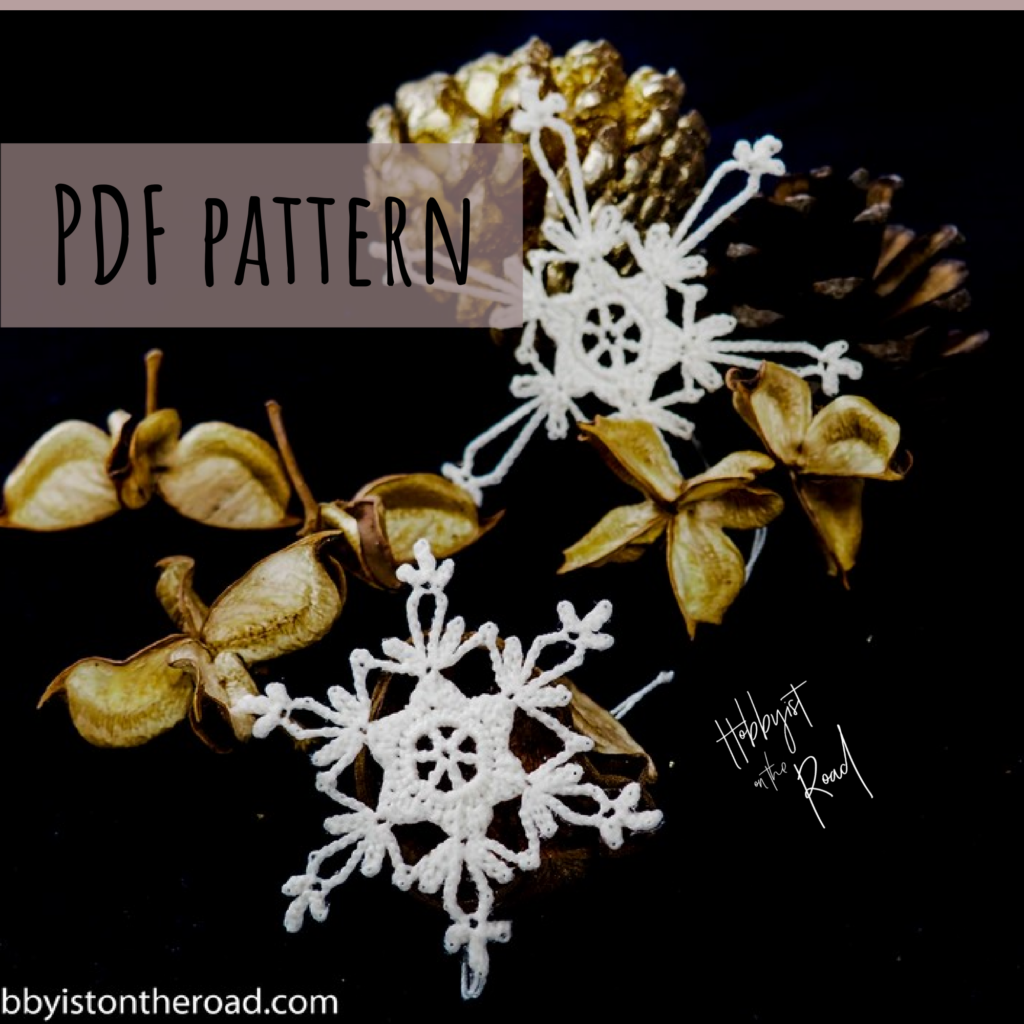
To get your FREE Spiky Snowflake pattern:

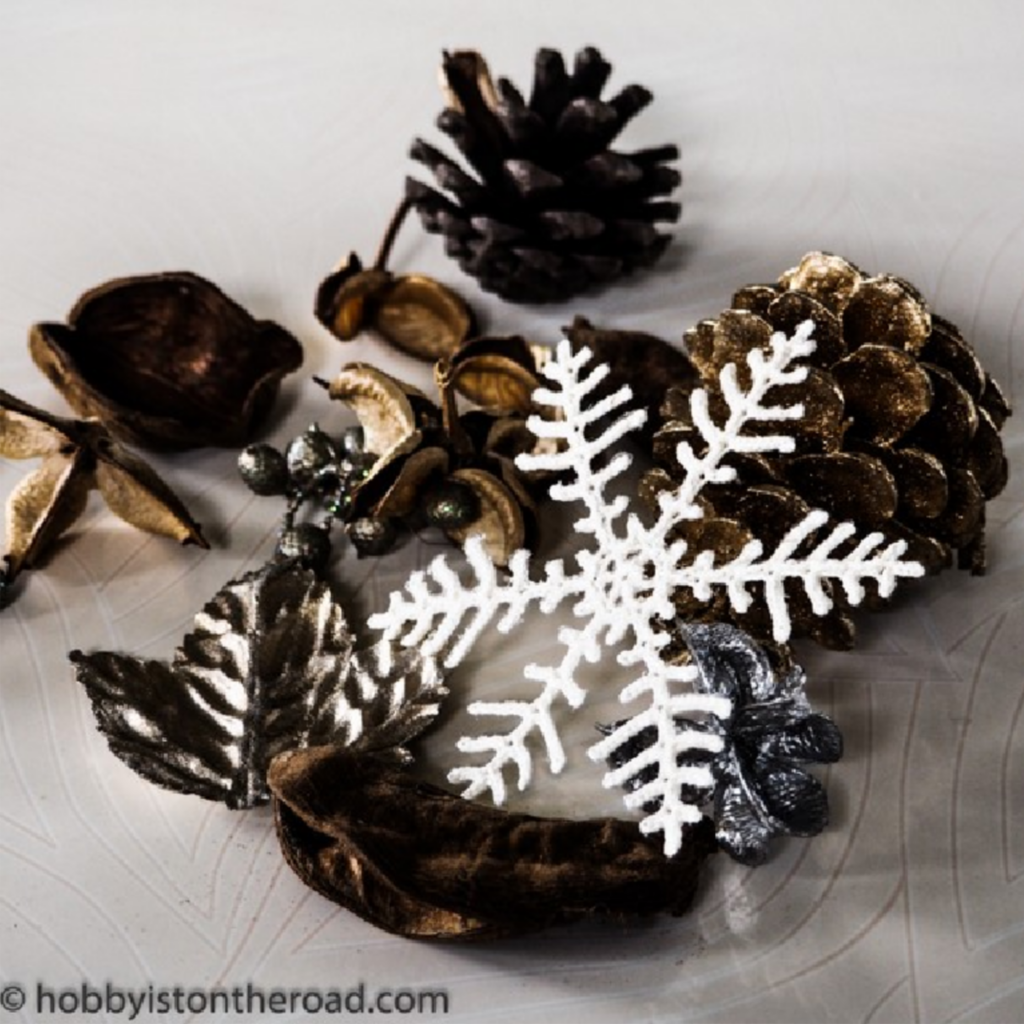
I created this spiky snowflakes pattern after looking at lots of real snowflake photography online. So this pattern resembles a spiky snowflake variety in real life.
But to be honest, I found so many real snowflake variations that I realized, you can crochet almost any kind of imaginary snowflake and it will resemble a real-life one.
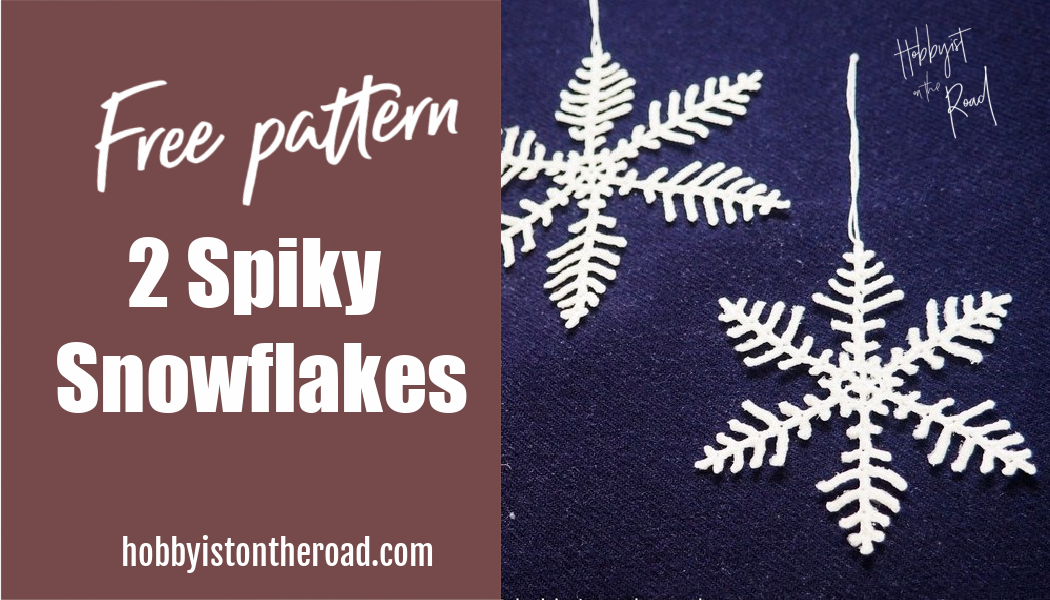
One common snowflake feature though, is that each snowflake always has 6 ‘branches’. That’s apparently, a scientific fact. But don’t quote me one that! I am only a crocheter and not a snowflake scientist J
If you want to learn to crochet these beautiful Spiky Snowflakes, you can get a FREE PATTERN HERE.
Level: Beginner friendly.
It is a very easy snowflake to crochet and is perfect for beginning crocheters because you need to know only very basic stitches – slip stitch, chain, double crochet (US terminology).
Materials and tools you will need:
- 0.75mm size hook. You can get it HERE
- The yarn is 100% mercerized cotton 100g/ 570m approx. Anchor Freccia 12. You can get it HERE
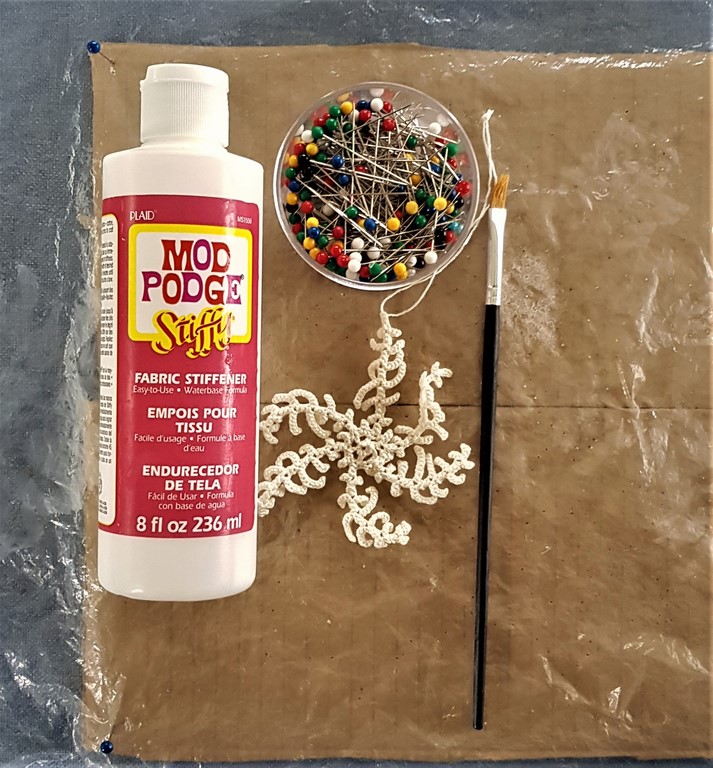
- Fabric stiffener. I have used Mod Podge Stiffy, you can get it HERE
- Pins.
- (Optional) Soft flat work top, you can also use a flat cushion.
- A piece of cardboard and a plastic bag.
- (Optional) A small painting brush.
- Scissors and needle.
You may also like to crochet:
Sunshiny Snowflake, pattern HERE
Ornate Snowflake, pattern HERE.

Finishing Stage for Spiky Snowflakes
If you want to use your Spiky Snowflakes as a hanging décor element, you have to stiffen them after you have completed crocheting them.
For this step I use fabric stiffener called Mod Podge Stiffy, you can get it HERE. It works perfectly for me.
But you can also use homemade stiffeners such as water and glue mixture. Make sure the stiffener is strong enough to hold delicate branches and elements of this Spiky Snowflake.
For laying out and drying my snowflake, I use a soft board (a flat cushion will also work), put a piece of cardboard on top of it with a plastic bag covering.
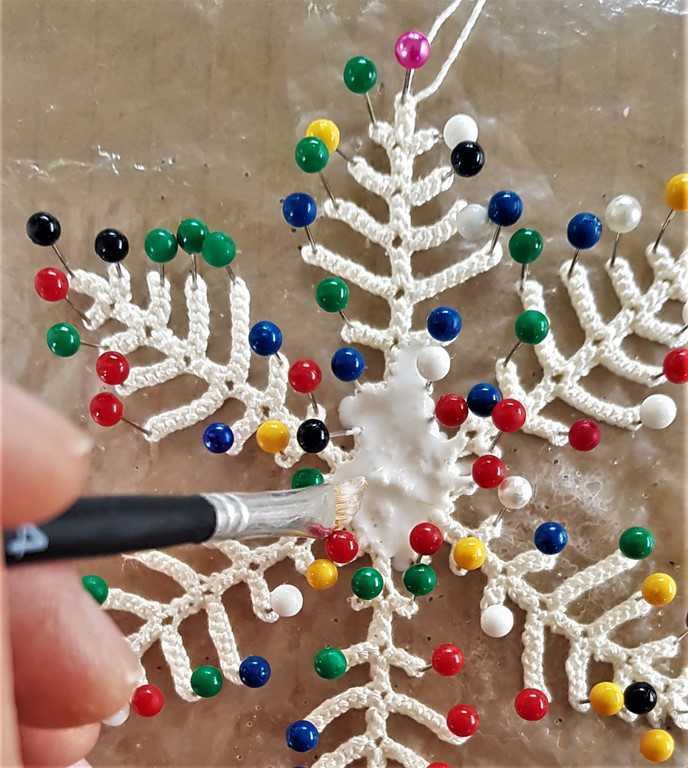
For ease of access, I also use a small painting brush to apply the fabric stiffener. You can also apply your fabric stiffener with your fingers.
In many cases crocheters first apply the fabric stiffener and then lay out their snowflake to dry. In this case, I reverse the process because the snowflake has lots of small details, and it takes time to lay them out and pin them down precisely, the way I want them to look.
So I first lay out my snowflake and pin each detail in the way I want it to look in the final version. I prefer to lay it out with the wrong side facing up. This particular snowflake design has lots of small spikes, so I need quite a few pins to keep each spike in shape.
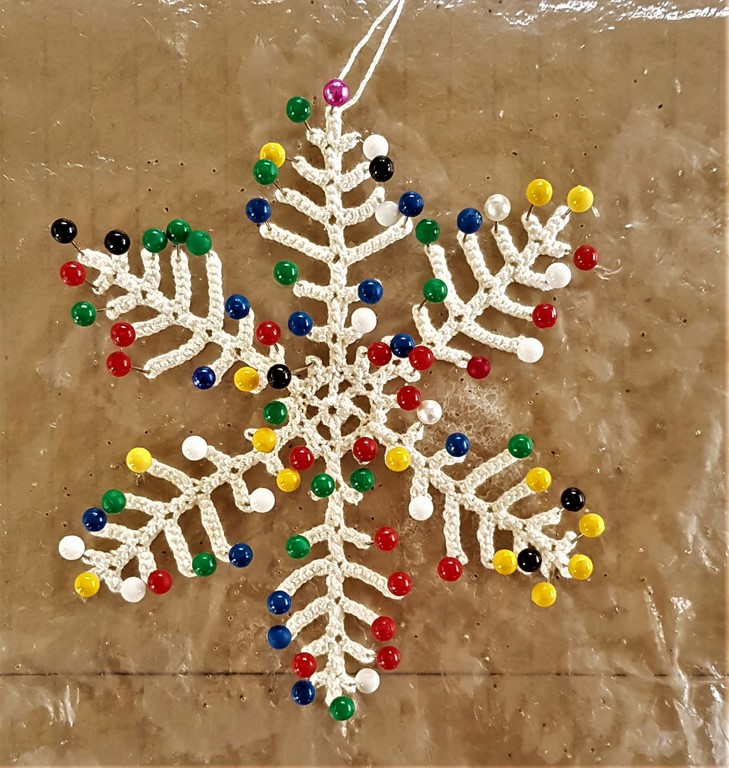
I then take my paint brush and apply the fabric stiffener quite generously, especially around the base of each branch. Make sure that each corner, each little spike and each branch vein have enough stiffener on them, so as the snowflake would hold its shape perfectly when dried.
Leave it to dry out.
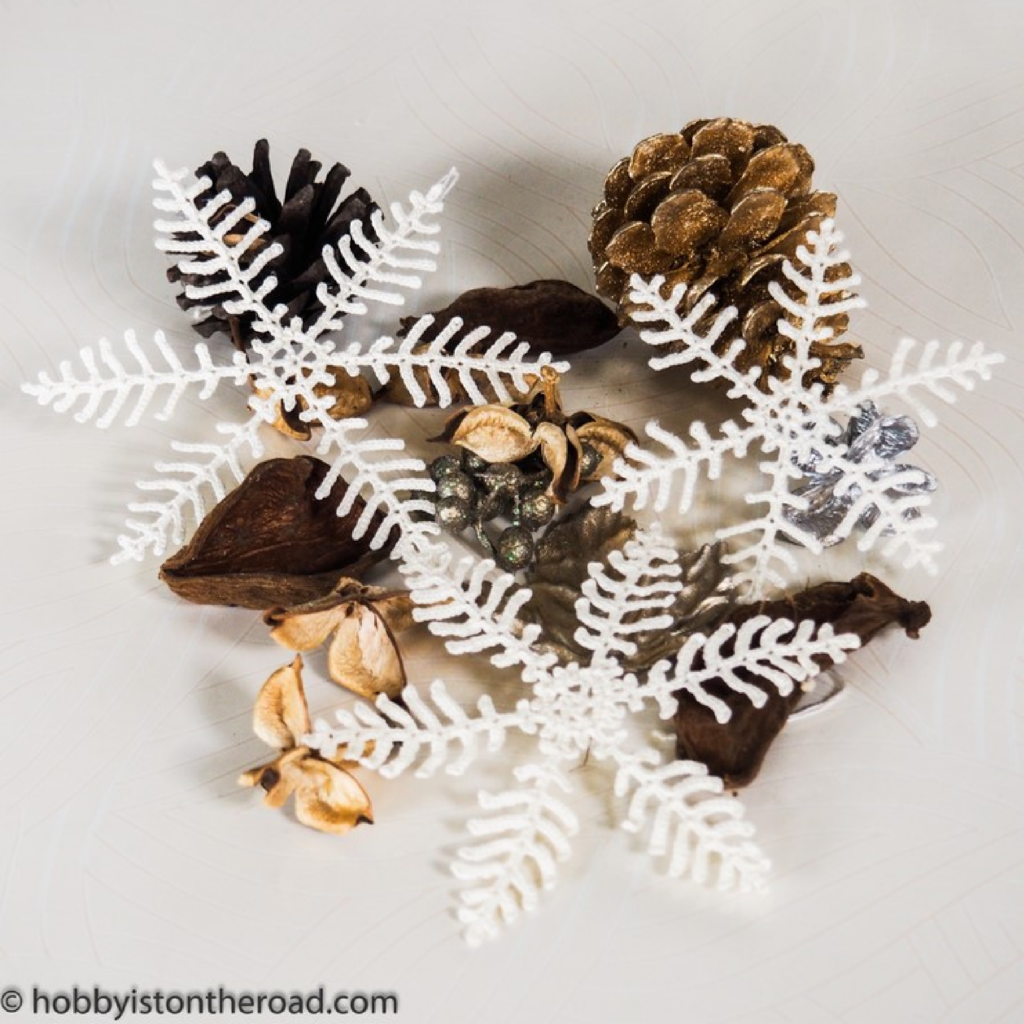
24 hours later (or maybe even less)…
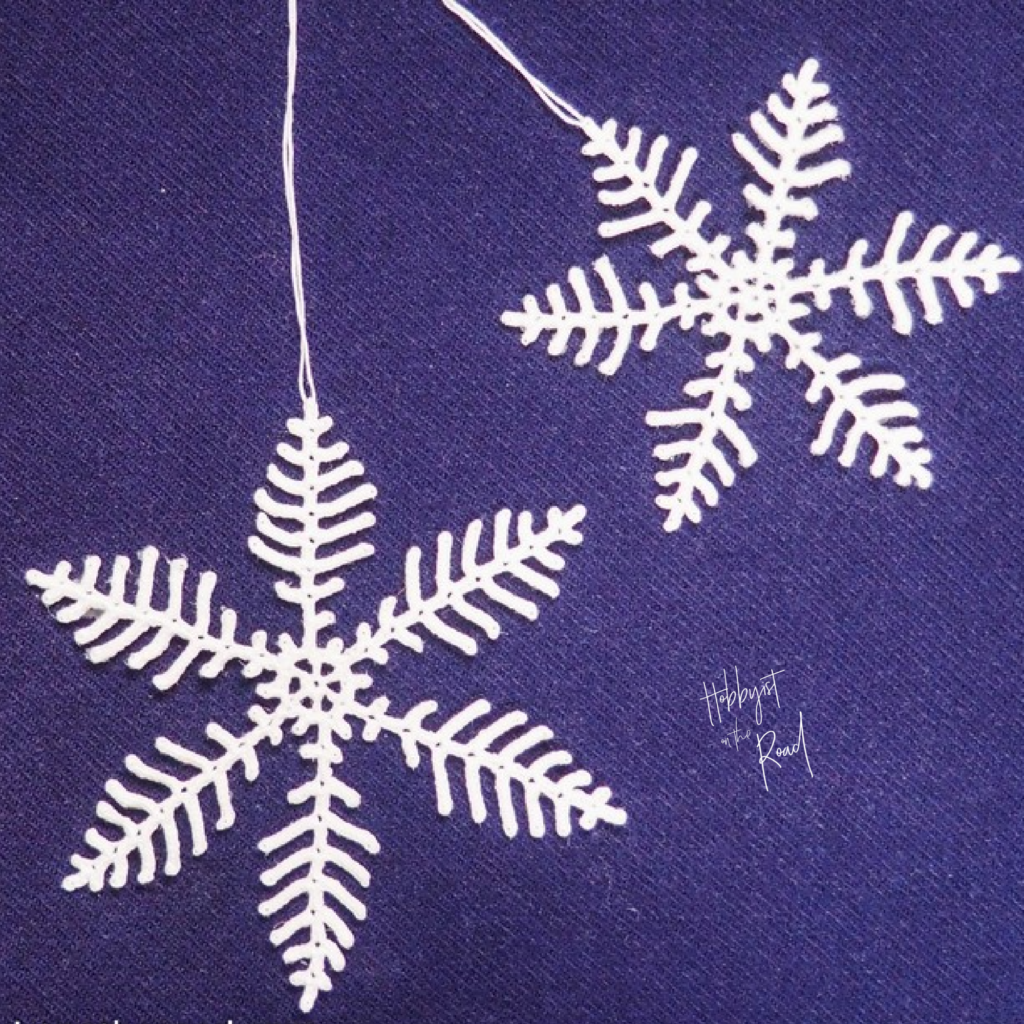
Voila! Your snowflake is ready for beautiful winter décor!
Get you FREE Spiky Snowflakes Pattern HERE
Create beauty one stitch at a time!
Liked this post?
Pin it for later!