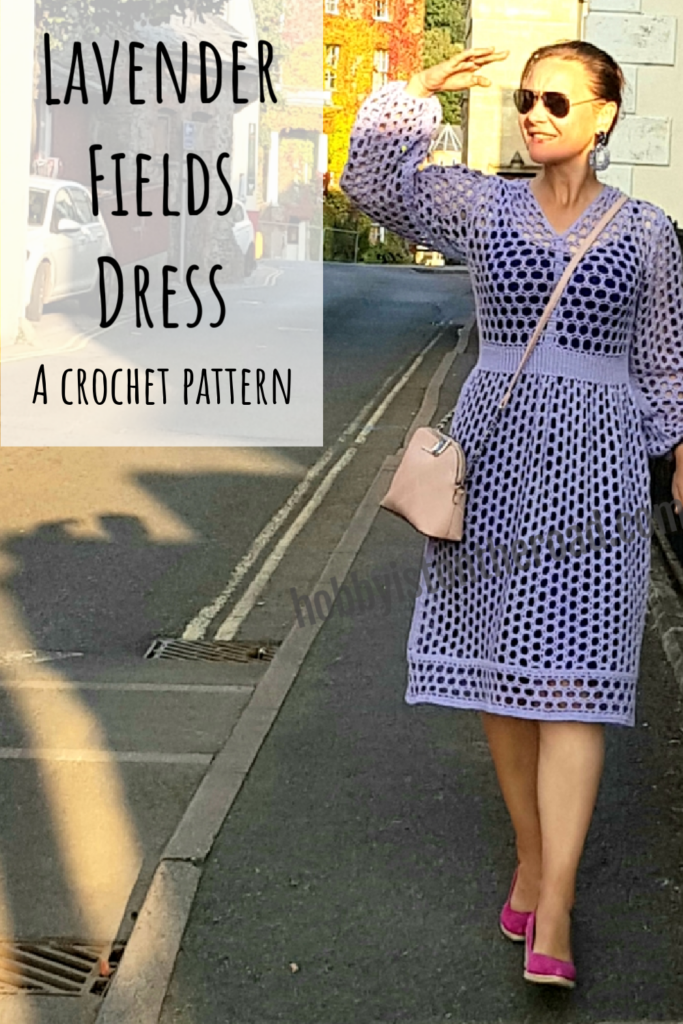
Pencil skirt crochet pattern – are you ready to add a touch of timeless elegance to your summer wardrobe?
Look no further than the Summer Stroll Pencil Skirt crochet pattern!
This classic straight skirt design is perfect for those who appreciate simplicity and sophistication.
You can get the pattern on: Ravelry HERE || Etsy HERE || Ribblr HERE || this Website HERE
So let’s dive into this project and its features.
Construction and Fit
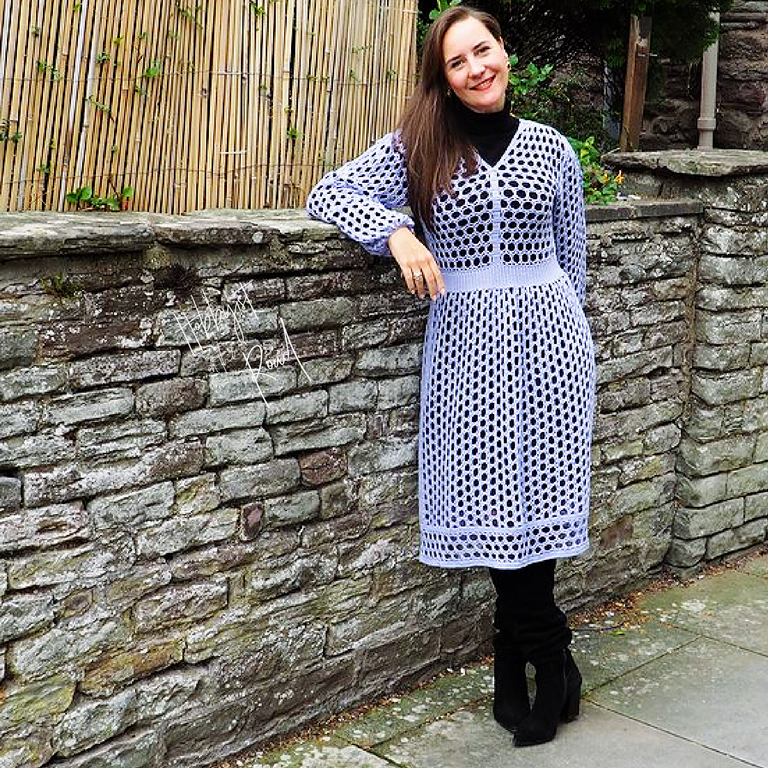
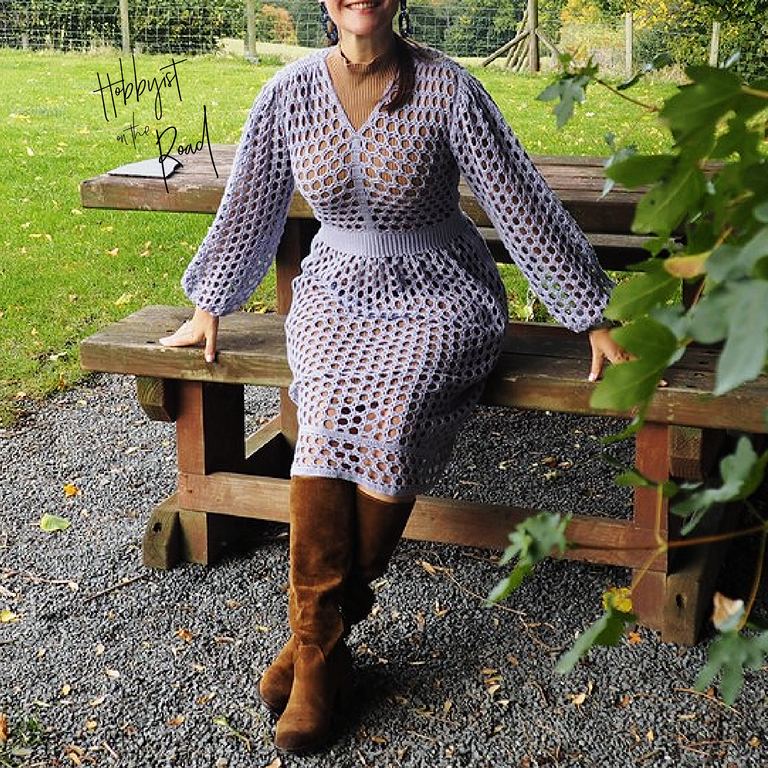
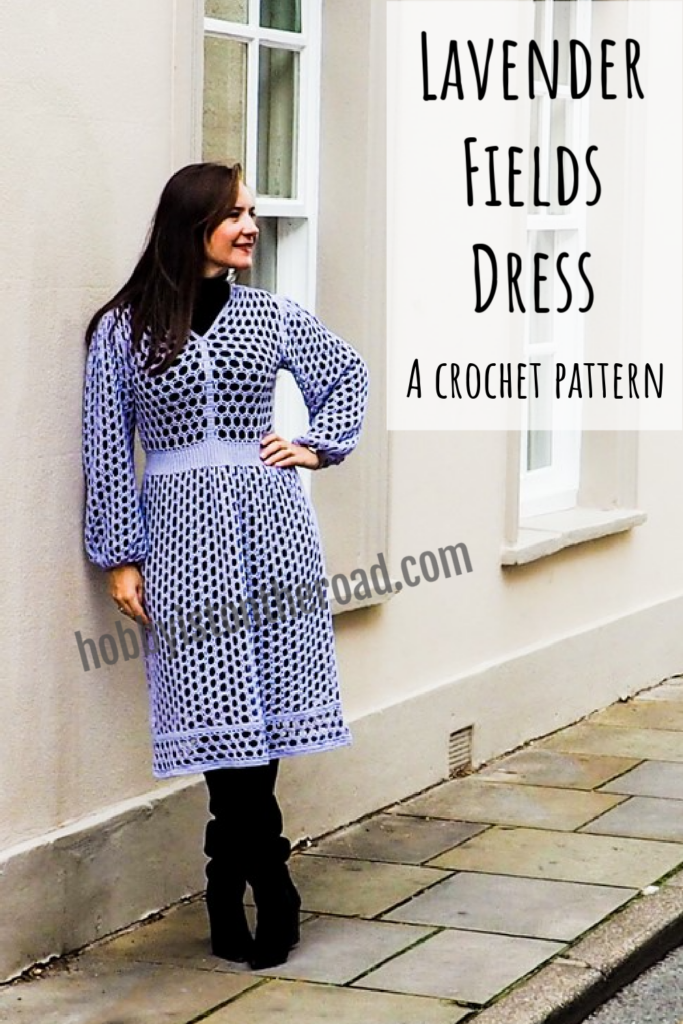
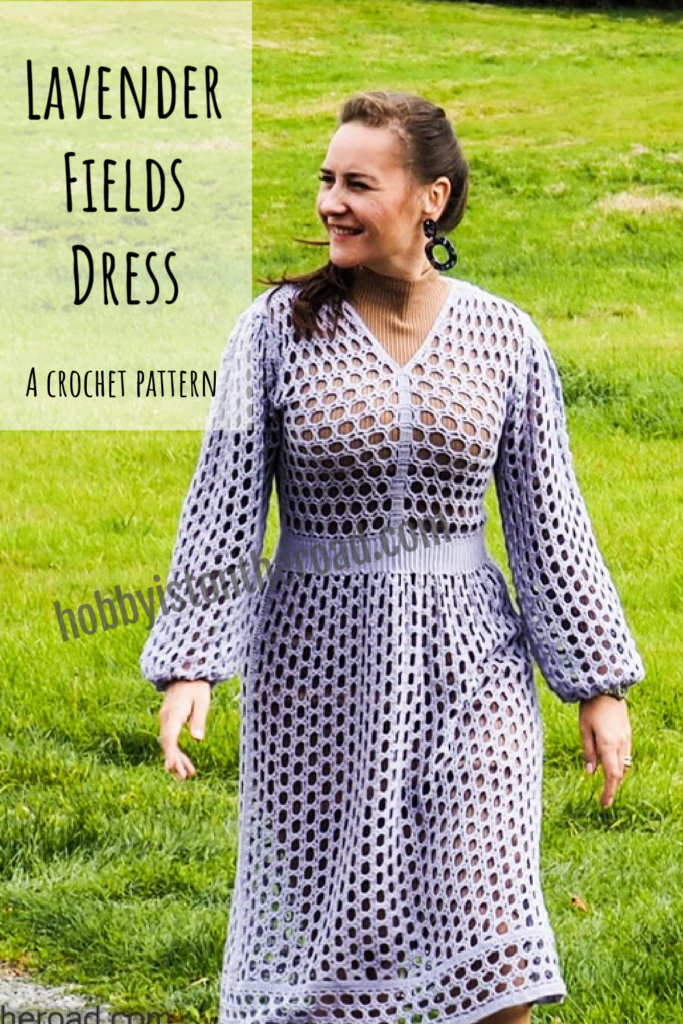
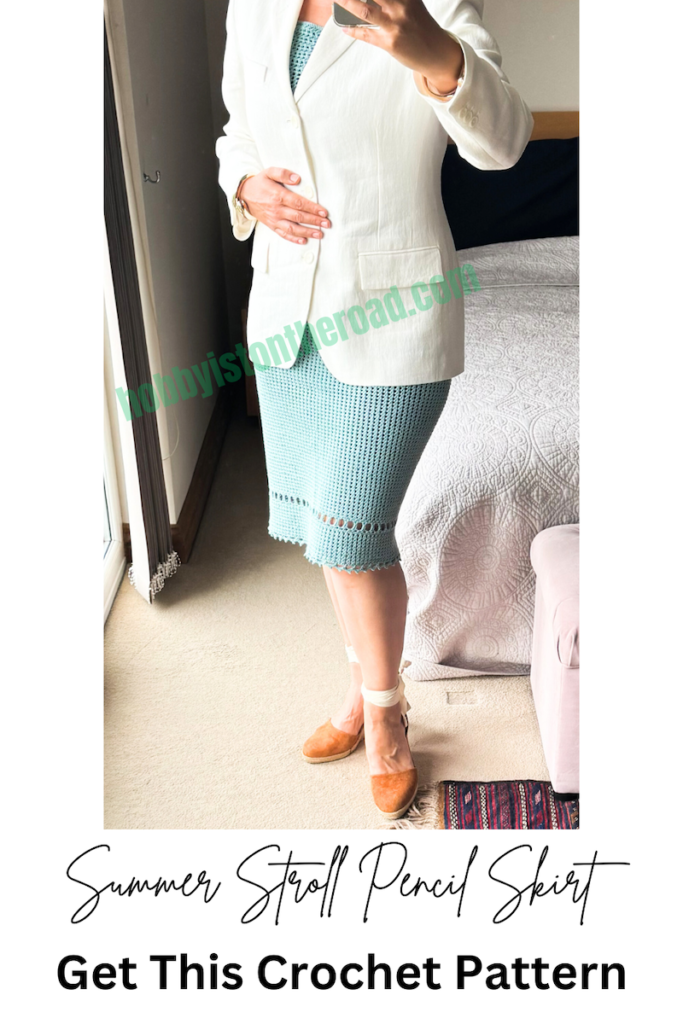
The Summer Stroll Pencil Skirt features a straight construction with no increases or decreases, giving it a sleek and flattering silhouette.
What sets this pattern apart is the concept of negative ease, meaning the skirt hugs your body for a chic and tailored look.
Worried about the fit? Fear not! The pattern includes instructions on how to customize the sizing slightly looser or tighter to suit your preferences.
Versatile Design
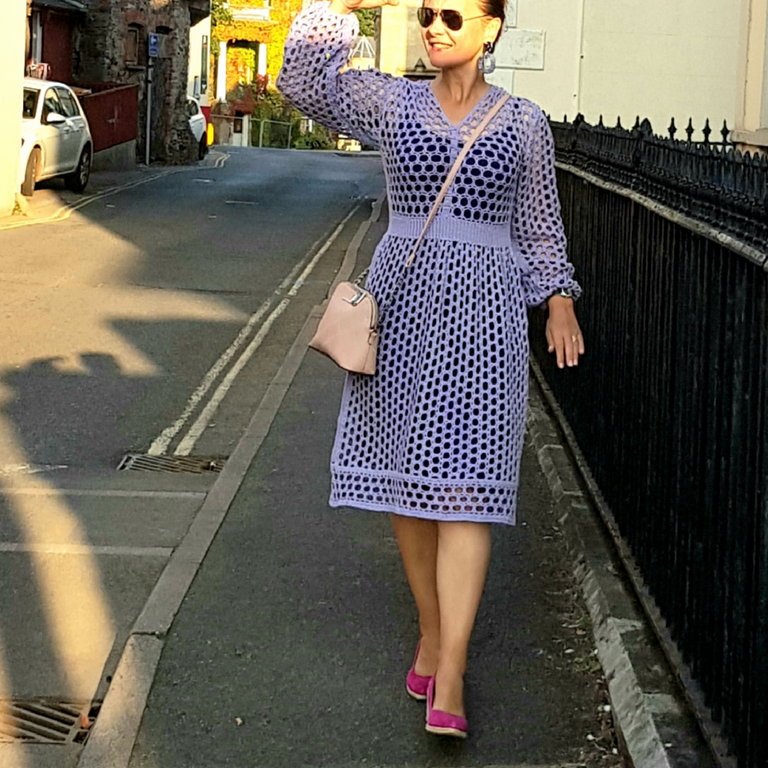
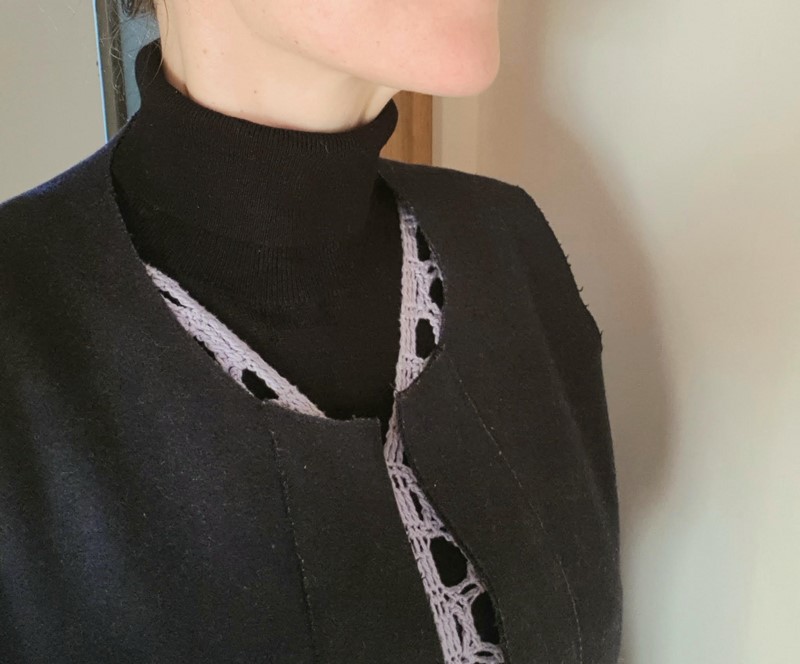
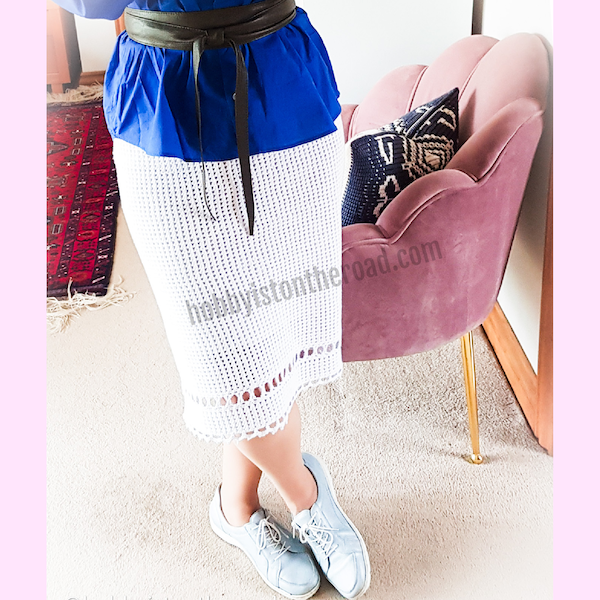
Designed with casual outfits in mind, this skirt surprisingly transitions seamlessly into more formal attire when paired with a tailored summer jacket.
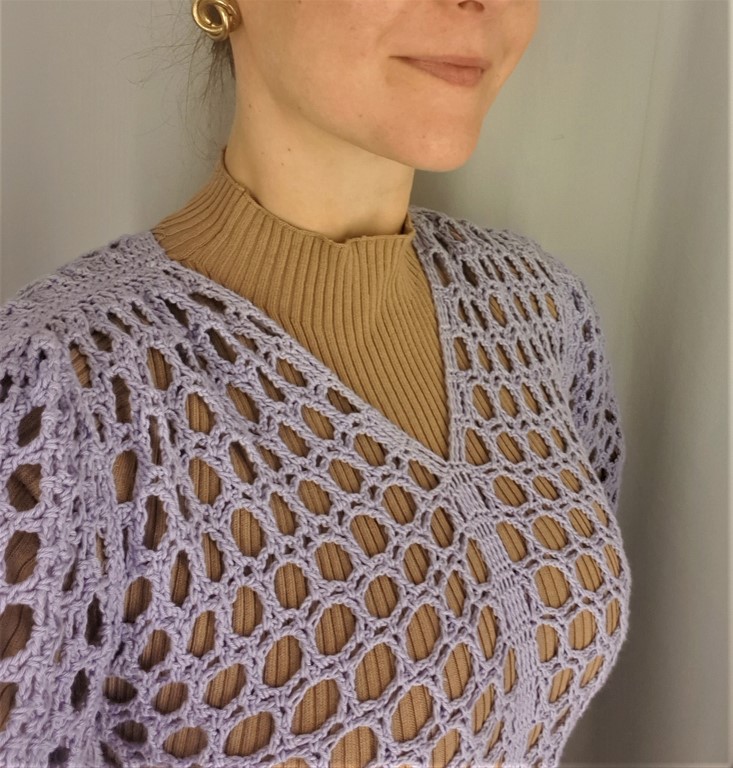
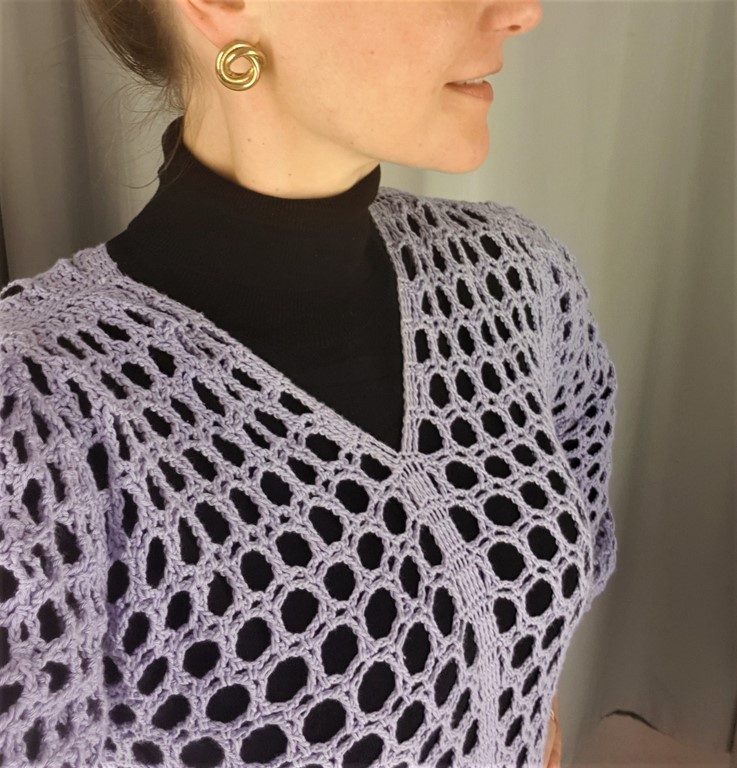
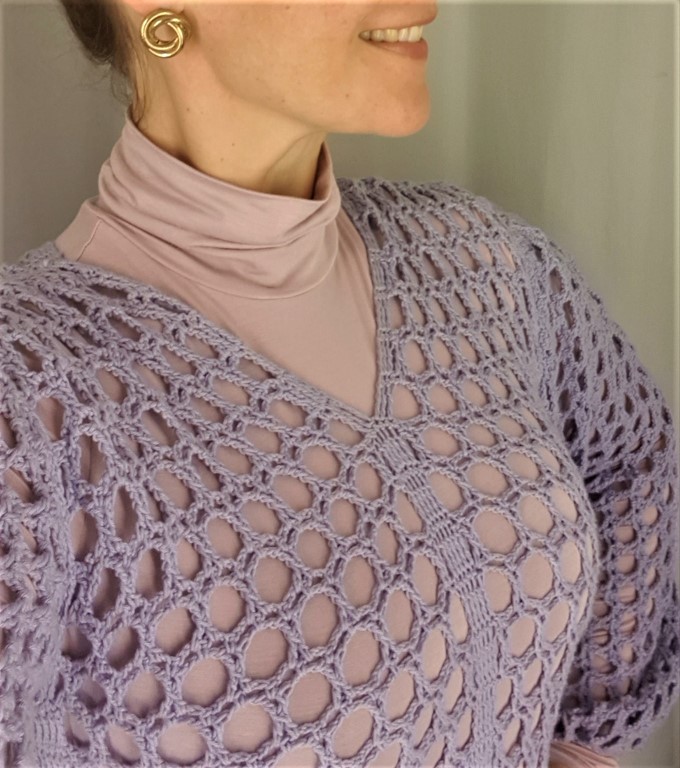
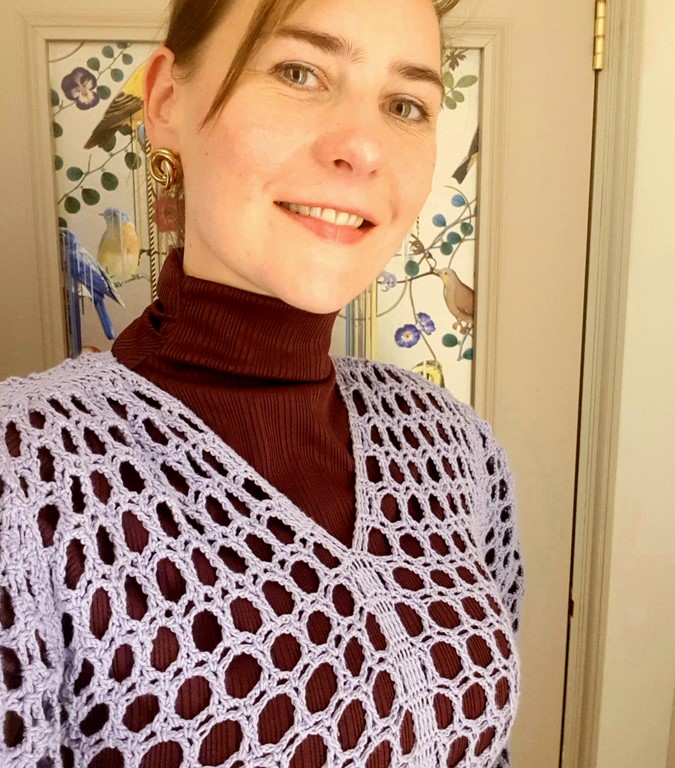
The slightly see-through effect of the completed garment adds a hint of allure, making it a versatile piece for various occasions.
Consider layering with a contrasting color undergarment to showcase the texture and add depth to your ensemble.
Crochet Experience
Crafters rejoice! The Summer Stroll Pencil Skirt is a relatively quick project that works up swiftly due to its easy-to-follow stitch and row counts.
Whether you’re binge-watching your favorite show, grooving to music, or engaging in lively conversations, crocheting this skirt is a breeze.
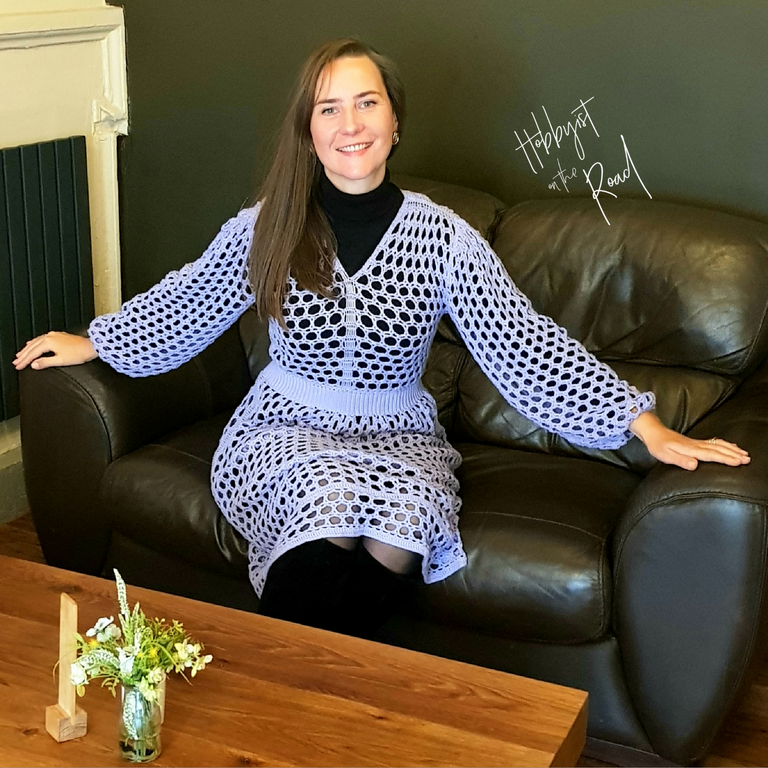
I’ve personally already created three variations in white, pink, and mint green, and I can’t get enough of them!

Seamless Finish
This delightful pattern is worked from top to bottom, culminating in a waistband and elastic finish that requires minimal sewing.
No zippers or buttons to fuss over – just pure crochet bliss from start to finish.
Embrace the joy of creating your own elegant pencil skirt without the hassle of complex closures.
Get Your Pattern Now!
If you’re captivated by the idea of owning a handmade wardrobe staple, don’t hesitate to grab the Summer Stroll Pencil Skirt pattern.
Crochet your way to sophistication and charm, whether it’s for yourself or a special someone.
Head to my shops to secure your pattern today and embark on a crafting journey filled with style and grace.


Experience the allure of the Summer Stroll Pencil Skirt and elevate your summer wardrobe with a touch of handmade elegance. Crochet your way to timeless style!
Liked this post?
Pin it for later!