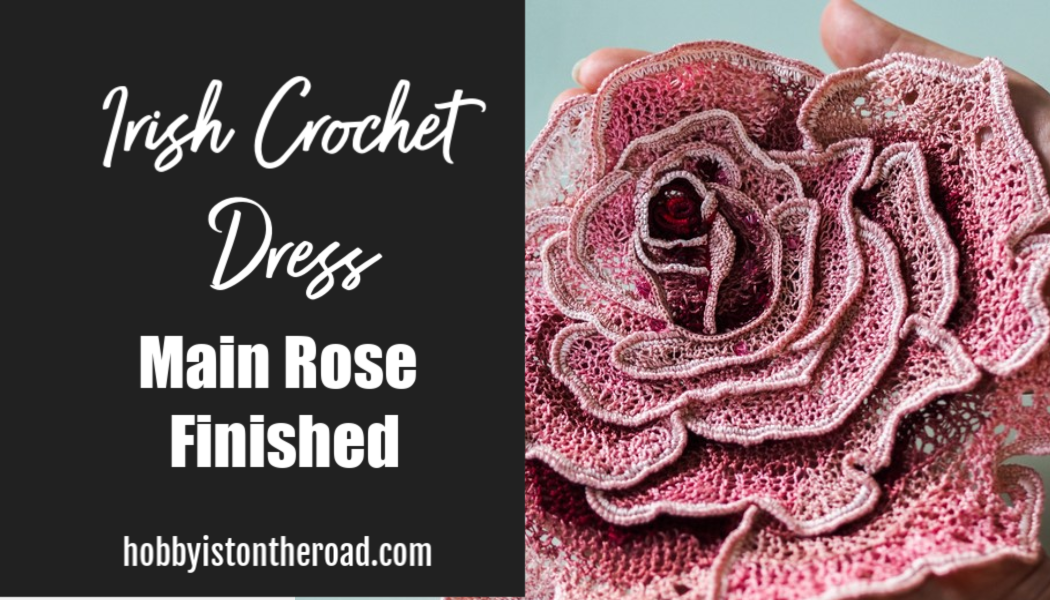
I am so glad to be writing this little post, as finally, my Irish crochet rose is finished.
This rose will be the main element for the dress I am making in Irish Crochet technique.
Ta-dah!
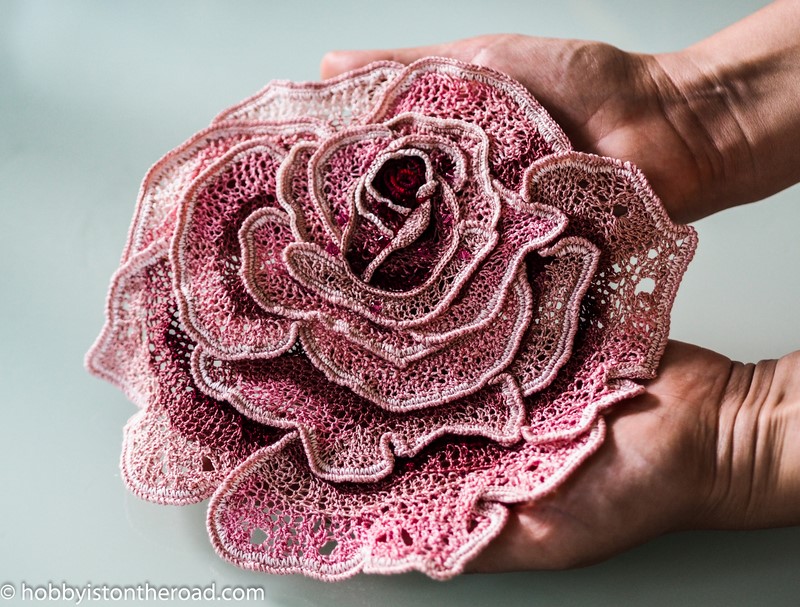
As you may remember from my previous post about this rose it’s a different kind of crochet process.
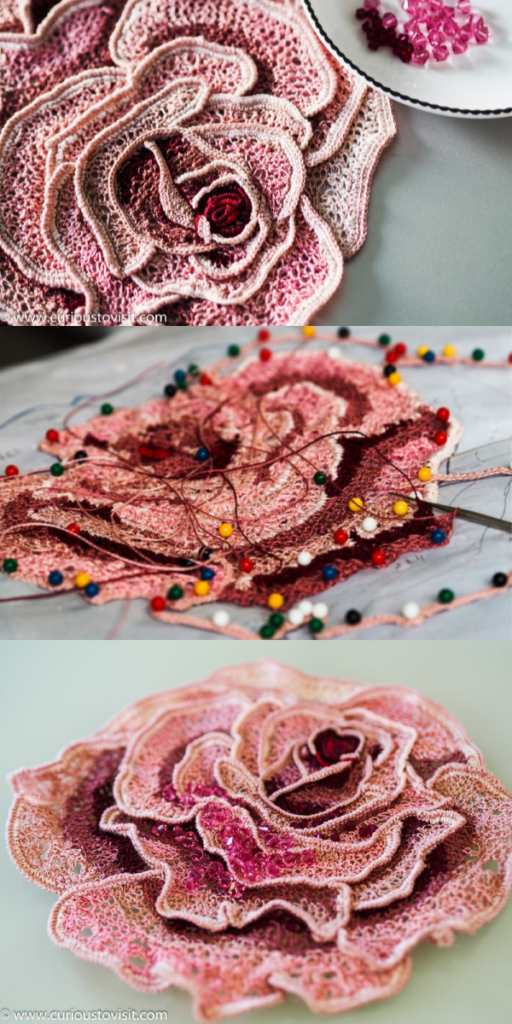
You have to attach the work to a cushion and crochet very close to the surface, looking at the ‘wrong’ side of the flower, in order to achieve the required shape.
I had to leave my work for about 2 weeks as I was going on holiday and resumed my work at this stage…
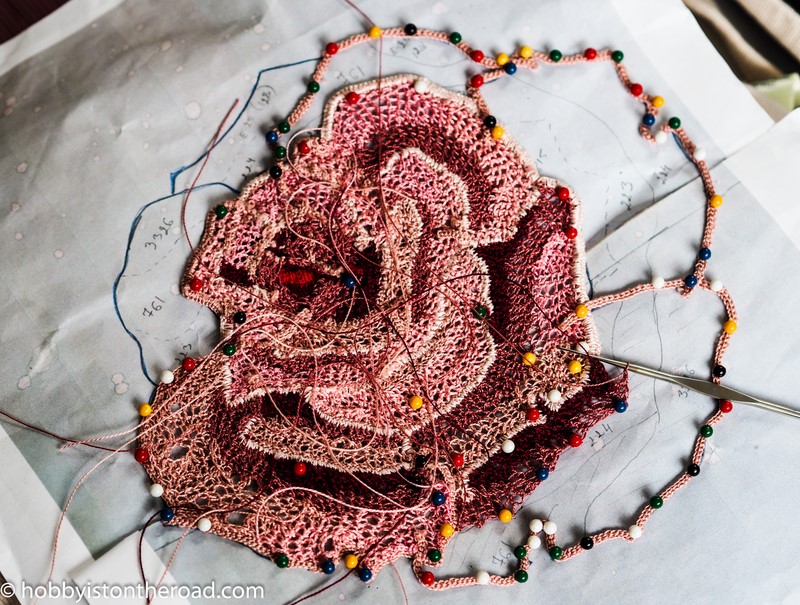
…a few tea breaks, two days and two nights later…
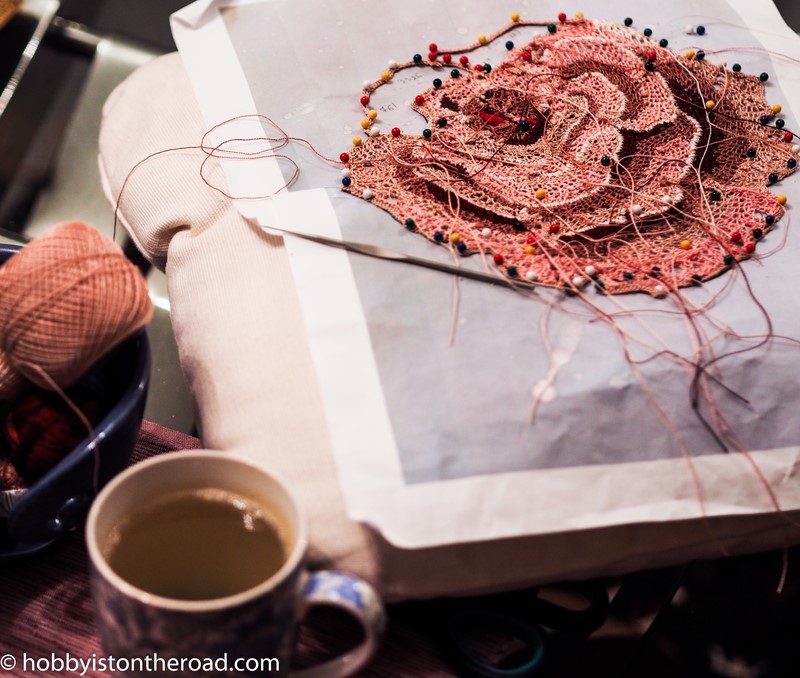
… I finally finished the main body of the rose. Hence the title Irish Crochet Rose Finished 🙂
One challenging part was making those holes you can see on the outside petals:
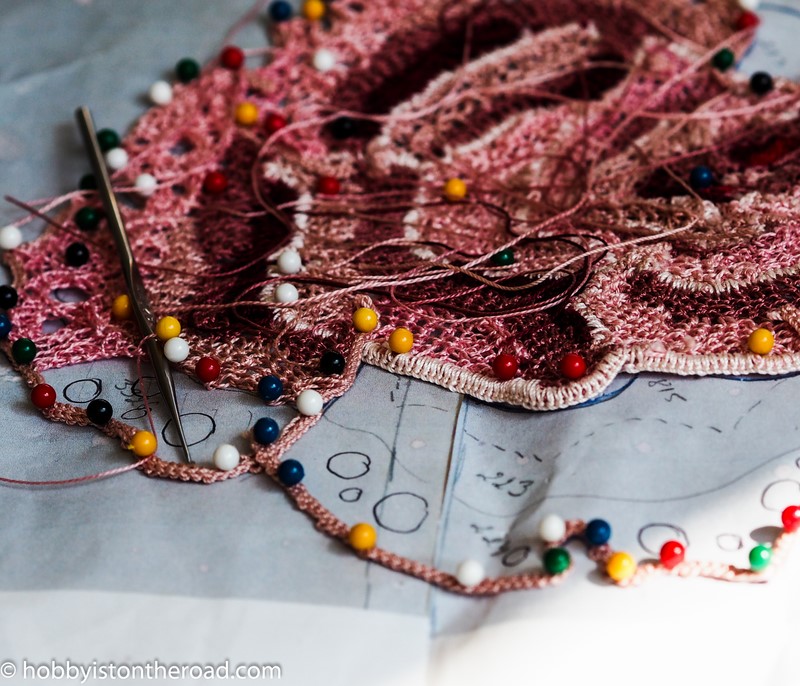
…somehow, no matter what I did, they just didn’t come out the size I wanted them to be.
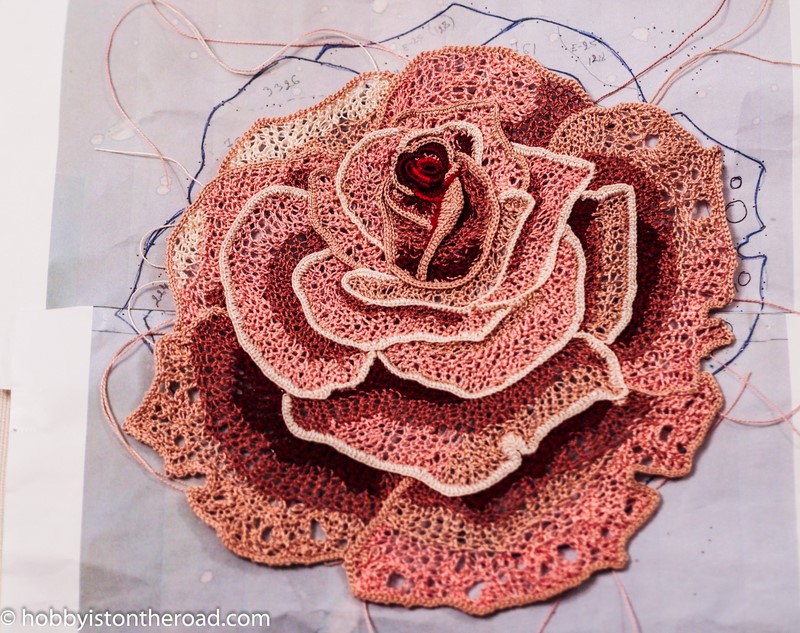
Although when I turned the work around (as you remember, this flower is crocheted looking at the work from the wrong side), the overall picture looked fine.
So I just left them as they were.
One more step was to crochet around each petal of the flower, so as the work would have a defined finish.
And after that, I was going to add sparkly beads all over the rose, but…
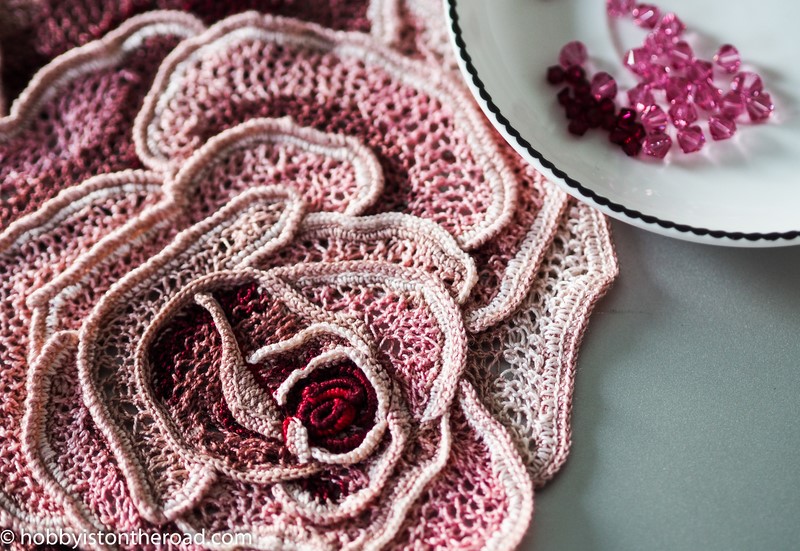
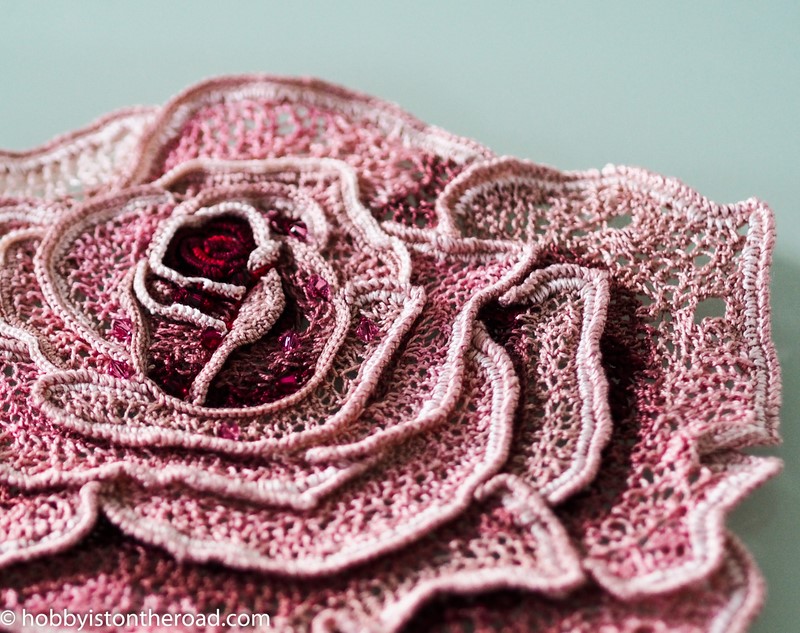
…having thought about it, I decided I’ll just sew on a few beads in the centre of the flower at the moment since any kind of sparkle on clothes can visually make you look larger.
And I don’t want that!
The author of this dress seems to have sparkly beads all over the dress.
I, on the other hand, will wait until I finish the dress completely. Only then will I sew on the beads so as to have them in key locations, just enough to tease the eye…
For the moment I’m just so happy I’m one step closer to completing the whole dress…
Create beauty one stitch at a time!
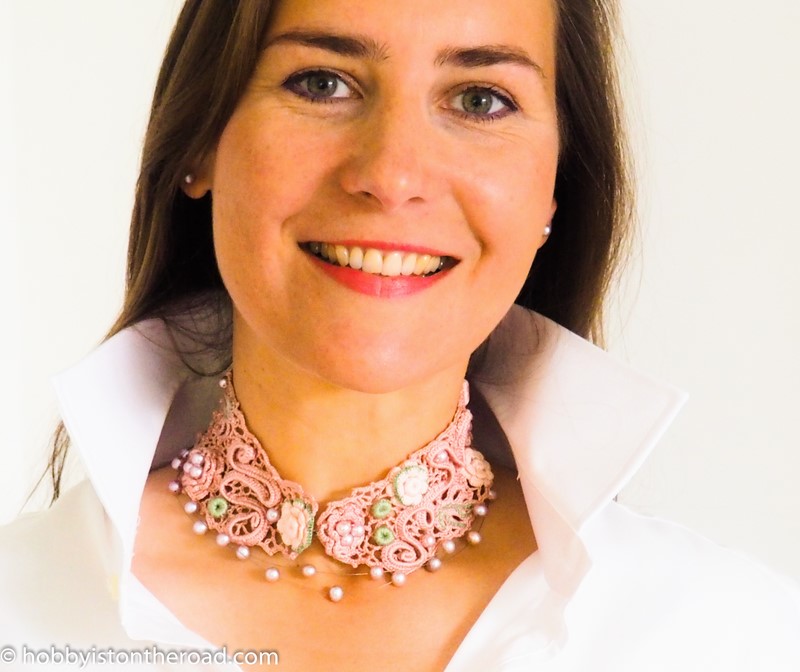
Want to learn Irish crochet technique? Start with a small but absolutely fabulous Choker Collar project! Click HERE
Liked this post?
Pin it for later!
