Posted on Leave a comment

Dreamy Collar Styling

Styling Dreamy Collar

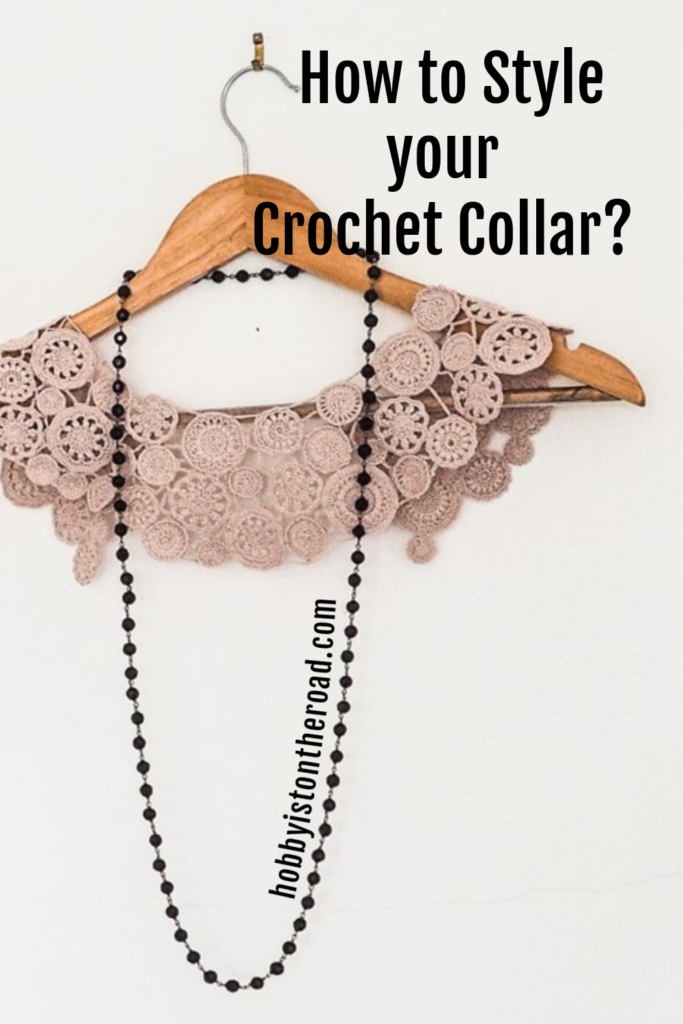
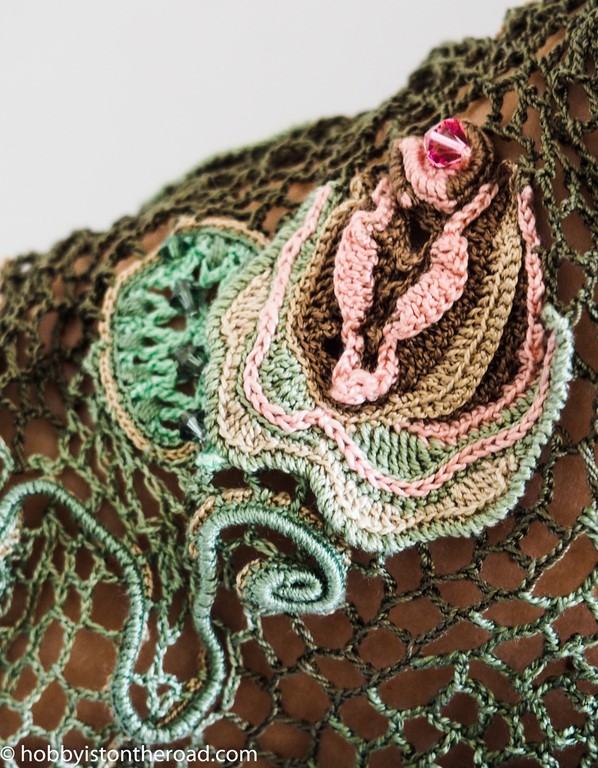
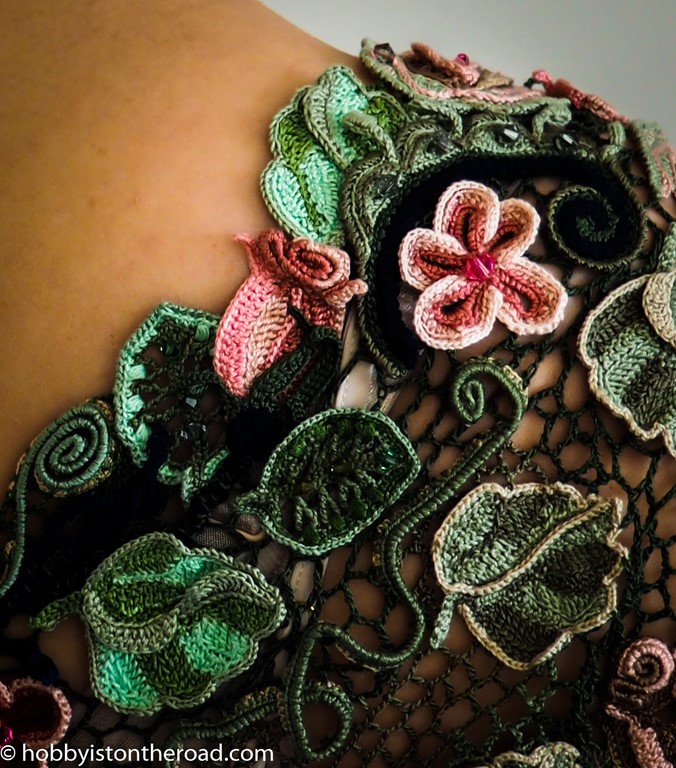
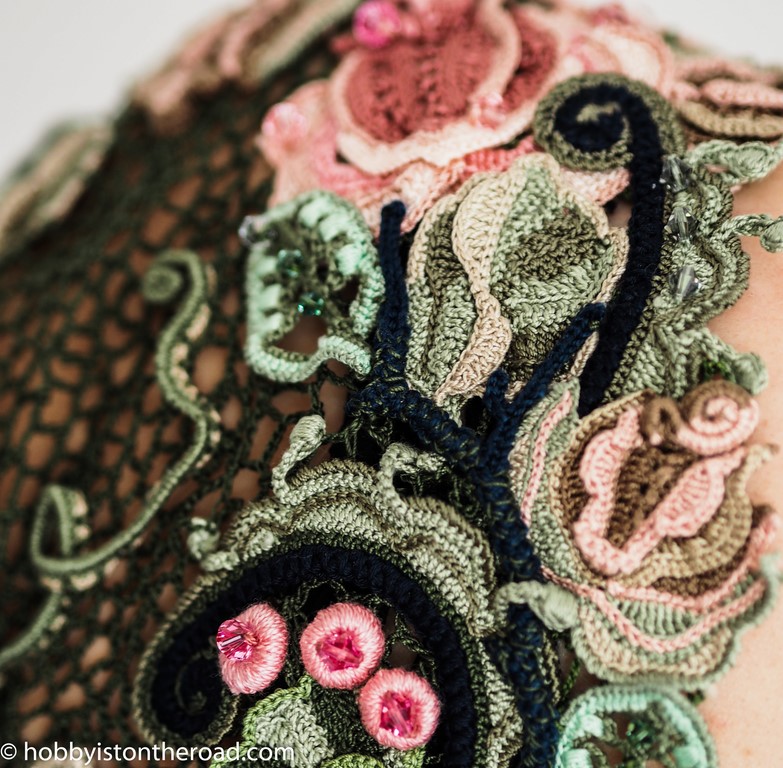
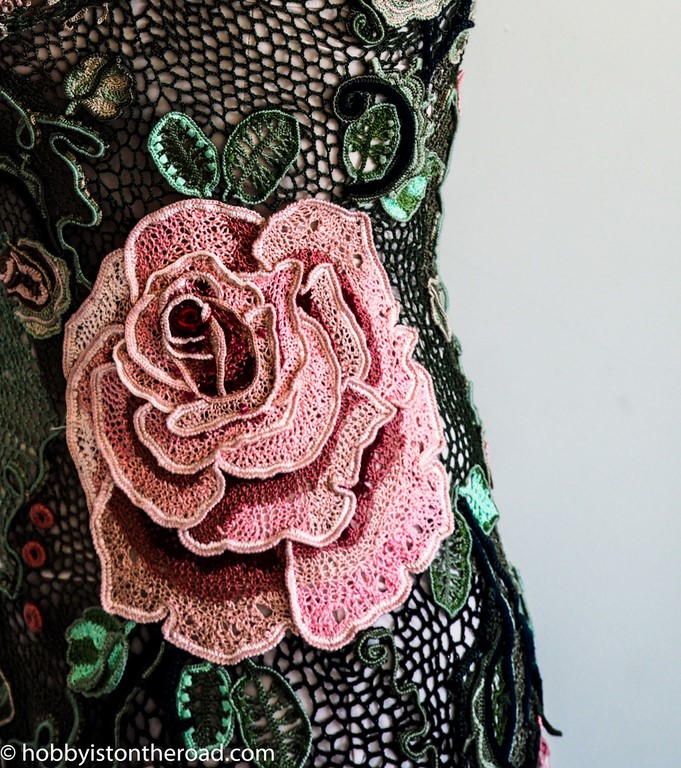
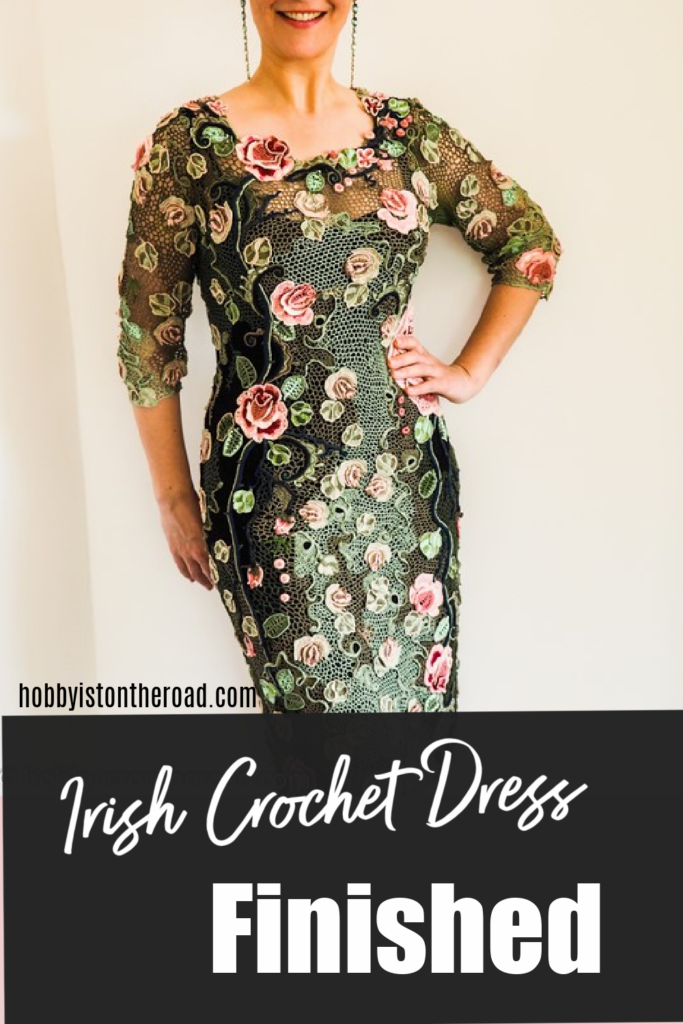
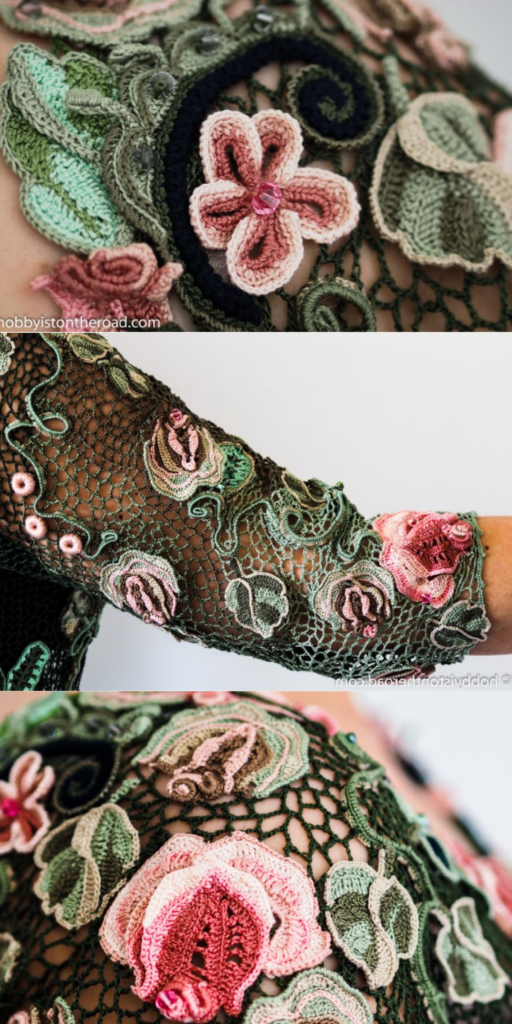
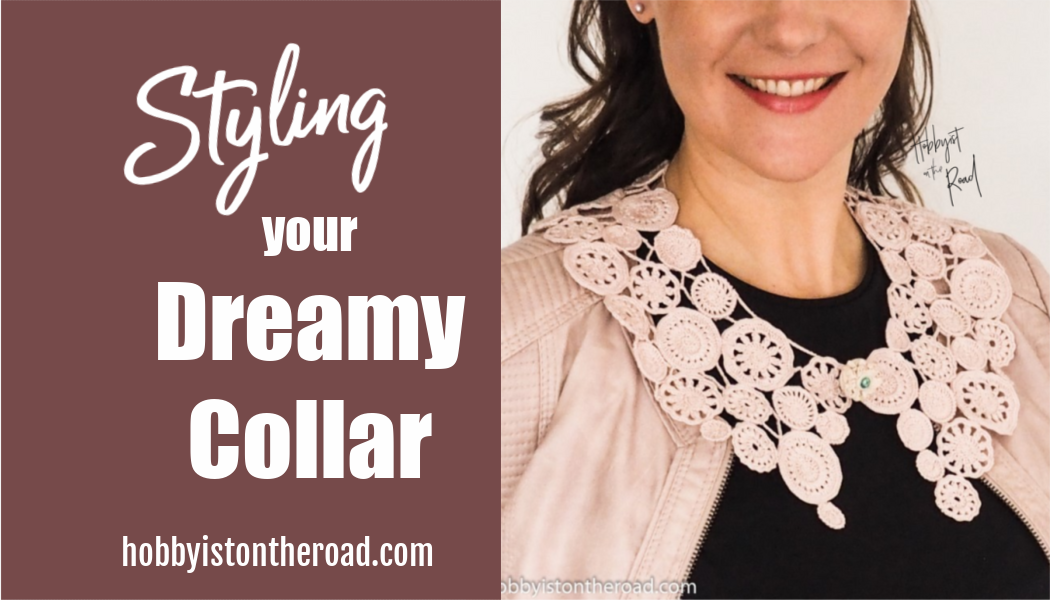
I have recently completed a very detailed crochet CAL pattern for my Dreamy Collar with a vintage feel and a contemporary look.

I thought I’ll show you some ways I am going to style it, so as to give you an idea of how it could be worn.

Did you know that removable collars like this are back in fashion in 2021? Although I don’t think they ever went out of fashion in the crochet world 🙂 🙂 🙂

How to wear your Dreamy Collar.

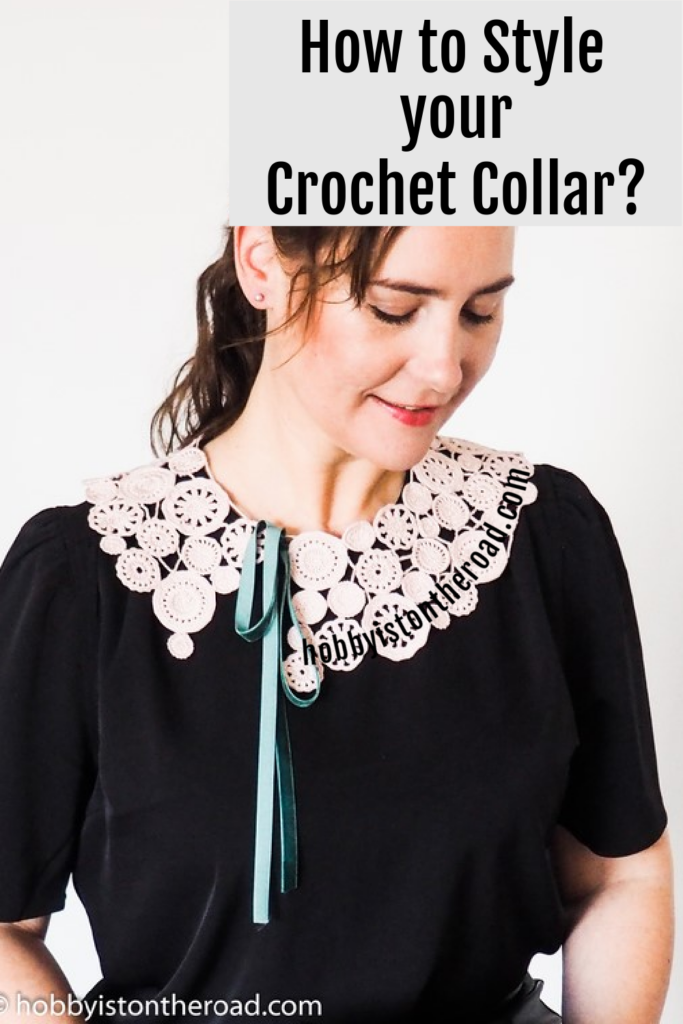
  1. Play with contrasting colours. If your collar is light, then wear it with a dark blouse or shirt.
Dreamy Collar Styling - on a black blouse tied up on the side.

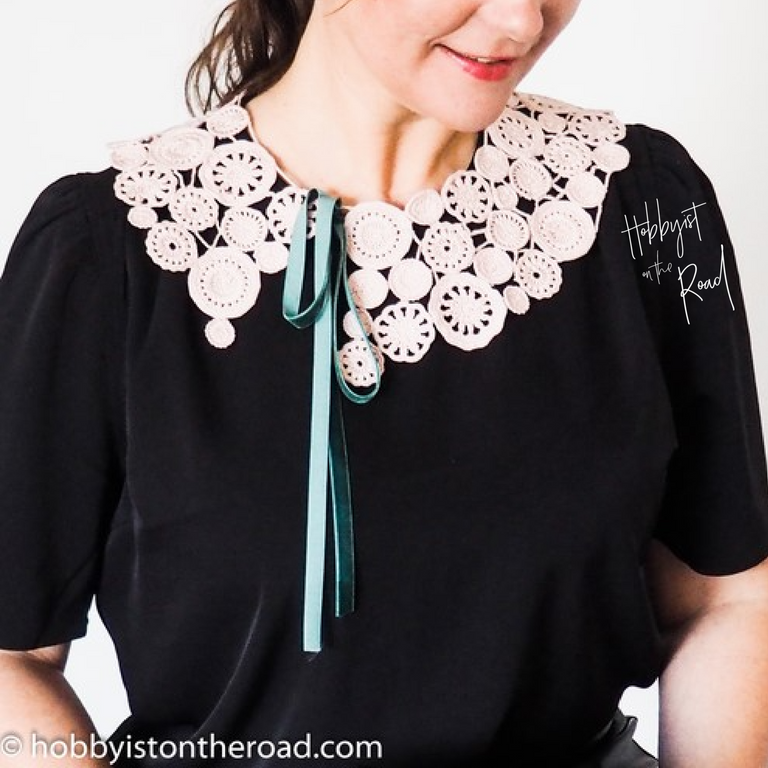
You can tie the collar up on the side, like in the picture above, or centered in the front, like in the picture below.

Dreamy Collar Styling - on jeans shirt, tied up in the front.

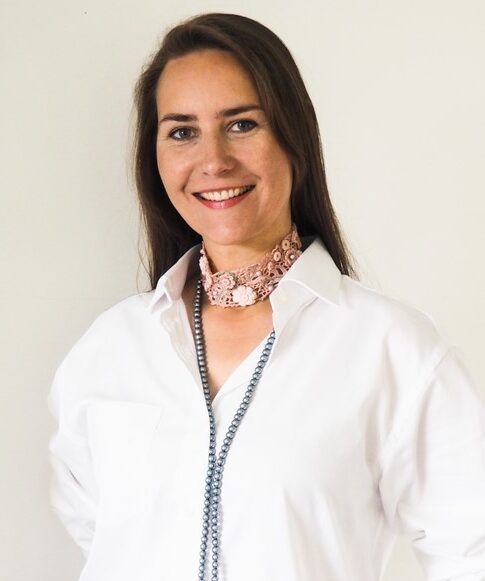
2. Wear your Dreamy Collar on a matching colour background. If your collar is light, like mine, wear it with a cream shirt. The collar will give the whole outfit a very subtle finish and dress up even a very casual top.

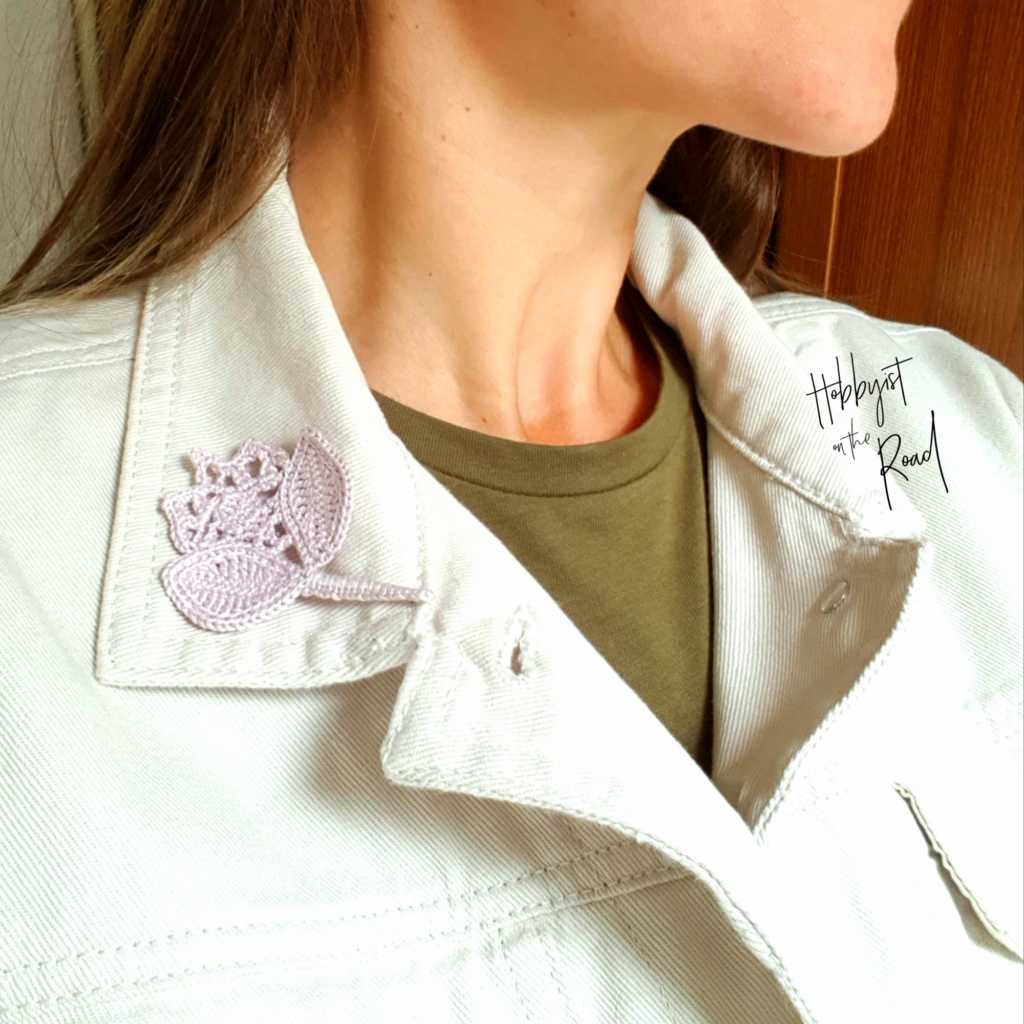
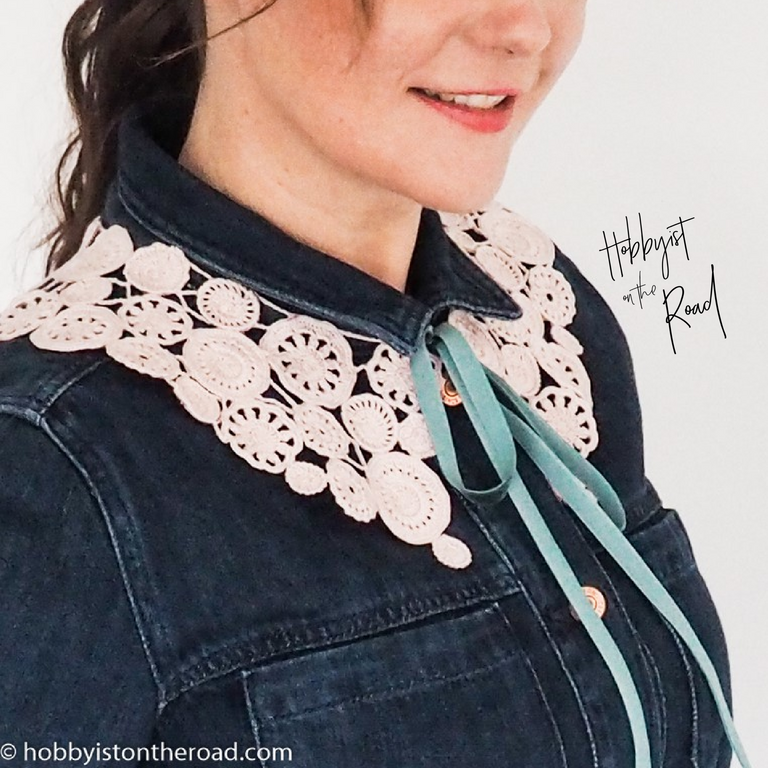
3. The fashion now seems to turn around the idea of matching items that at first sight don’t match. I matched my Dreamy Collar with a leather jacket and keep thinking I should buy a leather shirt and wear it with that.

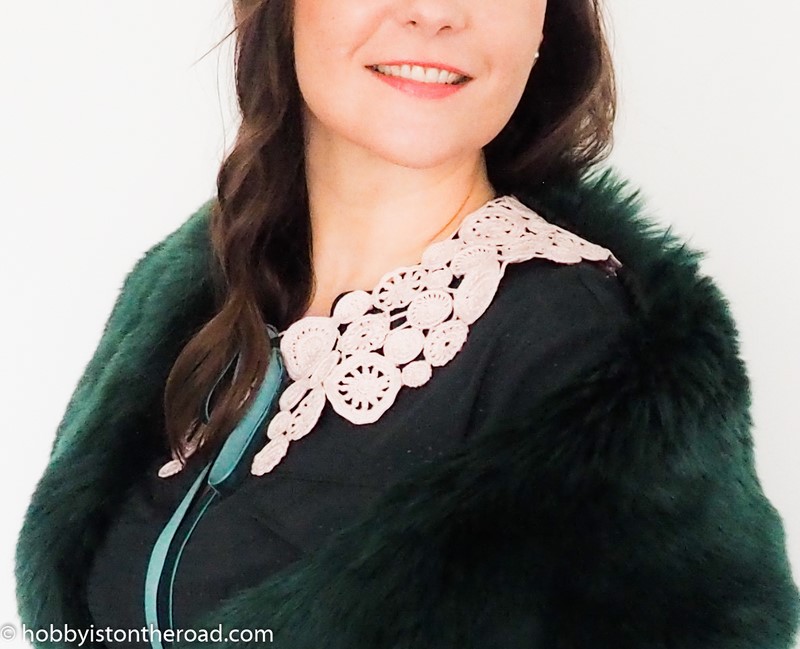
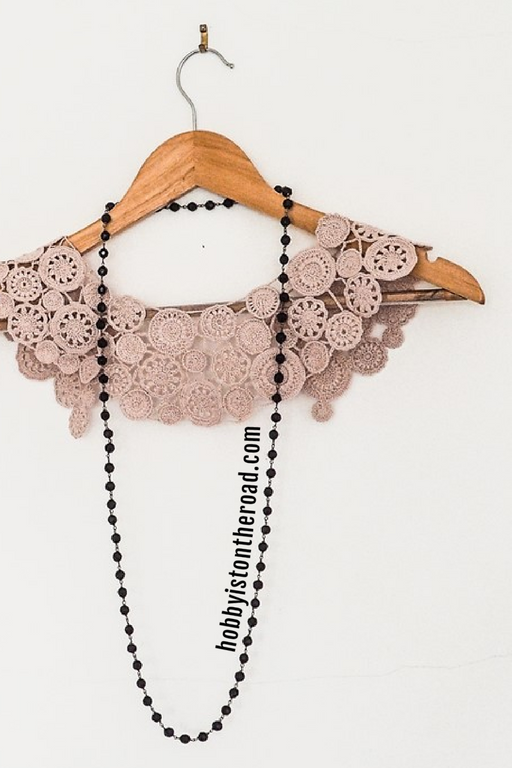
4. Wear it with other accessories such as a faux fur collar or a long necklace.

You can get a very detailed pattern CAL for this Dreamy Collar

Get it on Ravelry

Get it on Etsy

Get it on this Website

Tools and materials used:

Anchor Freccia mercerized thread, 100g/570m approx. (For this Dreamy Collar I used up less than one 50g ball of the thread.)

1mm size hook.
You can use any size of yarn and hook, but keep in mind that the larger the hook and yarn size, the chunkier your collar will be.

Parchment paper and a measuring tape for collar shape cut out.

Soft board or a flat cushion for pinning your collar cut out and individual motifs on and assembling the collar with the lace.

Pins, needle, scissors.

Create beauty one stitch at a time!

Liked this post?

Pin it for later!

styling dreamy collar

Posted on 1 Comment

Crochet Monstera Leaves

Crochet Monstera Leaves

Three Crochet Monstera Leaves – the newest addition to my collection of Irish Crochet patterns (available HERE).

Originally, I planned to crochet a set of Monstera Leaf coasters, like this one:

Crochet monstera leaves coaster

But, somehow, this project just grew the legs of its own and took off in a completely different direction than I originally planned!

So I ended up with a pair of earrings for a day

Crochet Monstera leaves earrings

… a crochet Monstera leaves canvas…

Crochet Monstera Leaves canvas

…and no coasters at all…

I am glad to report though that the crochet Monstera Leaves picture has survived the creative process and is actually on my wall now.

Himself also likes it, and even uploaded the image as his smartphone screen background – I feel really flattered 🙂

I crocheted these Monstera Leaves using irregular Tunisian lace, a process I described before when creating a Rose for my Irish Crochet Dress.

Materials and Tools used for Monstera Leaves project:

  1. The yarn is 100% mercerized cotton 100g/460m approx. 

2. 1mm hook for two larger leaves and 0.75mm hook for the smallest leaf.

You could potentially go up to 1.5mm hook, but anything larger than that, will make the process very difficult as you will be crocheting on a flat surface.

3. Soft worktop or a flat cushion.

4. Pins, scissors, needle.

5. Printer to print out Monstera Leaves drawings.

The way the process works is:

You attach your drawing of a Monstera Leaf to a flat soft worktop (or a cushion).

You crochet irregular Tunisian lace looking at the wrong side of your crochet Monstera leaves. This is the same procedure as in any Irish crochet project when you are working on the lace. Keep attaching your lace to the surface as you go along.

Monstera Leaf Process

After you have filled the space with the lace, remove your crochet Monstera leaves, turn them around and see the real picture. Finish off the edges, sew in the thread ends. And now repeat the process with two smaller leaves.

Medium Monstera Leaf process

crochet monstera leaves - small

Remember to block your Monstera leaves with a steam iron, otherwise your leaves will not be completely flat.

Embroider leaf veins with a contrasting thread using simple running stitch.

Voila!

You’ve got three beautiful crochet Monstera Leaves!

You can make the larger leaves into coasters, use the smaller ones for accessories, such as earrings, or do what I did – create a crochet canvas!

A crochet canvas picture was the first for me. I only bought the canvas in order to have a white background for taking pictures…

But a week later it ended up on the wall!

You never really know which direction your crochet project will take you!

For Step-by-step instructions downloadable PDF pattern:

Get it on Ravelry

Get it on Etsy

Get it on this Website

Remember to drop me a line asking for a 30%OFF coupon for this pattern at: hobbyistontheroad@gmail.com

Create beauty one stitch at a time!

Liked this post?

Pin it for later!

Crochet Monstera leaves pinterest
Crochet Monstera Leaves process 
 - pinterest

Posted on Leave a comment

Three Stylized Crochet Peonies

Stylized Crochet Peonies Pattern

First things first, I am not really sure I should be calling these Stylized crochet flowers, Peonies. I only called them stylized Crochet Peonies after I’ve crocheted them and could not think of any other flower they resemble. So I went with the name of Peony because I managed to convince myself that they look somewhat like peonies.  🙂

But if you have any other suggestions, let me know!

At the moment I am developing a larger Irish crochet project, a dress.

Since I want to make this new dress completely my own, I have to create all design elements from scratch.

These stylized crochet Peony flowers are the first elements I have created for the new dress that’s currently residing in my head.

I thought I’d better share the pattern for the Stylized Crochet Peonies with you now since I have no idea when the completed project will see the light of day! I am sure though, it will take a while…

So if you are interested in these applique peony motifs I have the links to this pattern on Ravelry, Etsy and this website below.

Stylized crochet peonies

Materials used:

For this flower, I am using thread 100g/ 450m approx. and a 1mm size hook. 

I don’t have an exact thread brand, as it’s a thread I’ve had for years and the label has been lost.

You can use any size of yarn and hook, it all depends on what you want to use the flower for. Just keep in mind that the larger the hook and yarn size, the larger and chunkier the flower will be.

These stylized crochet peonies look really lovely with some color variations:

stylized crochet peonies


 What can you do with your Peonies?

Here are some suggestions:

  1. Frame them   – it’s absolutely wonderful to have an original picture at home, brightening up a dull corner. Those pale pastel colours look really beautiful and go well with so many other interior decor elements.
Stylized crochet peonies

2. Use the small Peony as an applique décor element on your outfits.

3. Incorporate the stylized peonies into an Irish crochet project – a napkin, picture with lace, cushion cover or a little handbag.

stylized crochet peonies napkin

For the purposes of demonstration, I quickly crocheted some lace for the Peonies, so as to give you an idea of how they would look.

stylized crochet peonies picture

Ideally, I should have used a thinner thread for the lace, but as I am travelling at the moment, I have to use the materials I’ve got with me.

So the StylizedCrochet Peonies Flowers pattern is complete and I am off to create another element for my new Irish crochet project.

Get this Stylized Crochet Peonies Pattern:

Get it on Ravelry

Get it on Etsy

Get it on this Website

Create beauty one stitch at a time!

Like this post?

Pin it for later!

Posted on 1 Comment

Barefoot Sandals – a Basic Irish Crochet Project

Barefoot Sandals crochet project

These barefoot sandals are the latest project in my attempt to show crocheters that you can create quick and easy items using Irish Crochet technique.

barefoot sandals

After completing my biggest Irish Crochet project to date, a cocktail dress, I have quite a bit of beautiful, high-quality yarn left over. And I really find it hard to look at this gorgeous yarn lying in a box instead of being paraded around for the world to see its beauty.

So my solution – barefoot sandals for a beach or garden party, or simply something small to cheer you up when you need it.

Like my previous basic Irish Crochet project, this one also involves only the most basic Irish Crochet motifs. These barefoot sandals are actually even easier and quicker to make than the choker collar.

Skill level: elementary. All you need to know is how to crochet Ch, SC, HDC, DC, and Sl St.

Materials I used for this barefoot sandals project:

0.6mm hook.

You can buy small size hooks HERE

Yarn:

N8 Retors d’Alsace DMC, you can get it from Casa Cenina

  Threads & Yarns – DMC – Retors d’Alsace #8

Barefoot sandals

As with most crochet projects, in this case, you can use any size of yarn and hook. But remember, if you want your sandals to look really dainty, choose a smaller size hook and yarn. I wouldn’t go with a hook above 1mm for these sandals.

Get a pattern for these barefoot sandals:

Click here for barefoot sandals pattern

These barefoot sandals will make a perfect accessory for your own summer outfits or a unique gift for those who appreciate handmade items.

Get the barefoot sandal pattern HERE

Create beauty one stitch at a time!

Liked this post?

Pin it for later!

Barefoot sandals pattern

Posted on 3 Comments

Irish Crochet Dress: Finished

Irish crochet dress finished

Two and a half years since the start of the project, my Irish Crochet Dress is finally properly finished – done and dusted, completed, finito! 😀

And on a quiet Sunday afternoon, I was able to have a photoshoot I’d been looking forward to for quite a while now 🙂

One final consideration before wearing the dress was the colour of the undergarment.

Since this is a see-through dress, the colour of the undergarment has an important impact on the finished look.

As you are looking through the pictures below, notice how the look of the dress changes depending on the undergarment colour.

In some pictures, I am wearing a black undergarment, whereas in others, a light coloured one.

Irish crochet dress finished

In the two pictures above the dress is worn with a black undergarment.

Two pictures below have light undergarment is the base for the dress.

Irish crochet dress finished
Irish crochet dress finished - back

As you can see from the pictures above, this question of what to wear under the Irish crochet dress is an important one.

For example in this case, the black undergarment lends the dress a more dramatic look, whereas the lighter one seems to tone down the details.

And to finish this series, here are a few close-ups:

Irish crochet dress finished - sleeve

One of those dark nights as I was completing the dress, I thought to myself this has been my first and is going to be my LAST Irish lace dress…

NEVER again!!! I thought to myself…

But now, as I’ve completed the dress, and have had a chance to enjoy it a little, I’m not so sure anymore…

…another Irish Lace Dress project just might happen at some stage in not too far off future… 🙂 who knows…

Create beauty one stitch at a time! (Even if it takes you over two years to finish!)

Previous posts in this series:

  1. 5 Irish Crochet Lessons for First-Timers

2. Irish Crochet Dress: Main Rose

3. Irish Crochet Rose Finished

4. Irish Crochet Dress: Elements Completed

5. Irish Crochet Dress: Design

6. Irish Crochet Dress: Lace

7. Irish Crochet Dress: Picture Emerging

8. Irish Crochet Dress: A Quick Update

9. Irish Crochet Dress: Trying It On for the First Time

10. Irish Crochet Dress: Working On Sleeves

11. Irish Crochet Dress: The Annoying Bit

Want to learn the Irish Crochet technique with an easy project?

Click HERE for a perfect starter project.

Liked this post?

Then pin it for later!