Posted on 1 Comment

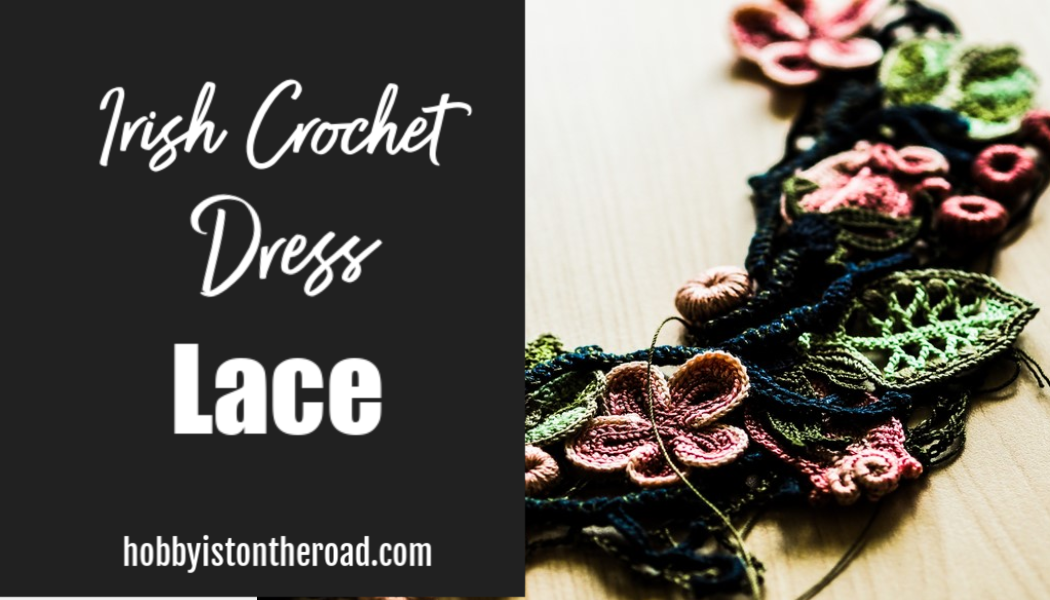
Irish Crochet Dress: Lace

Irish lace dress

If you’ve never crocheted in Irish lace technique before, you’ll discover that it’s a different process from the usual crochet or knitting projects.

As I described before, at first you have to crochet all separate decorative elements of the dress you are making.

After that, you have to cut separate parts of a dress from a piece of fabric or, in my case, use an old, well-fitting dress, and model your Irish lace design on that. I described the whole process HERE.

It’s only when you are happy with the layout of the design, you will start crocheting the lace and bring everything together.

The process of crocheting Irish lace is similar to that which I told you about in post ‘Main Rose’.

You have to work on a flat surface looking at the ‘wrong’ side of the dress.
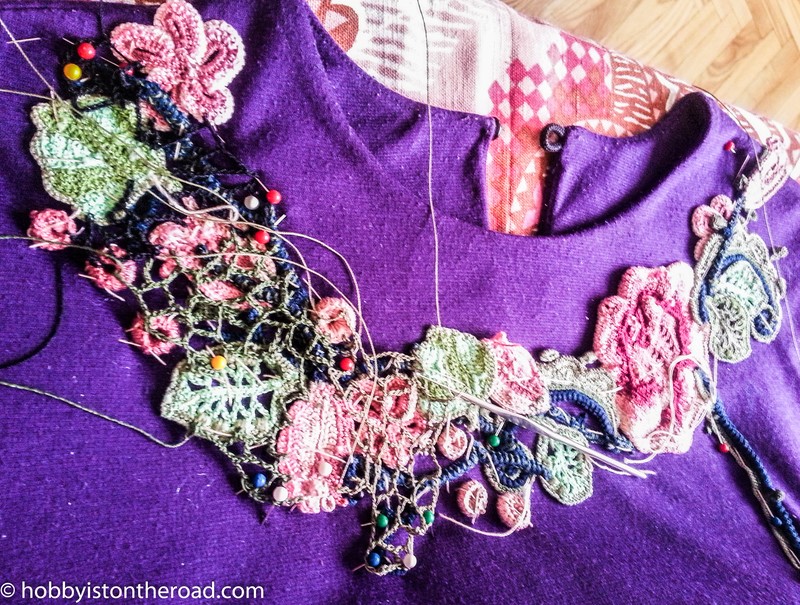
Irish lace starting on neckline

Securely attach all separate elements to the surface so as not to displace them while crocheting.
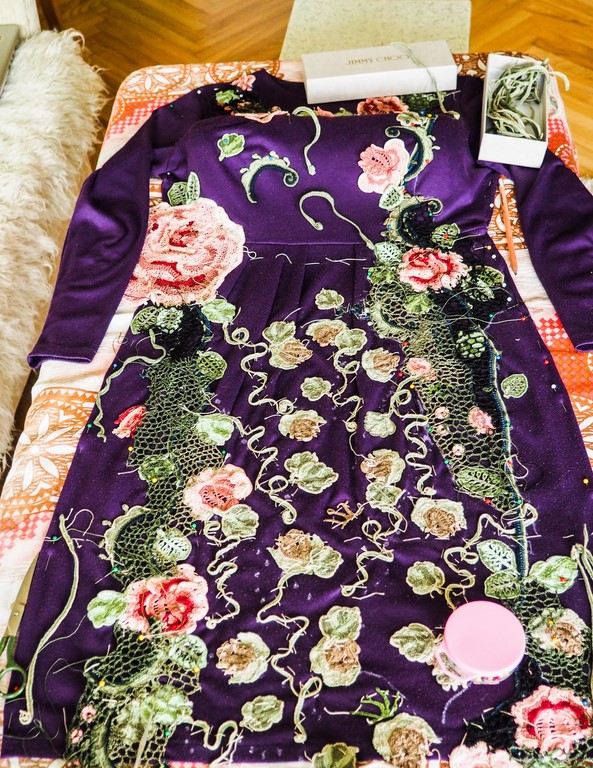
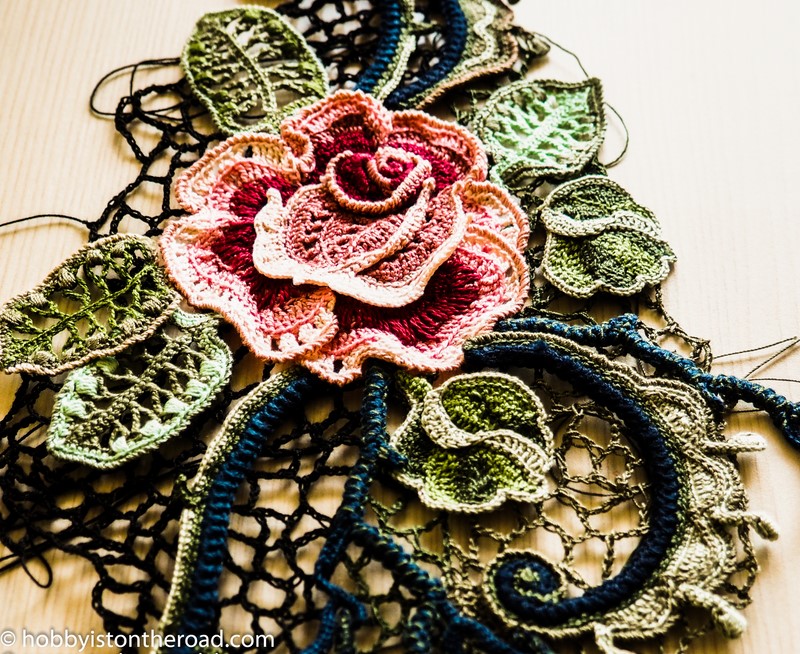
Crocheting Irish lace - progress picture
You can see here I stitched separate elements to the dress in order to keep them in the right places.

All of this makes the process of crocheting Irish lace really slow and tedious, as I realize now, although I honestly thought I will breeze through it…

When my mom saw me crouching over that dress laid out on a coffee table, she offered me money so as I would simply buy something like that instead of ‘killing myself making it’… 😀

Since this was my very first Irish lace crochet project, I found it difficult to imagine how the dress will come together.

This wine tumbler makes a perfect gift for a crocheter on any occasion.
Check out this fun crochet wine tumbler 🙂

So every time I finished an important part of the lace dress, I simply unpinned it from the surface and turned it around so as to see…

…WHAT’S GOING ON!

I started with the front neckline, as I had a clearer idea of how it should look.

And after a few hours (or maybe days) of working on it…

Tah-dah!
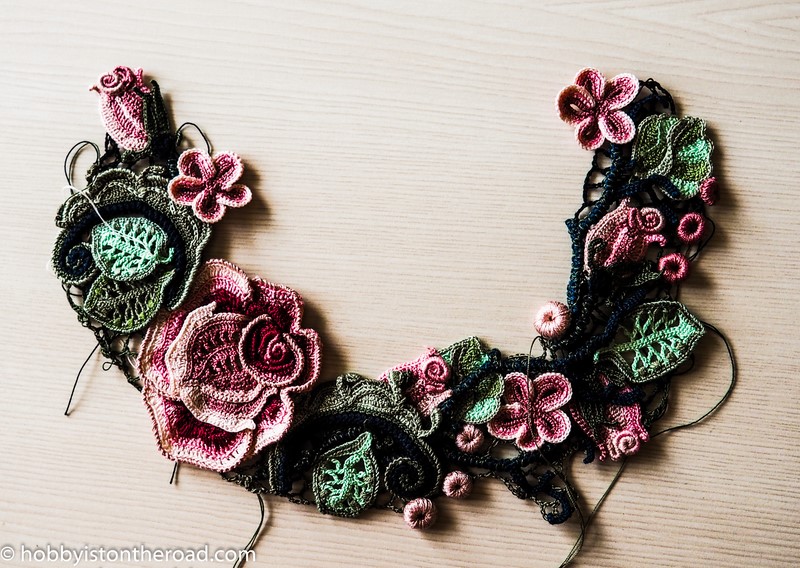
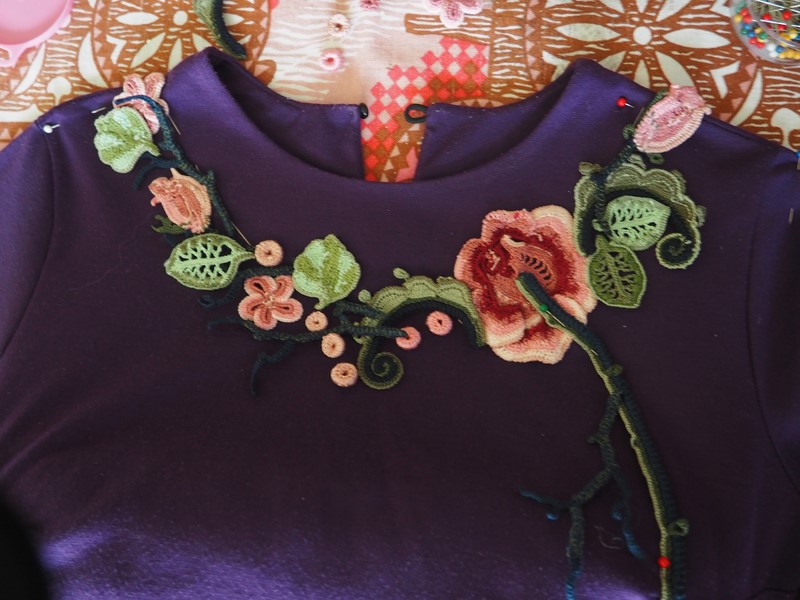
Irish lace neckline

I am happy with the result!

Somehow those little flowers and leaves look really harmonious.
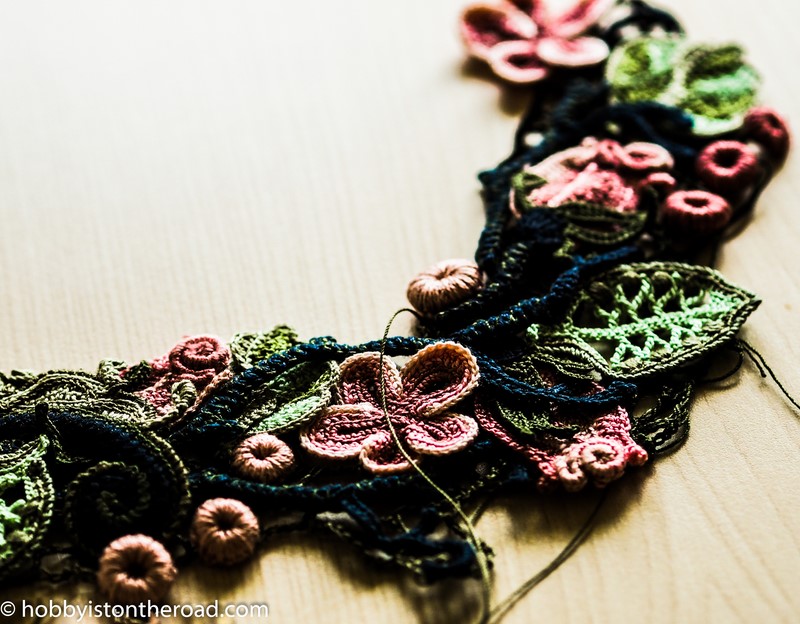
So back to the worktop, pin the neckline back on (wrong side up) and continue working…

…very sloooooowwwwwwllllyyyy…

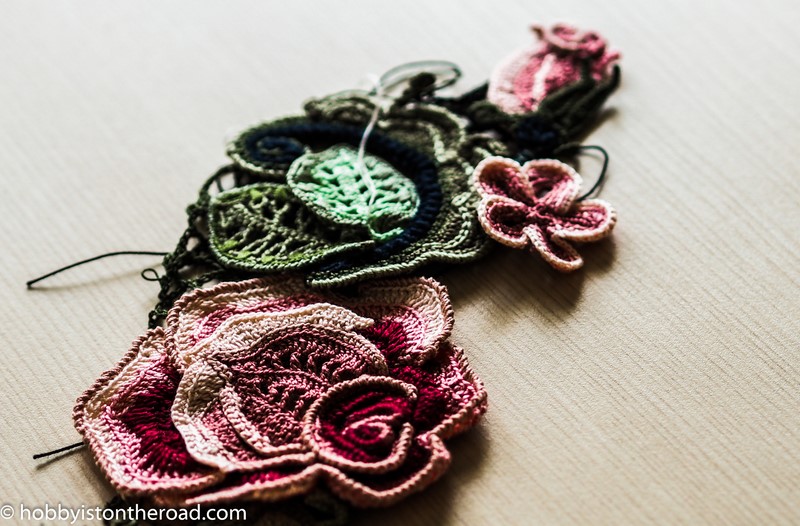
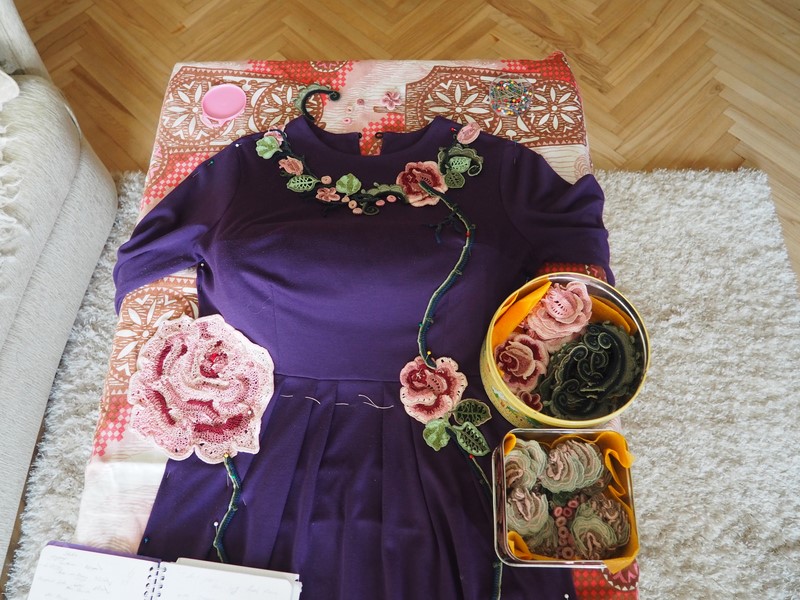
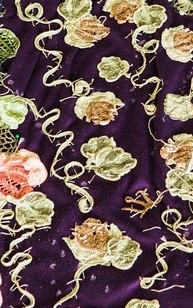
Here are a few more Irish lace fragments.
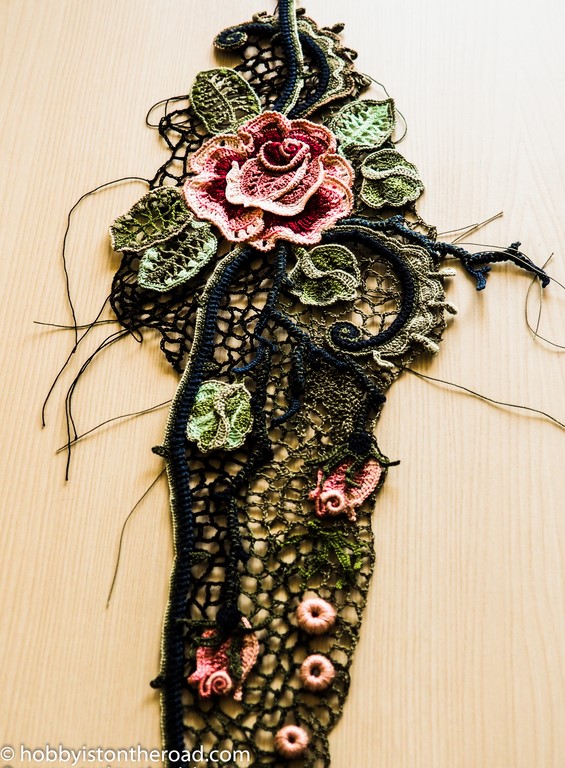
The process of crocheting Irish lace and all separate elements into one dress is painfully slow and inconvenient…

A fun gift mug for a crocheter. Click the image and check it out on Etsy!

…although now when I see a picture emerging, I am getting more and more excited and somewhat impatient 😀

Create beauty one stitch at a time!

Liked this post?

Pin it for later!
Facebook Group Weekly Crochet Focus
Click HERE to join!
Posted on 2 Comments

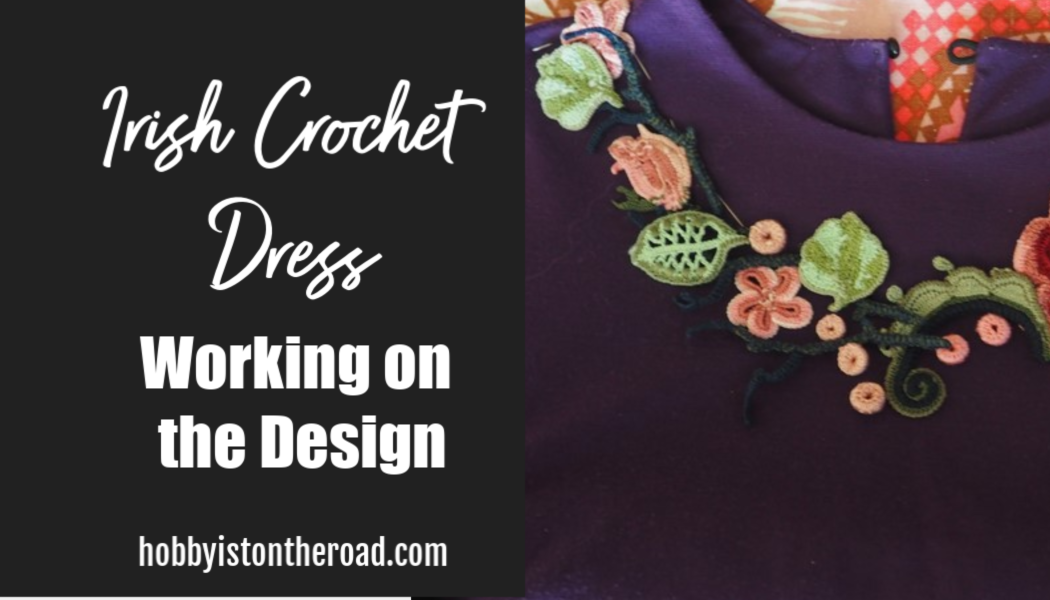
Irish Crochet Dress: Design

Irish Crochet Dress Design Considerations and advice

Unlike other crochet projects, Irish crochet dress design is a fluid process even if you’ve got a handbook with instructions at hand.

There are no hard and fast rules, just general guiding principles.

I am now at the stage where I have finished crocheting all separate elements for the dress – flowers, leaves, stems, etc., you can see all of them HERE .

Now I have to lay the design of the dress out and start crocheting the lace.

How does Irish crochet dress design process work?

Normally, according to all the Irish crochet experts, I am supposed to cut separate parts of the dress from a fabric in order to create a sort of platform for modeling the crochet dress, so as the finished product would suit the wearer perfectly.

I decided I wasn’t going to bother with that and used an old, well-fitting dress for modeling.

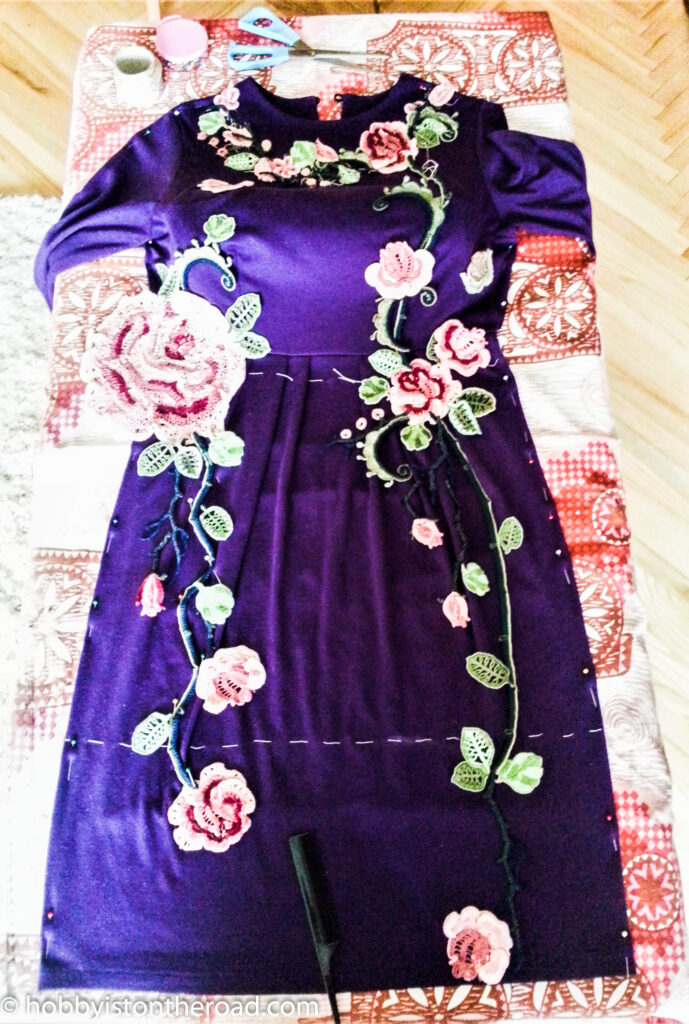
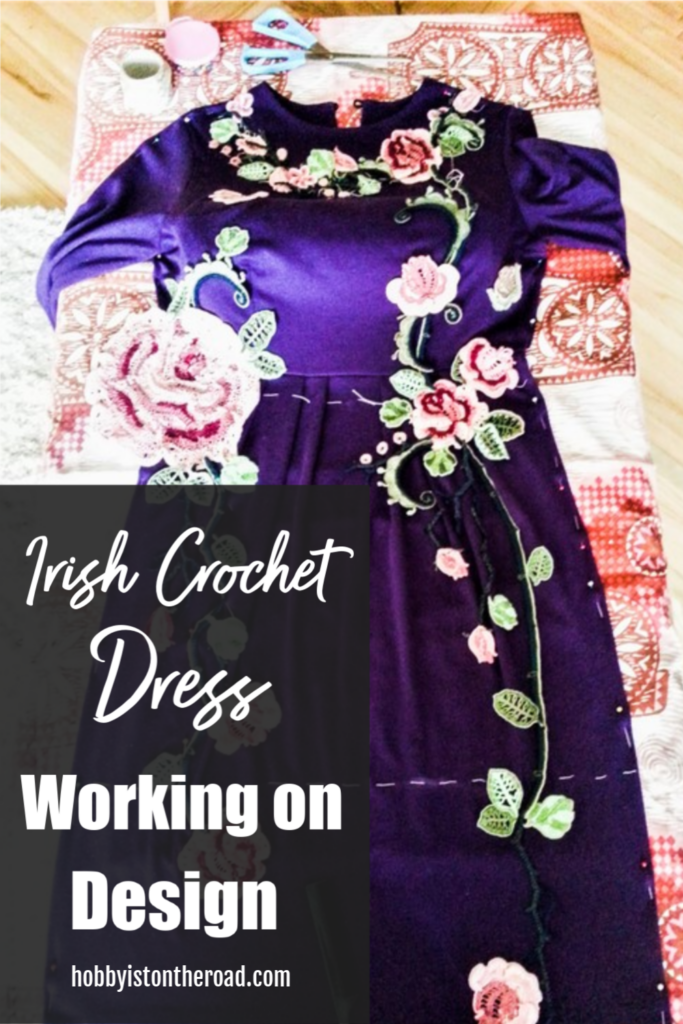
Irish Crochet Dress Design

So first of all, I have to lay out the ‘picture’ using the brightest elements (roses, branches, leaves, scrolls).

The challenge here is to place these elements in such a way so as to avoid an undesirable optical effect. For example, if the bright roses are placed too much on the sides, they will visually expand my waist. So I have placed them slightly towards the middle.

This wine tumbler makes a perfect gift for a crocheter on any occasion.
A fun gift for a crocheter 🙂

Frankly, I thought this will be the easiest and the most fun part of the whole project, especially considering the fact that I have bought the instructions and know, how the finished dress design is supposed to look like.

… but…

… when I started laying out the picture, I realized it’s not as easy as it seems…

Irish Crochet Dress Design

For example, when it turns out my elements are larger than those of the master crocheter in the handbook. It’s because I used a slightly larger hook (0.6mm and 0.75mm) instead of 0.5mm and 0.6mm.

What does it mean for me?

It simply means I need fewer of the elements for the main picture, which in turn means I have to rethink the design at least in part.

Size and Type of the Dress

Another thing I had to consider is the size and type of the dress.

The dress in the handbook was a mini sleeveless dress made for a very slim young lady.

As I am a much curvier woman than the girl in the handbook, I had to make even more adjustments:

  1. rearrange the design for a knee-length dress;
  2. incorporate 3/4 sleeves.

What does this mean in terms of dress design?

Again, I have to make even more adjustments:

  1. If I don’t want the picture to make me look larger, I have to distribute the main dress elements vertically, using full length of the dress and avoiding horizontal distribution as much as possible.
  2. I decided I will use only background elements for the sleeves, in order to avoid the widening effect.
  3. I may have to crochet additional elements for the sleeves.
  4. I am hoping I have enough yarn left…

Someone suggested I should go for a full-length, long sleeve dress. I think a dress like this would be absolutely amazing but, unfortunately, would present me with very few opportunities to wear it.

Plus, I haven’t got enough yarn and the price I’ve paid for what I already have is eye-watering…

So, this time, friends, it will be a knee-length dress 🙂

Funny crochet gift mug for  crocheter on any occasion.
Check out this funny crochet mug 🙂

After I lay out the most conspicuous elements to create the ‘picture’, I fill in the rest of the space with less noticeable background flowers, leaves and cords. All the while remembering to distribute elements vertically.

Then when I am satisfied with the picture, I have to turn all the elements around and pin them on the modeling dress. This way they won’t dislodge during the lacing process.

After a week of walking around the dress, I am somewhat satisfied with the design and will start crocheting lace.

Strangely, I find myself feeling somewhat anxious…

Create beauty one stitch at a time!

Liked this post?
Pin it for later!
Irish crochet dress design pinterest

Facebook Group Weekly Crochet Focus
Click HERE to join!
Posted on 4 Comments

Irish Crochet Rose Finished

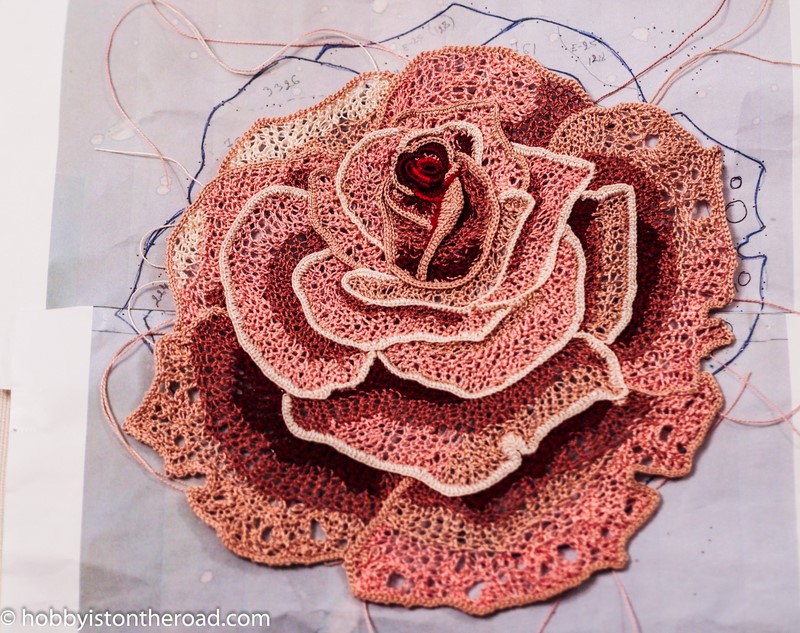
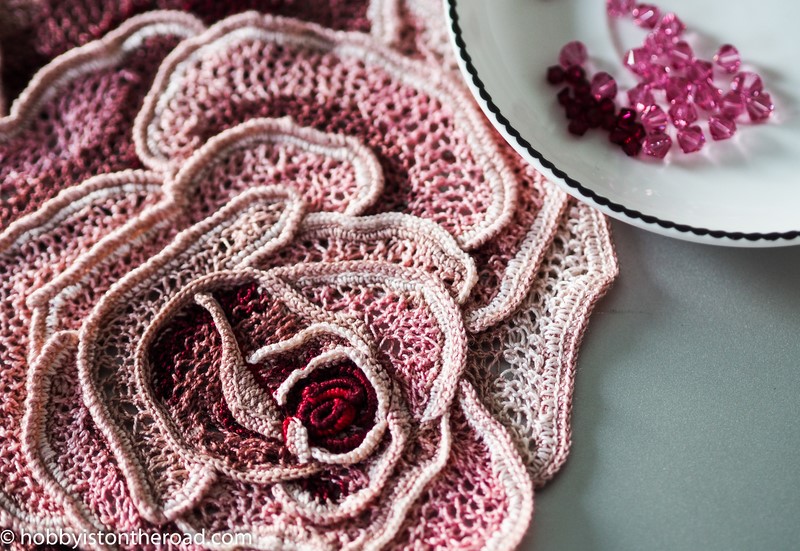
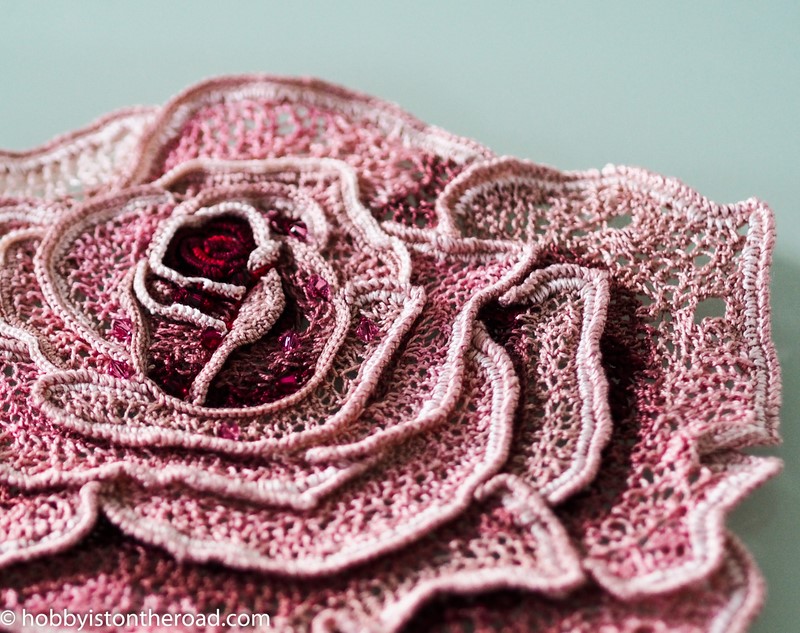
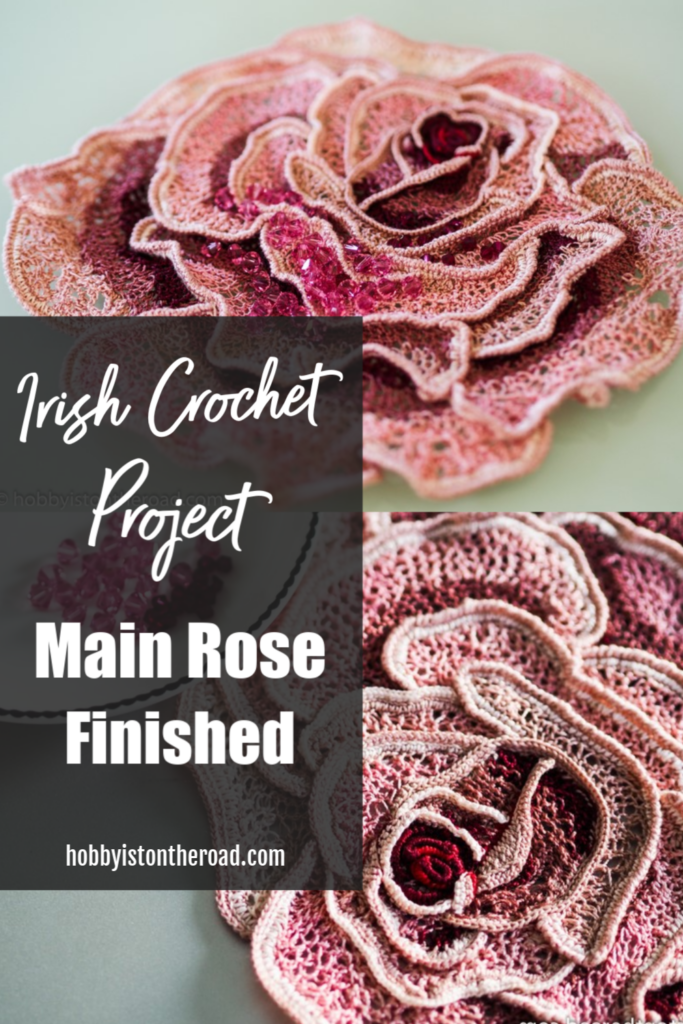
I am so glad to be writing this little post, as finally, my Irish crochet rose is finished.

This rose will be the main element for the dress I am making in Irish Crochet technique.

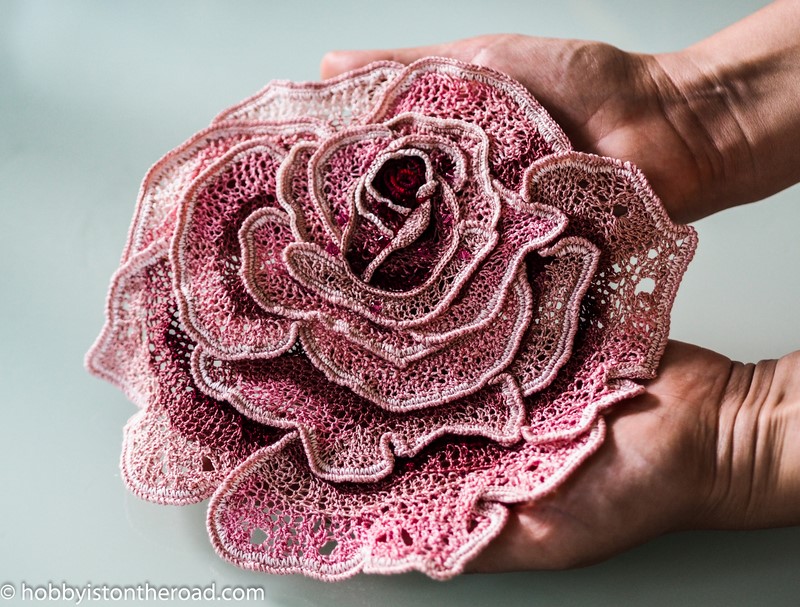
Ta-dah!

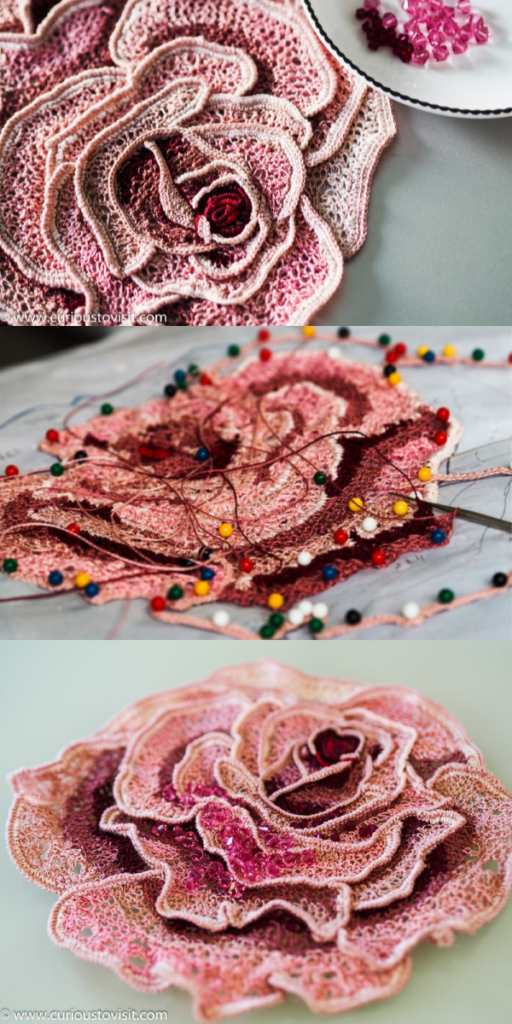
Irish crochet rose finished

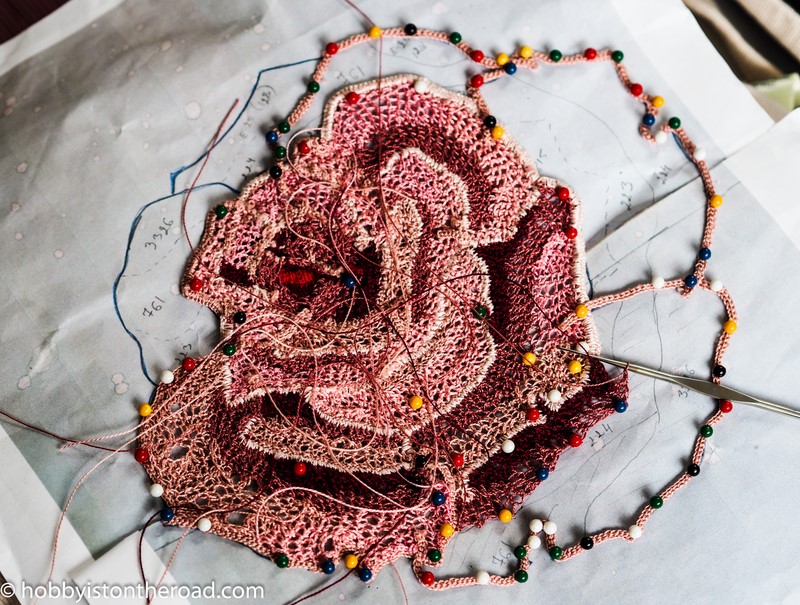
As you may remember from my previous post about this rose it’s a different kind of crochet process.

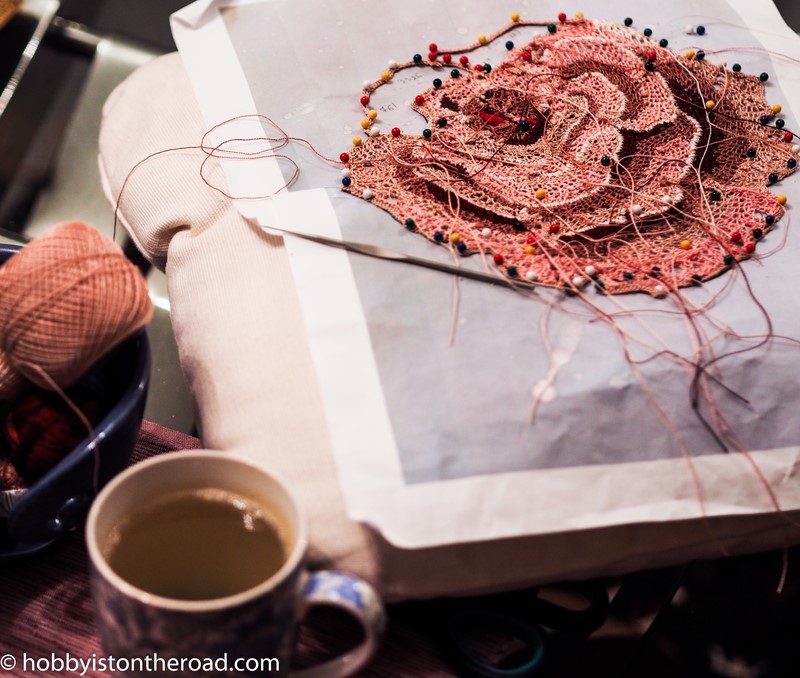
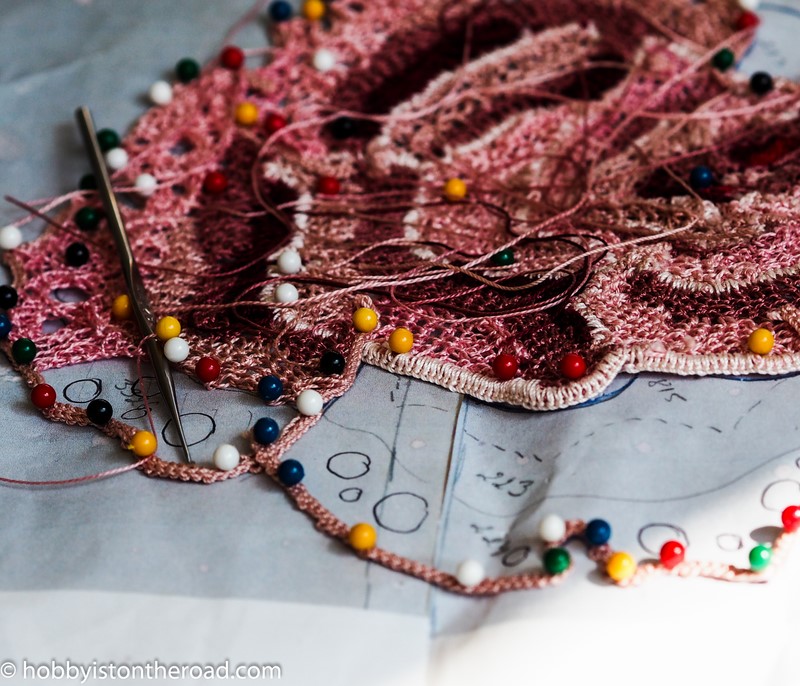
You have to attach the work to a cushion and crochet very close to the surface, looking at the ‘wrong’ side of the flower, in order to achieve the required shape.

I had to leave my work for about 2 weeks as I was going on holiday and resumed my work at this stage…

…a few tea breaks, two days and two nights later…

… I finally finished the main body of the rose. Hence the title Irish Crochet Rose Finished 🙂

One challenging part was making those holes you can see on the outside petals:

…somehow, no matter what I did, they just didn’t come out the size I wanted them to be.

Although when I turned the work around (as you remember, this flower is crocheted looking at the work from the wrong side), the overall picture looked fine.

So I just left them as they were.

This wine tumbler makes a perfect gift for a crocheter on any occasion.
A fun gift for a crocheter 🙂

One more step was to crochet around each petal of the flower, so as the work would have a defined finish.

And after that, I was going to add sparkly beads all over the rose, but…

…having thought about it, I decided I’ll just sew on a few beads in the centre of the flower at the moment since any kind of sparkle on clothes can visually make you look larger.

And I don’t want that!

The author of this dress seems to have sparkly beads all over the dress.

I, on the other hand, will wait until I finish the dress completely. Only then will I sew on the beads so as to have them in key locations, just enough to tease the eye…

For the moment I’m just so happy I’m one step closer to completing the whole dress…

Create beauty one stitch at a time!

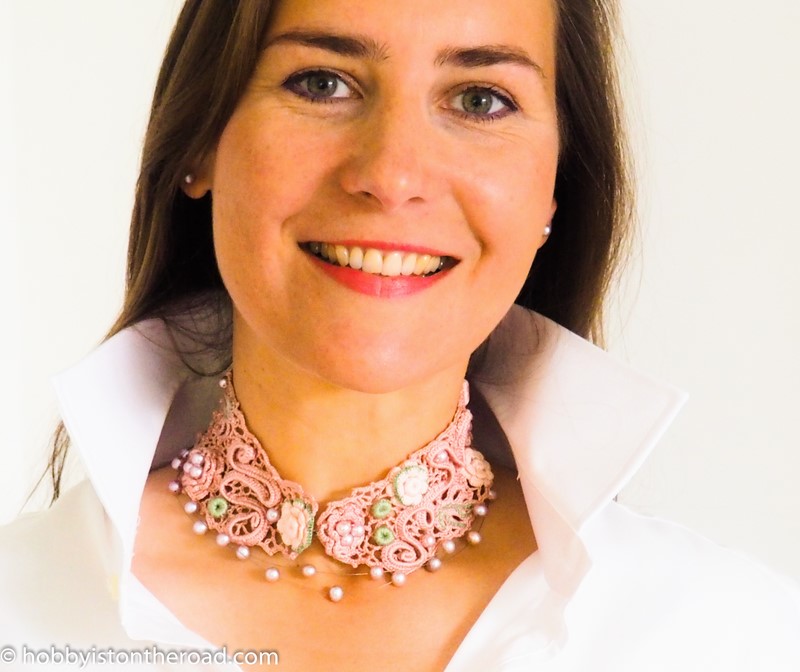
Want to learn Irish crochet technique? Start with a small but absolutely fabulous Choker Collar project! Click HERE

Lace Choker Collar – a Basic Irish Crochet Project

Liked this post?
Pin it for later!
Irish crochet rose finished Pin

Click HERE to join