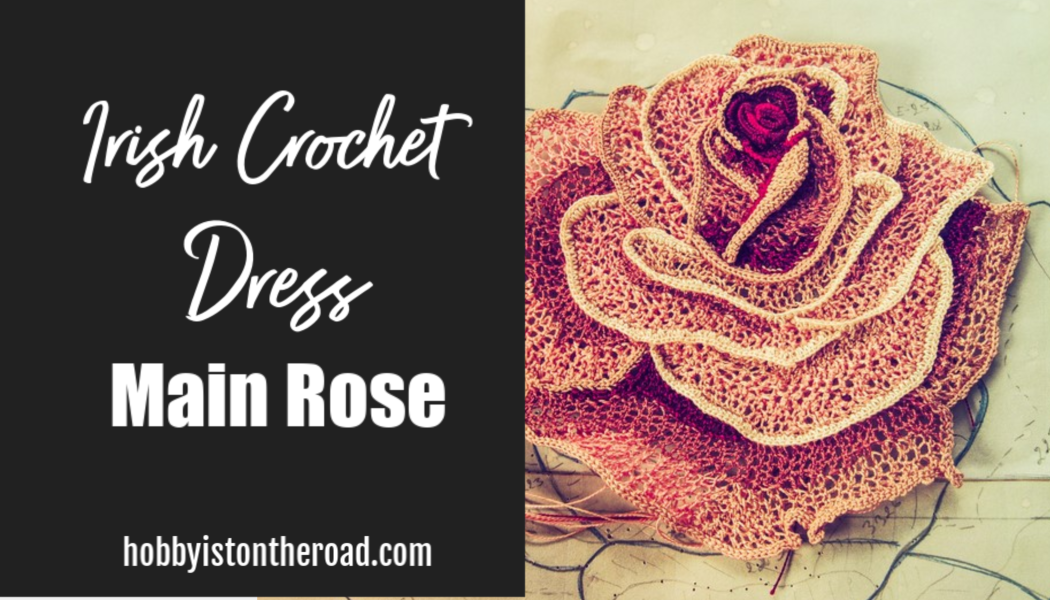
Today I was hoping to post a picture of finished Irish crochet lace rose, which will be the principal element of the dress I’m crocheting.
Unfortunately (or maybe fortunately), life got in the way and I am only halfway through…
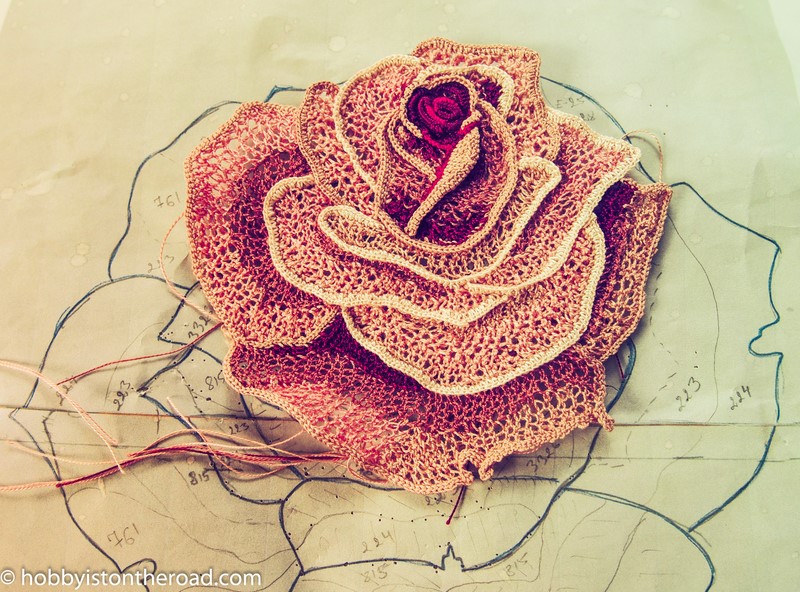
So I thought I’d show you where I am at and how the rose is coming together.
Here’s how the process looks like.
As you might remember from my previous post about this Irish Crochet Lace project (a dress), I bought the instructions for this dress from a master crocheter.
This means I don’t have to create the design of each dress element from scratch.
Unlike with other elements of this dress, the main Irish Crochet rose came with a color map in the instructions which I had to print off and simply use as a guide.
It was really helpful to have the color map on the Irish Crochet rose image itself, since this reduced the time spent planning the work.
The yarn for this project came from an online crafts shop Casa Cenina Threads and Yarn Section. I found Casa Cenina one of the few places where I could get the right colors and yarn thickness.
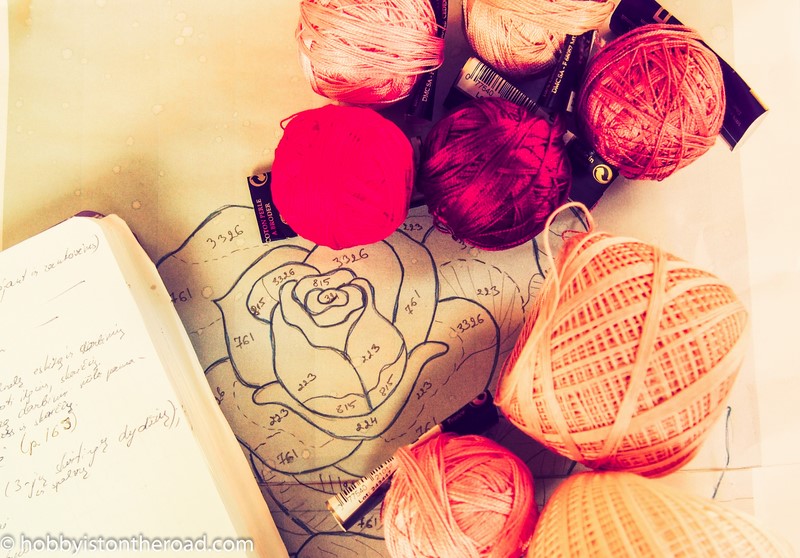
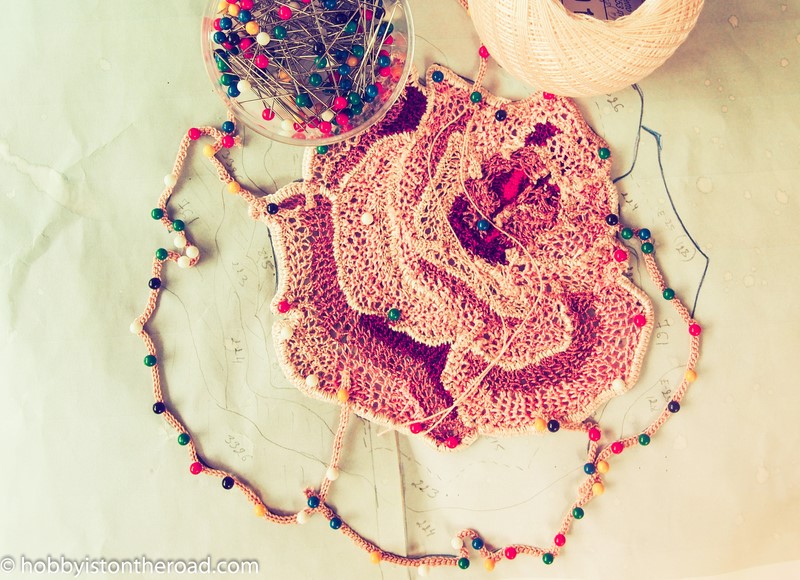
Before starting, I also had to find a sort of flat cushion ( I ended up using one of those chair cushions) and a lot of pins to secure the work in order to follow the picture map.
The whole experience is slightly uncomfortable since you have to crochet on a flat surface, keeping your hands very close to the work.
I found that the best place to work on this Irish Crochet rose is at my standing desk since the work is close enough for me to see what I am doing without having to strain and bend my neck too much.
It’s a slow process since there are lots little steps involved:
starting from the centre of the flower, I have to mark each petal section with a string, secure it with pins, then fill in the space.
When working on this Irish Crochet rose you are looking at the ‘bad’ side of the picture, which means you don’t know how the flower is coming together until you’ve finished a little section, unpinned the work and turned it around.
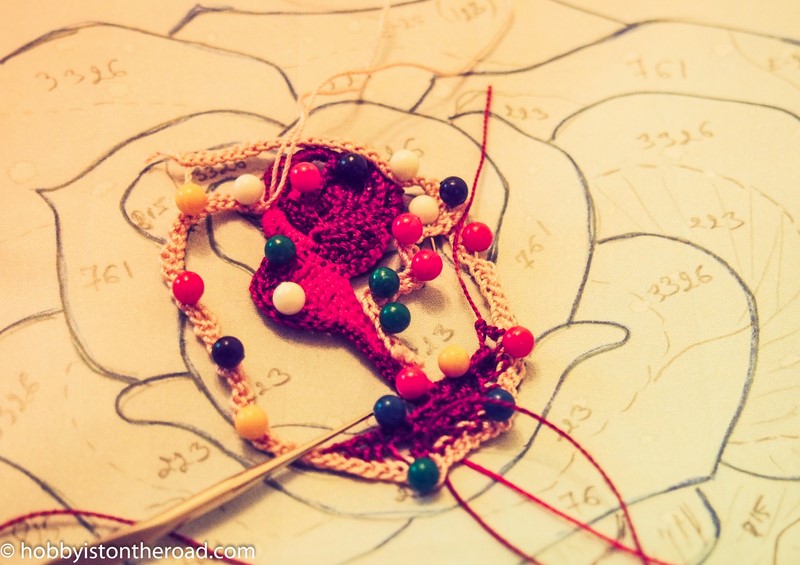
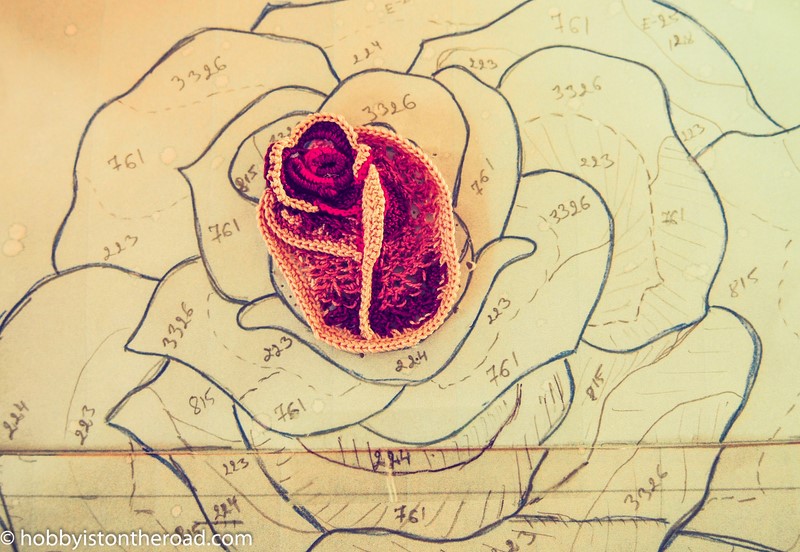
Since this is an element I am only going to do once, every time I finish a couple of petals, I unpin the work from the cushion and turn it around to see how it looks.
I think if I make a mistake, at least I’ll have to redo just one section, and not have to start over from scratch 🙂
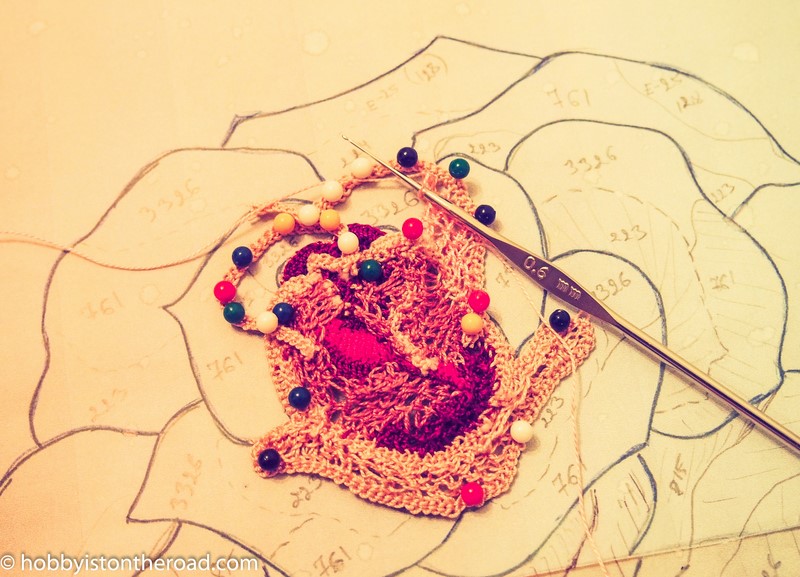
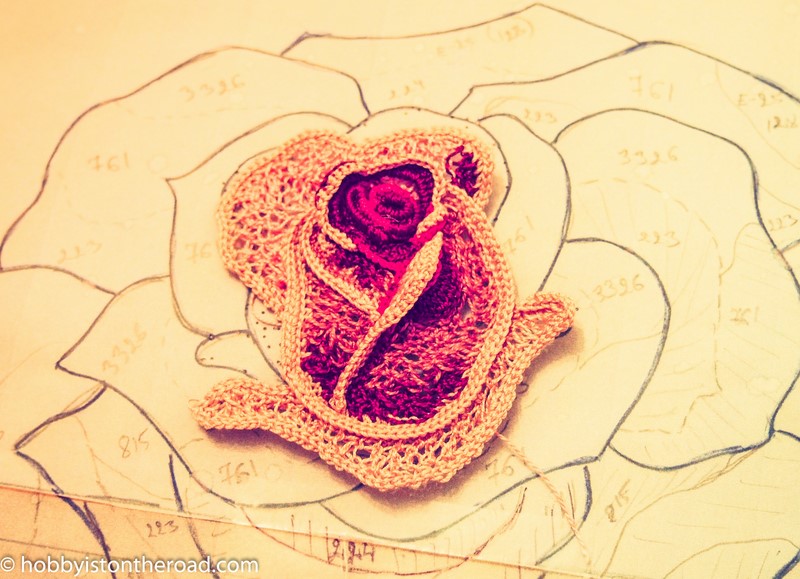
When I started working on the centre of this Irish Crochet rose, I was almost sure I’ll have to redo it, since I made a couple of mistakes.
However, with this being a sort of freeform crochet, I managed to hide those little imperfections and could continue the work without going back to the beginning, yay!
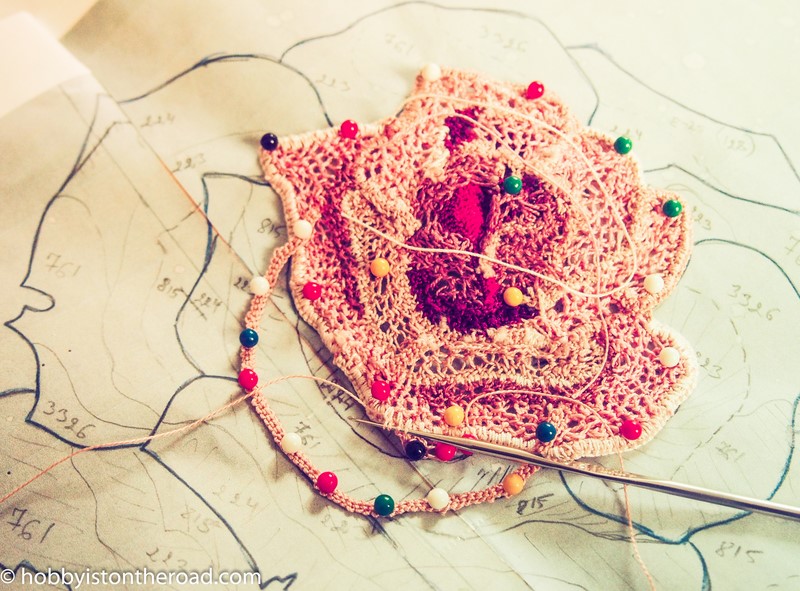
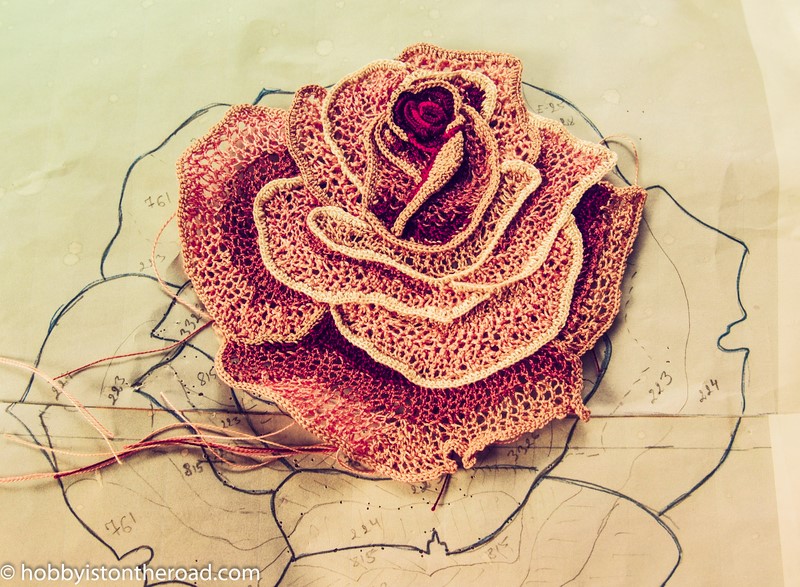
Here’s the stage I am leaving this Irish crochet lace rose today, since I won’t be able to touch it for the next two weeks…
and I already feel sad about that…
…I must be addicted or something 🙂
Create beauty one stitch at a time!
Want to learn Irish Crochet Technique? Start with a small project like this stunningly beautiful Choker Collar.

Liked this post?
Pin it for later!


[…] Next post in this series. Irish Crochet Project: Main Rose […]
[…] you may remember from my previous post about this rose it’s a different kind of crochet […]
[…] Irish Crochet Dress: Main Rose […]
[…] Irish Crochet Dress: Main Rose […]
[…] 2. Irish Crochet Dress: Main Rose […]
[…] 2. Irish Crochet Dress: Main Rose […]