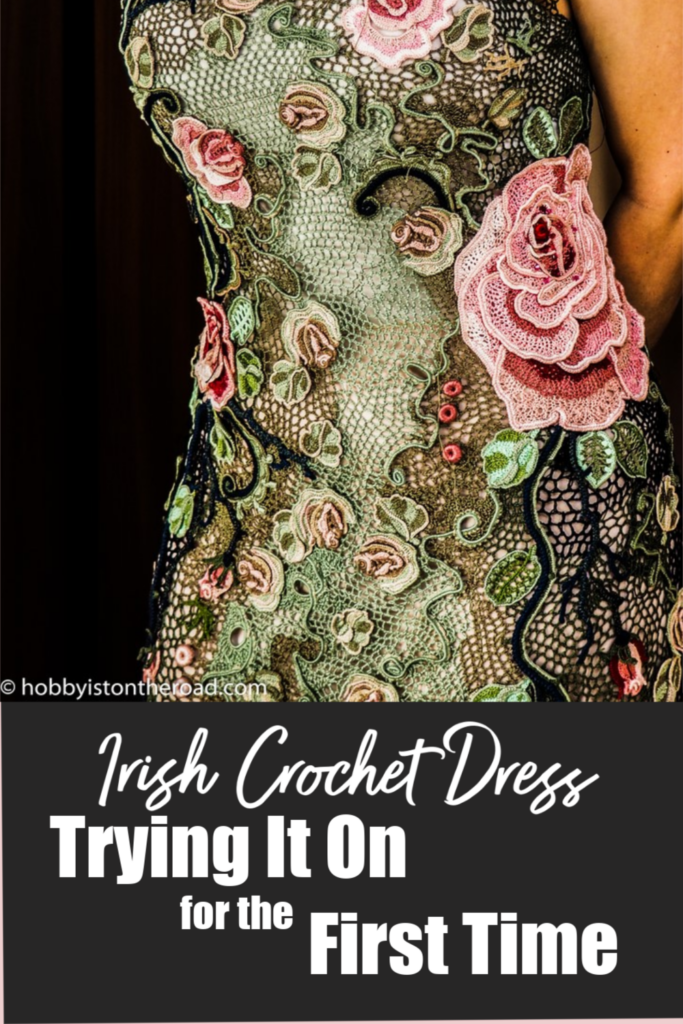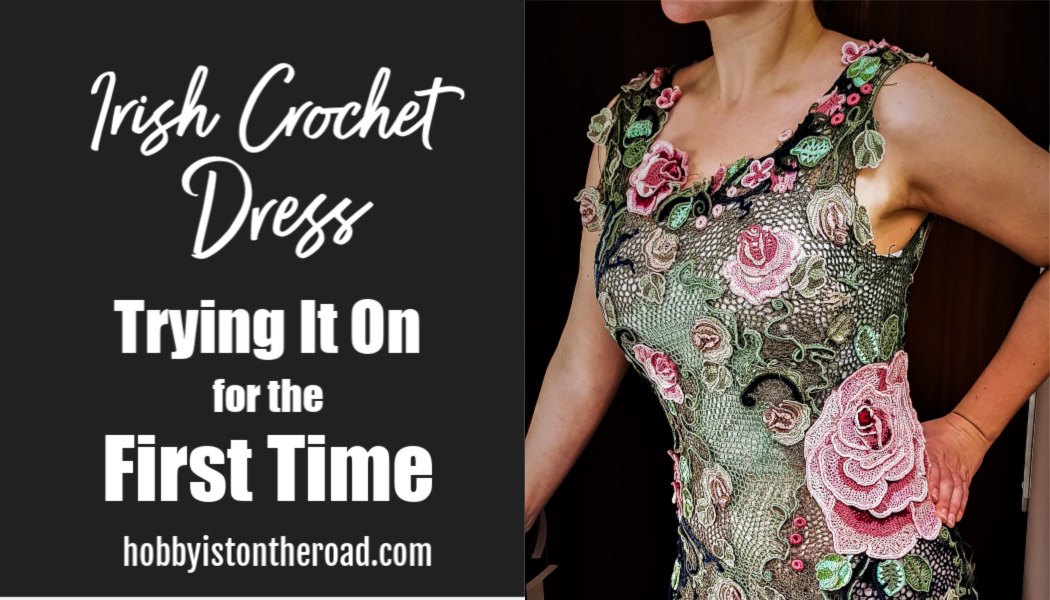
Finally, I tried it on for the first time…
… as if by some sort of quiet magic, on a dark and rainy Saturday evening, I crocheted the last bit of lace, completing the main body of my Irish lace dress…
…which means, almost 2.5 years after I’ve started working on it, I can finally try the dress on FOR THE FIRST TIME EVER and see what it actually looks like on me.
So here it is, the first proper glimpse.
To tell you the truth, I was a bit anxious for a few moments before taking a look at the mirror. After all, it could have been a total disaster…
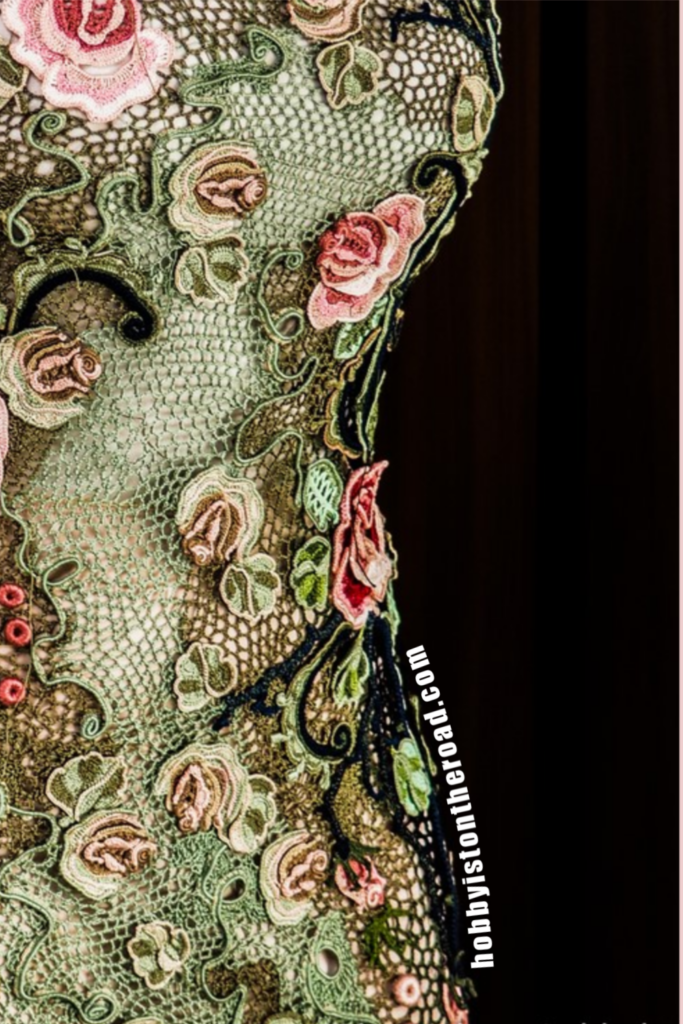
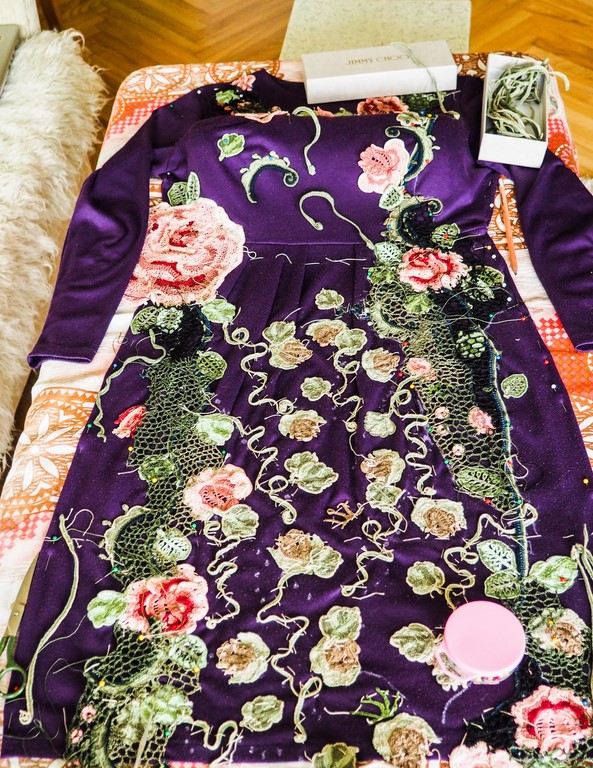
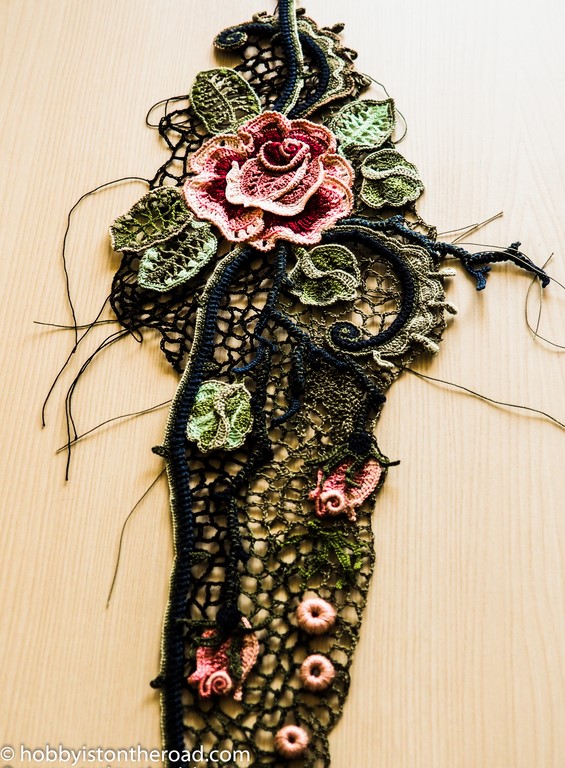
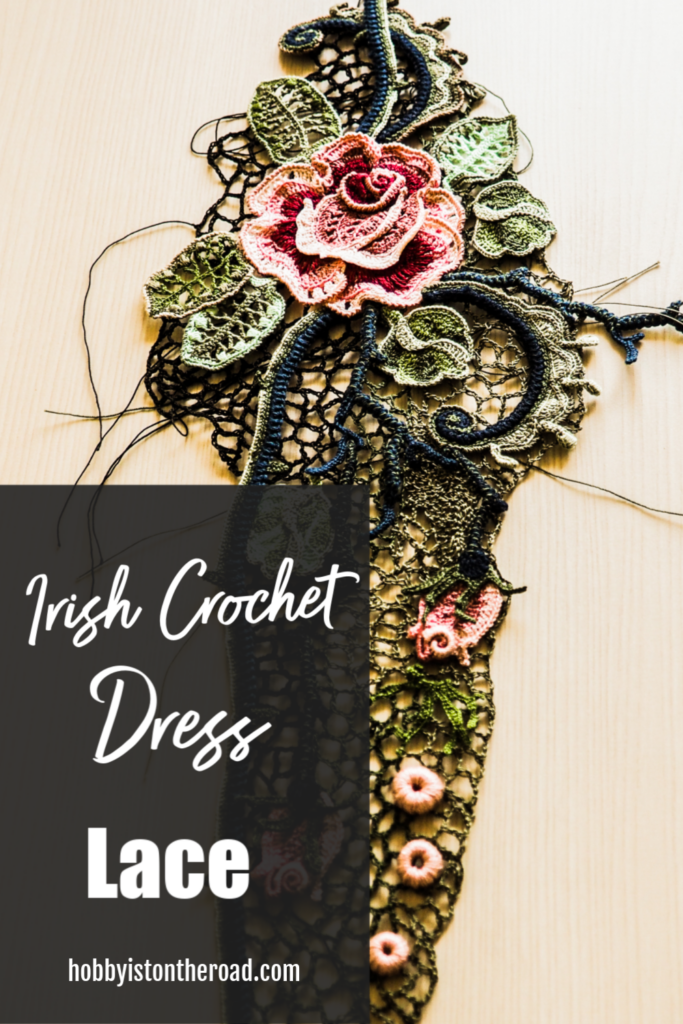
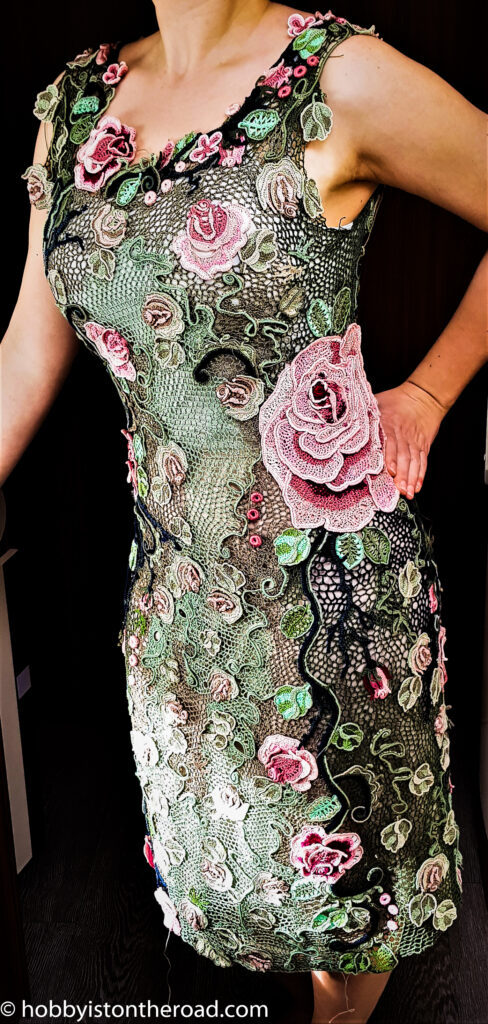
As you will see, this is just a rough, unfinished ‘first draft’.
After that first time look at the mirror, the good news is, I didn’t see any major flaws which would require me to redo large sections of the dress. Phew…
But of course, there are a number of things that’ll need adjusting.
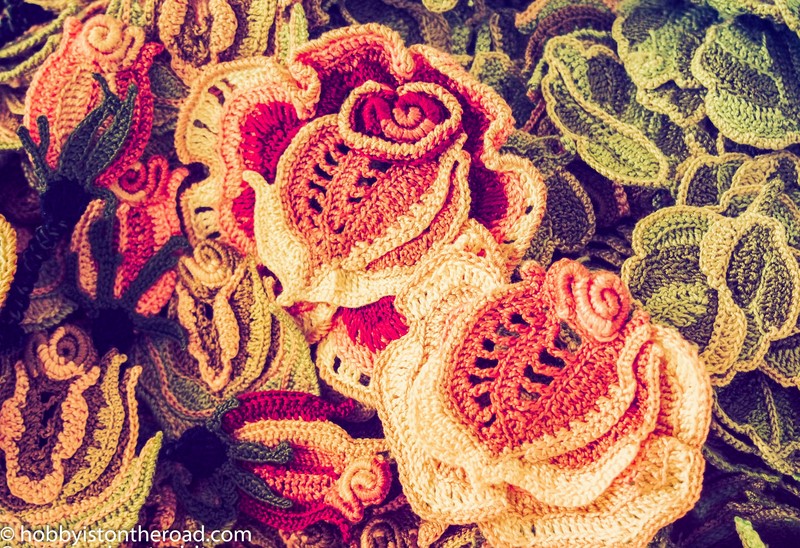
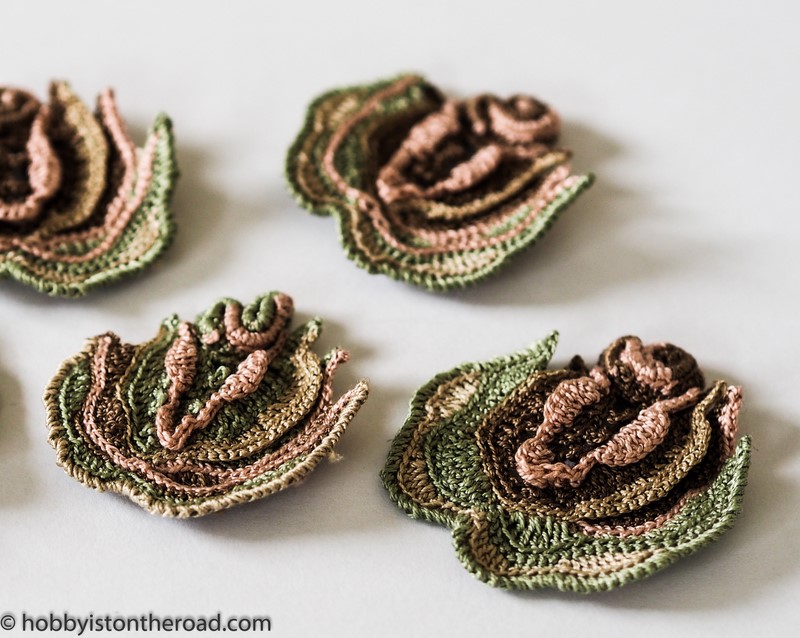
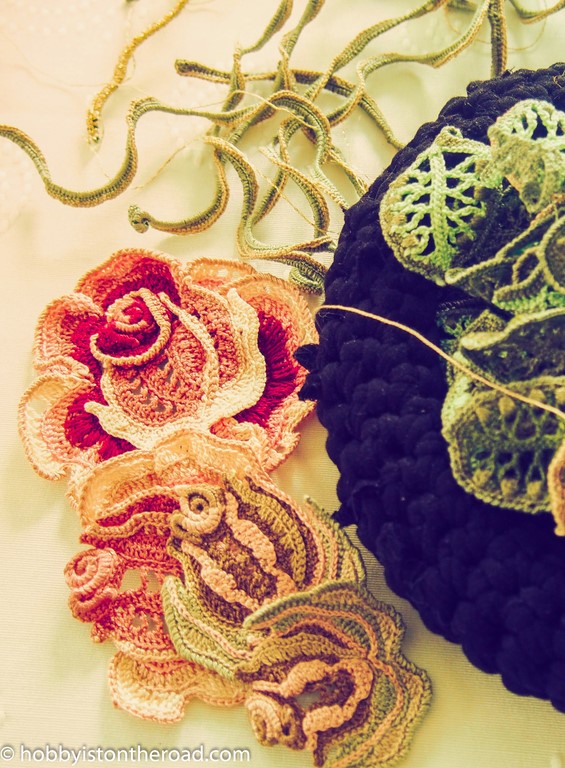
For example, some flowers and leaves are a bit stretched when on the body and got slightly displaced. So I will have fix that.
I also see that I’ll have to fill in the small spaces between some of the branches, which I originally thought would be nice to keep void. I just think it will look better if I filled those spaces.
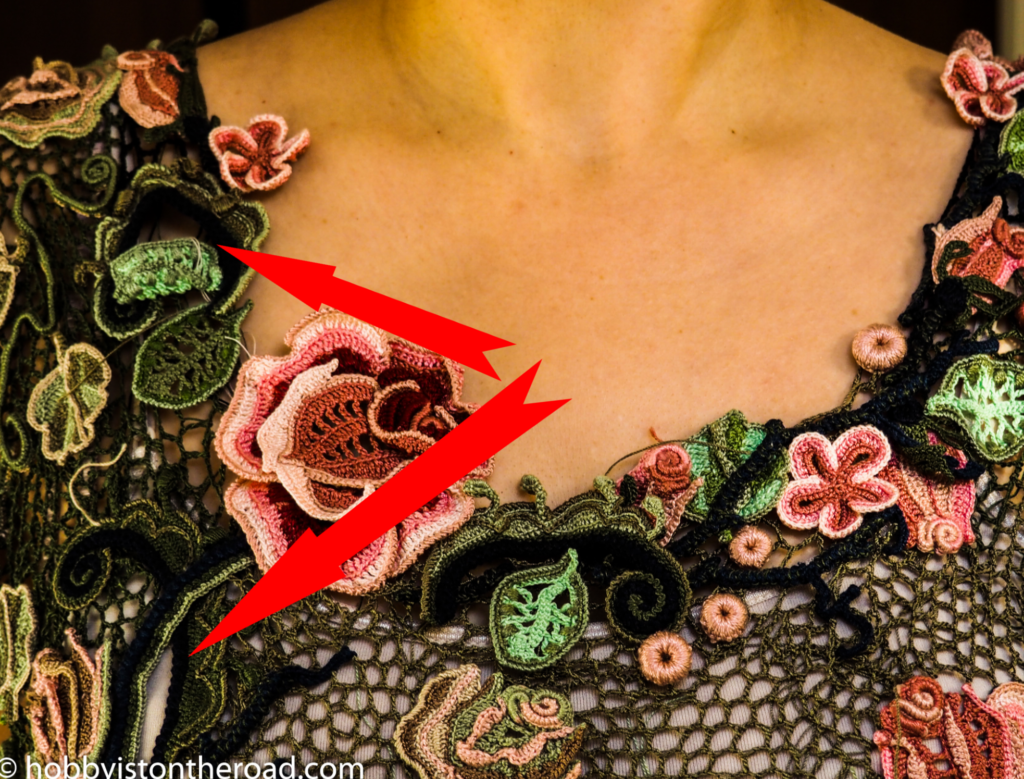
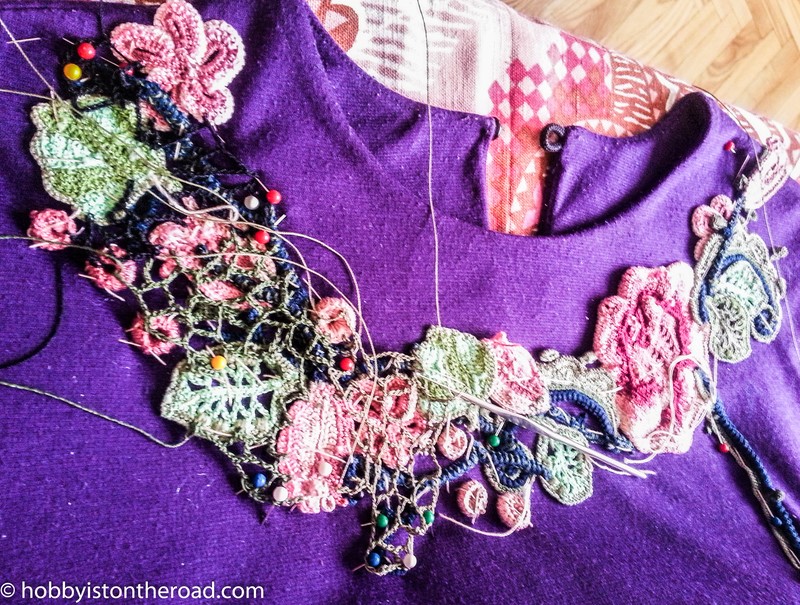
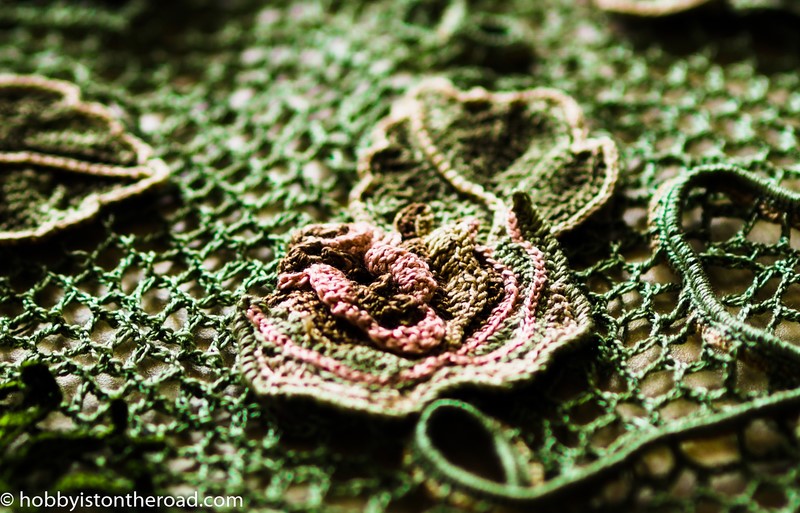
As you can see in the pictures, some flowers and leaves are a bit wonky and loose (I didn’t connect them properly). They’ll have to be readjusted and then ironed when the dress is finished.
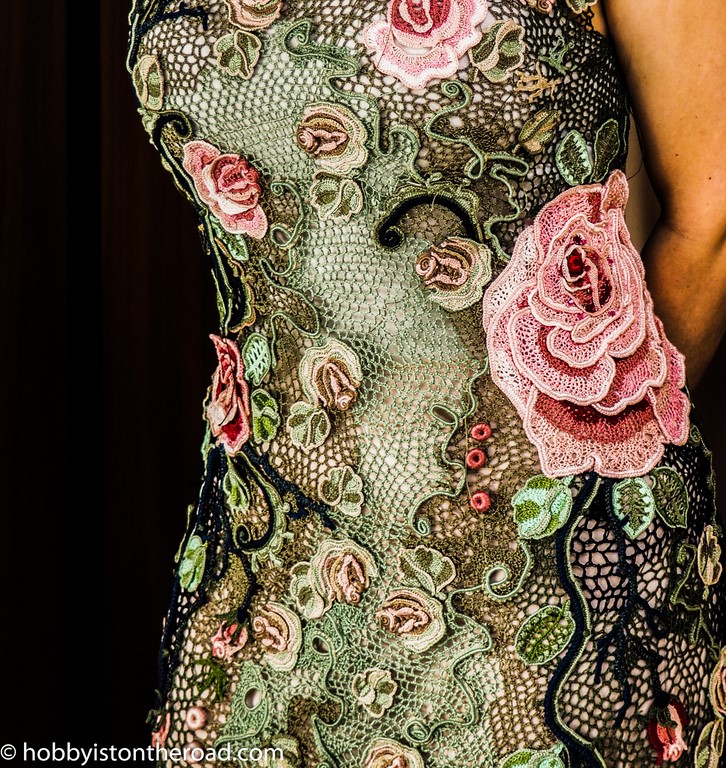
Also, when crocheting the lace flat on the table, I thought the dress was going to be a bit loose as I was quite generous with adding some extra lines of lace.

But it turns out the lace hugs the body and sits quite close to the skin.
I think this has mainly to do with the dress design I modeled the lace on, which is a classic fitted style. This basically means that putting on even a bit of weight would be a no no 🙂
So what else is there to be done?
1. Sleeves.
The moment the excitement of actually being able to wear the dress passes, I’ll crack on with the sleeves.
My plan is to crochet sleeves that would cover 3/4 of the arm, I find it a very elegant sleeve length.
I’m planning to use darker yarn for the sleeves the way I did for the sides of the dress, so as to achieve a slimming effect.
I absolutely adore that light green yarn colour I used for the middle of the dress and many background elements. The trouble is that if I used it for the sleeves, the arms would look larger, as light colours tend to give the illusion of a larger frame.
Although I’ll see how I go, I might add some light green lace towards the bottom of the sleeve.
Now as I am writing this, I’ve realized I’ll also have to make a decision whether to keep my sleeves detail-heavy or detail-light, where I’d have just a few details running down the sleeve and the rest would be lace.
Let’s see, I’m still not sure.
The original design I bought instructions for was sleeveless, so I have no guidance here, will just have to trust my instincts.
That’s the beauty of Irish Crochet, it’s a fluid process with no strict rules. This makes it easier to correct mistakes or readjust your design as you go along.
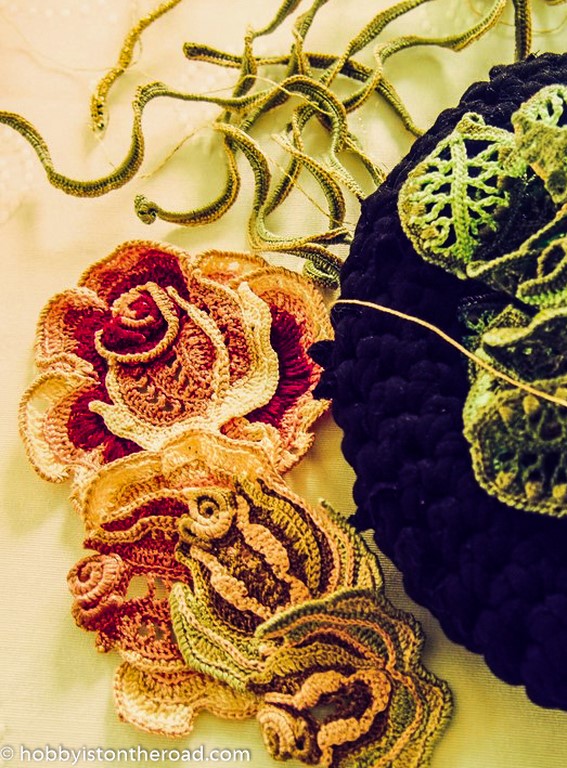
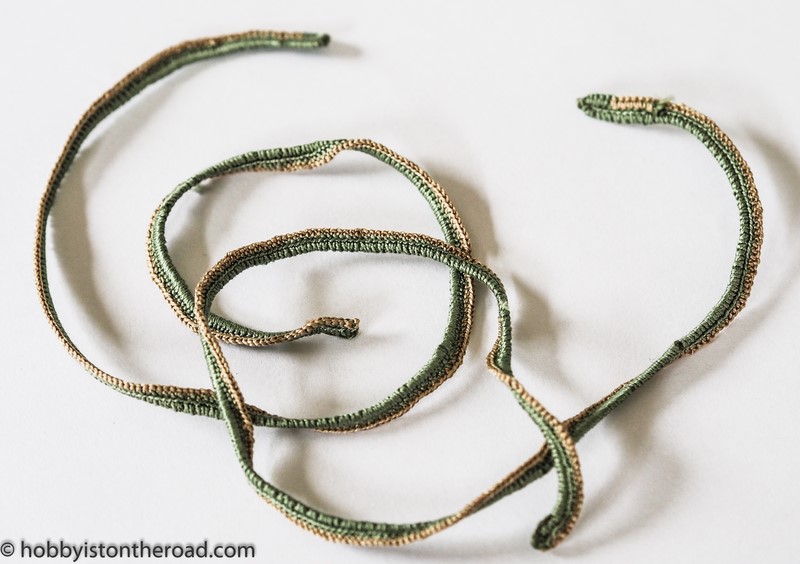
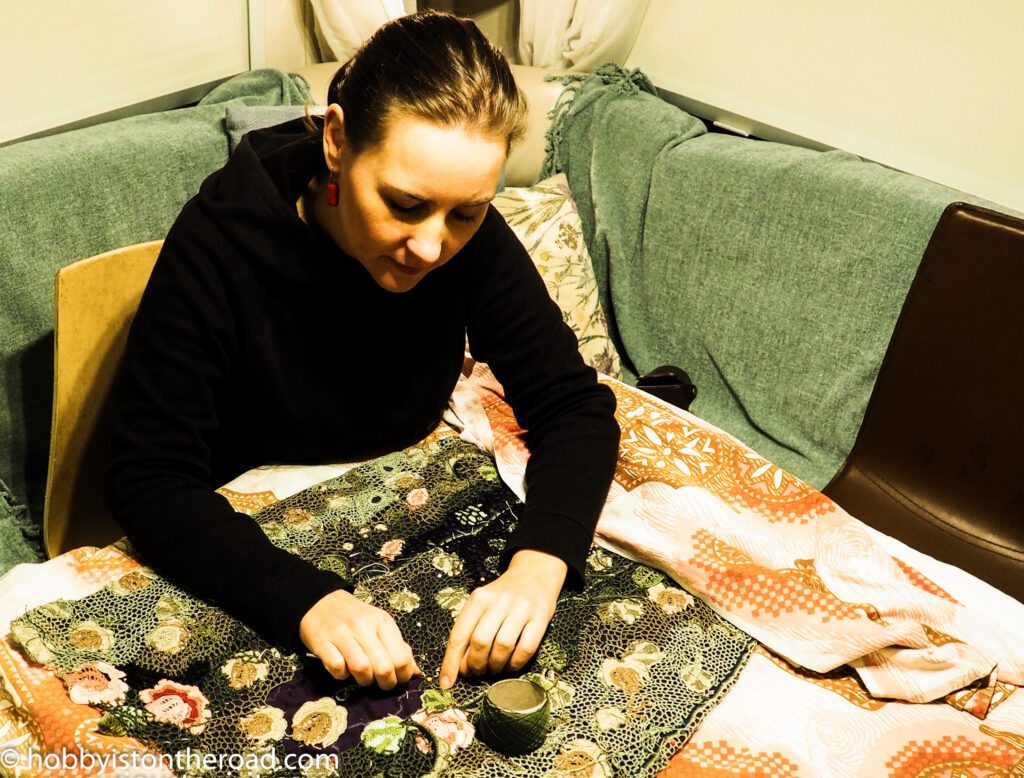
2. Sewing in the ends of the threads.
Once I’m happy with my sleeves and how the dress turns out, I’ll have to hide all those pesky ends of yarn – hundreds of them 🙁
I’m leaving them now because I want to know exactly where the end of a thread is if I need to redo a section. So they’ll be hanging around until I’m completely satisfied with the dress.
3. Sparkly beads.
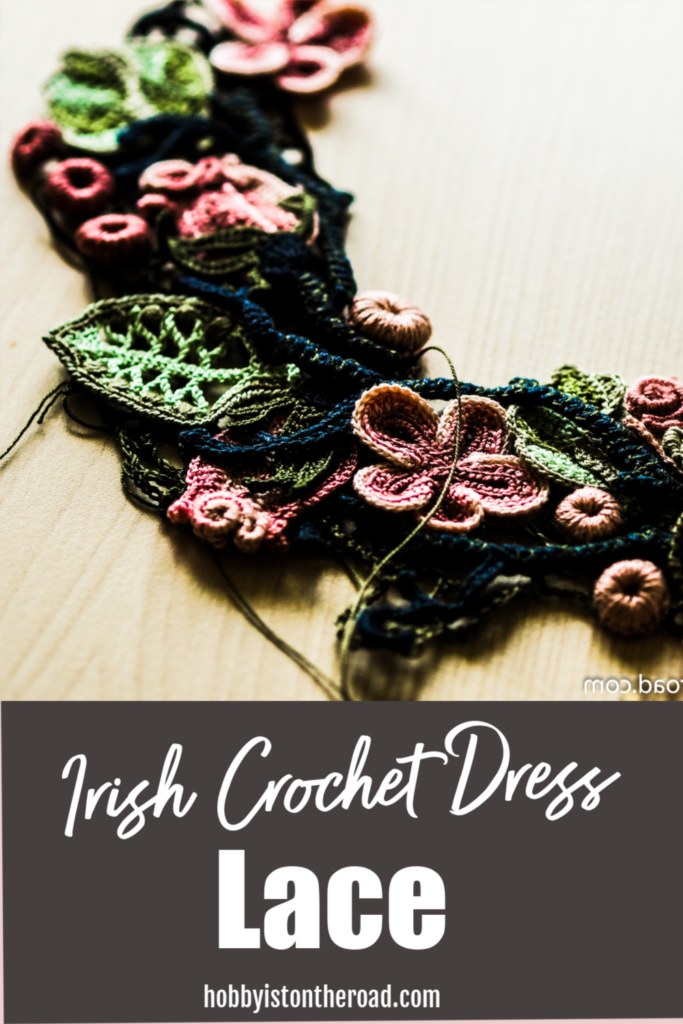
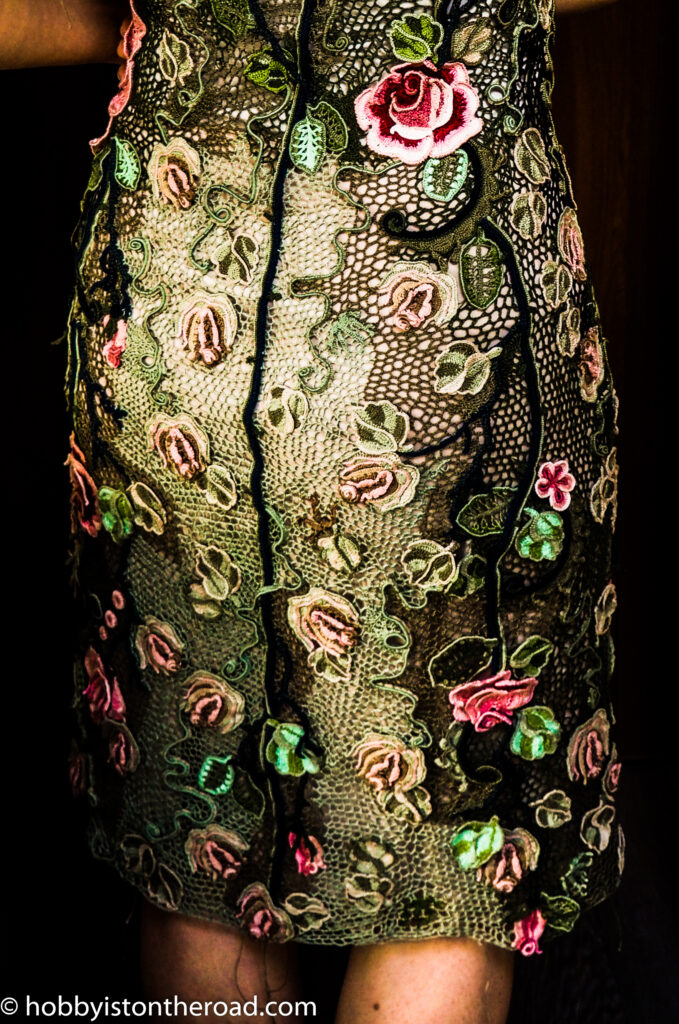
When everything is finished and the dress is ironed, I’ll also add some sparkly beads around the neckline. After all, it’s a dress for special occasions where a bit of sparkle is always welcome 🙂
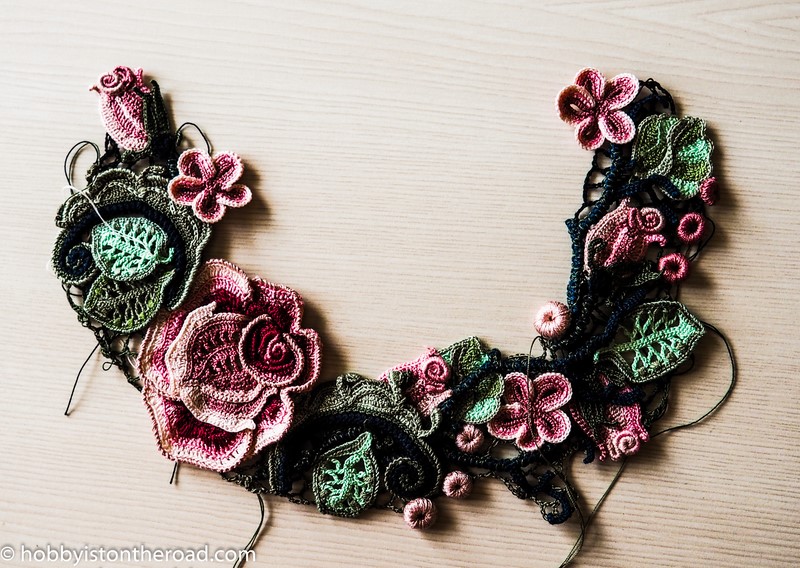
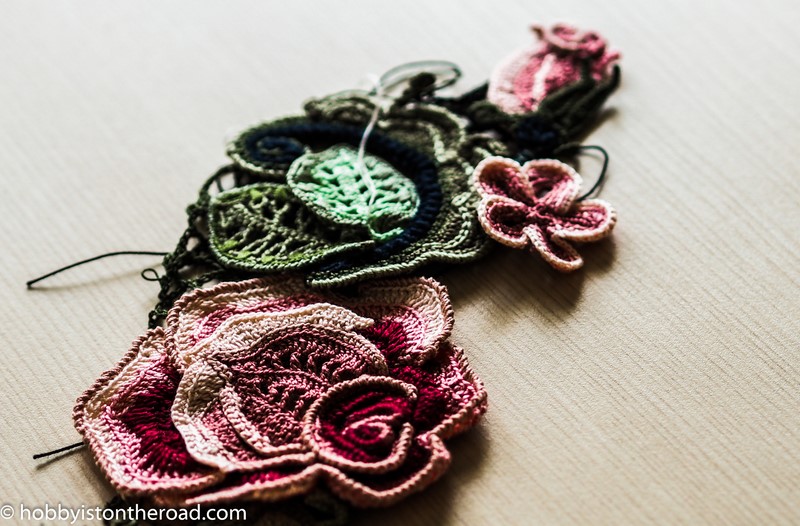
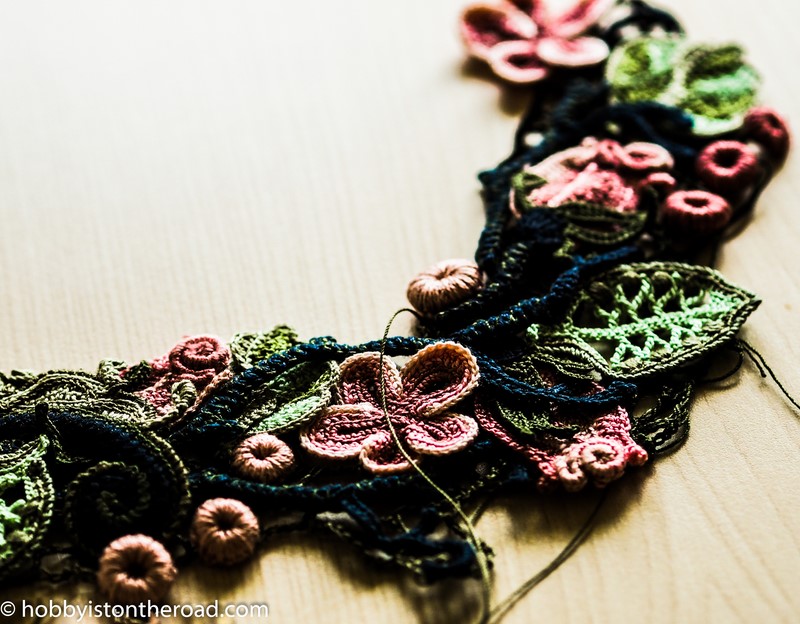
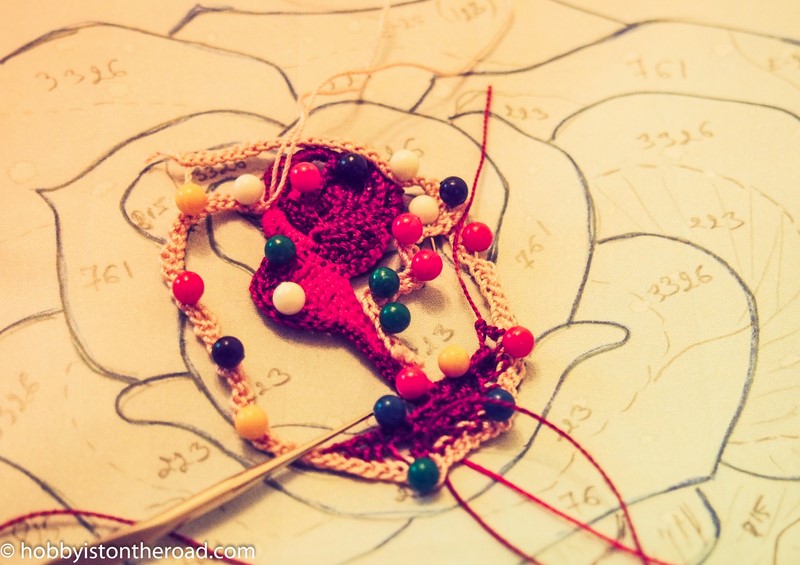
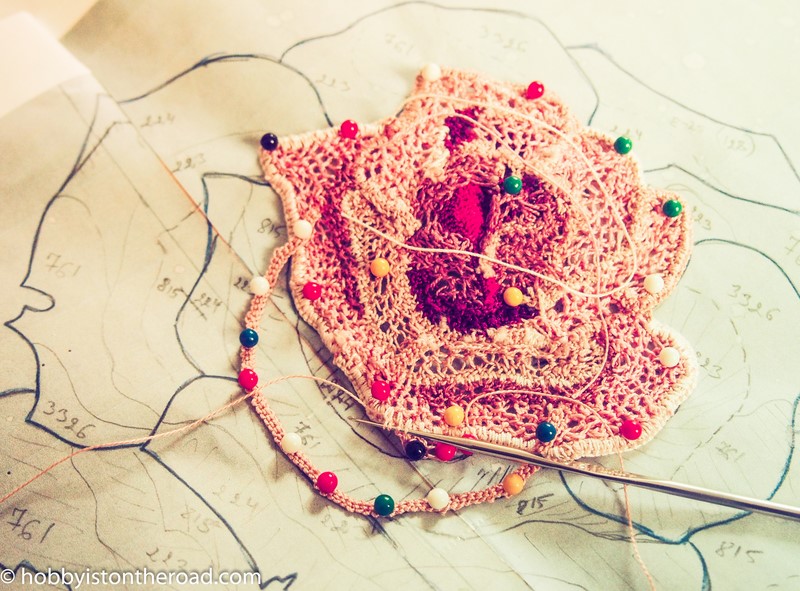
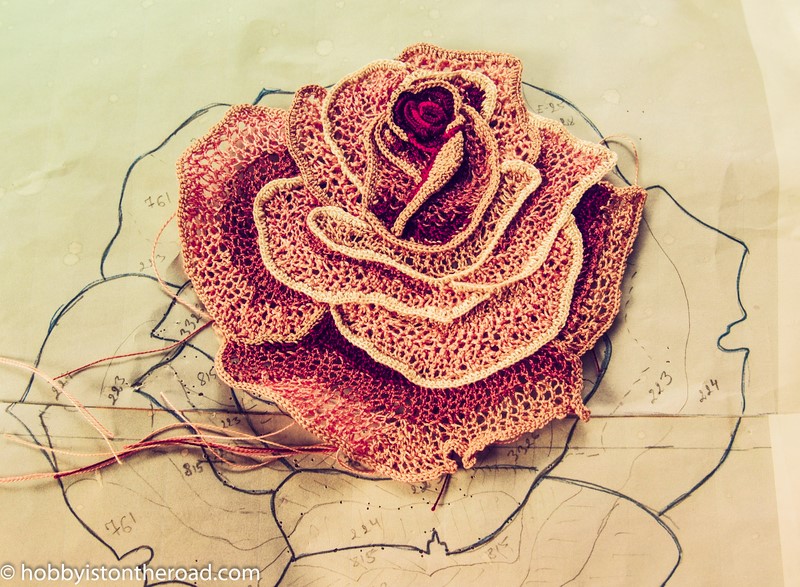
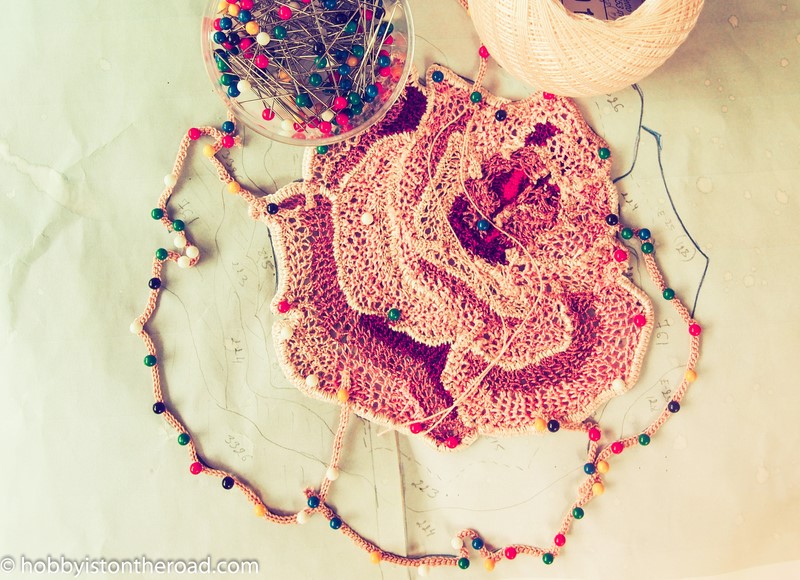
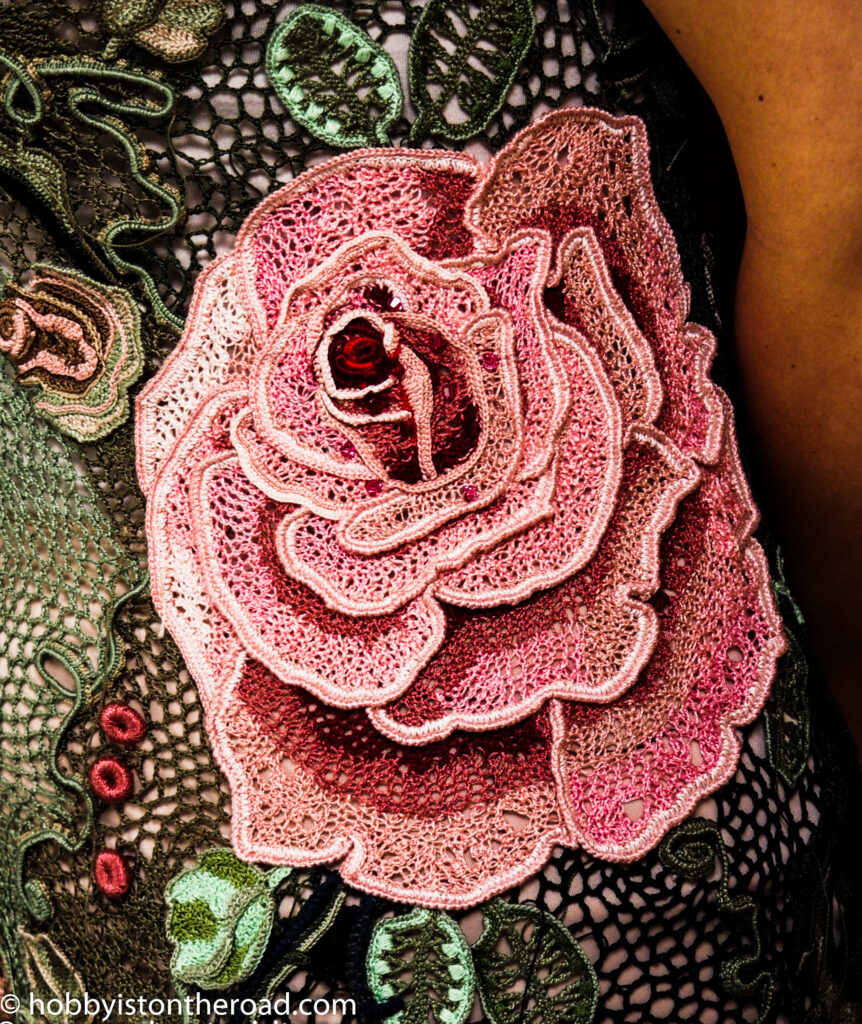
I’ve already added some beads to the main flower. I like that they are almost invisible in the daytime and will have that eye-teasing effect in the evening.
So that’s where I am and where I’m going 😀
Still some distance to go, but the end is in sight :-DDD
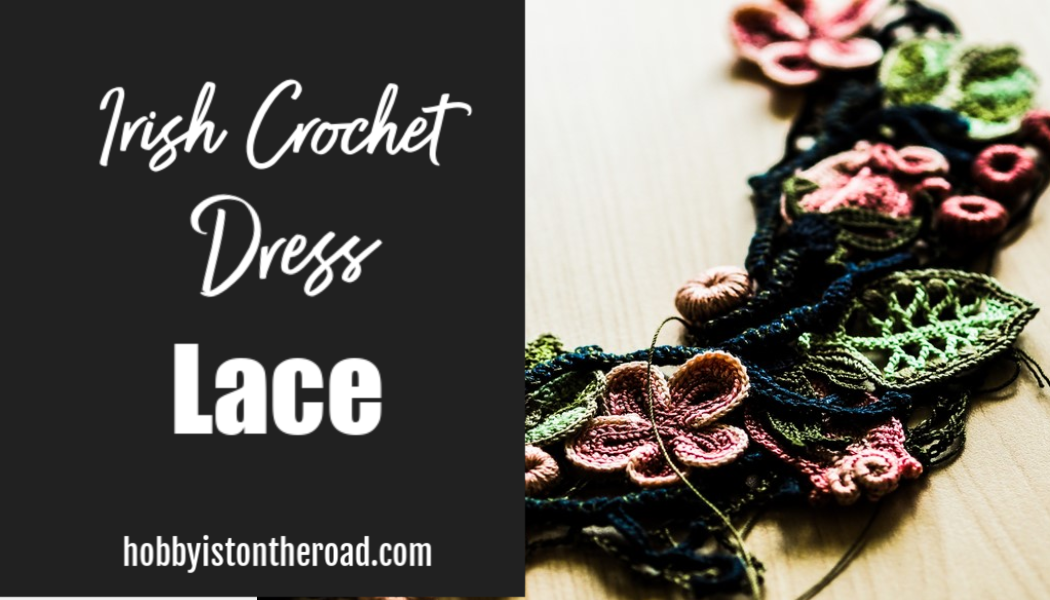
Create beauty one stitch at a time!
Previous posts in this series:
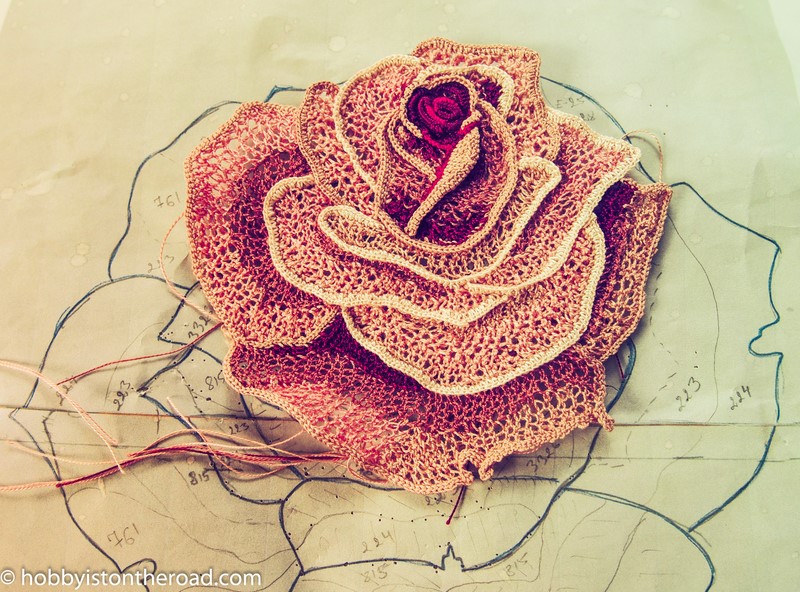
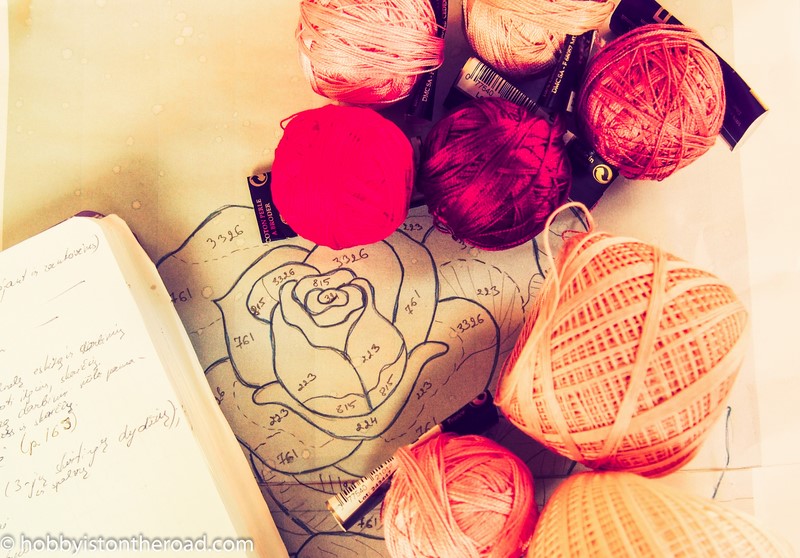
2. Irish Crochet Dress: Main Rose
3. Irish Crochet Rose Finished
4. Irish Crochet Dress: Elements Completed
5. Irish Crochet Dress: Design
7. Irish Crochet Dress: Picture Emerging
8. Irish Crochet Dress: A Quick Update
Liked this post?
Then pin it for later!