Posted on Leave a comment

Aline’s Neck Warmer Variations

Aline's Neck Warmer variations

Aline’s Neck Warmer pattern design came about for practical reasons.

You can get the pattern here on: ETSY | RAVELRY | THIS WEBSITE |

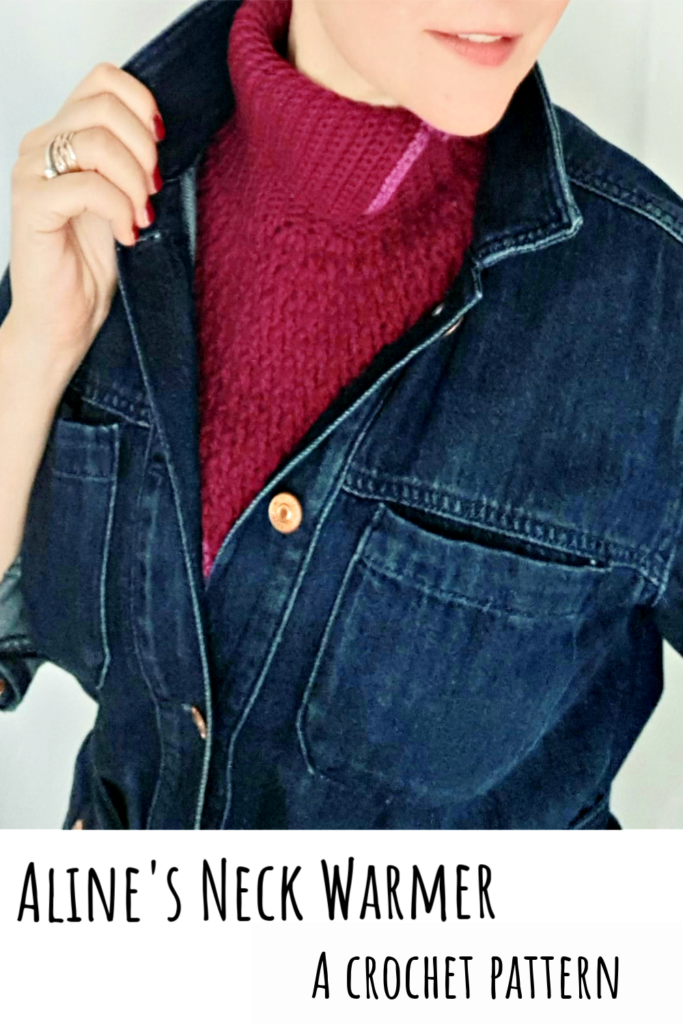
While I love a straightforward cowl like this one, and wear mine very often, I found that whenever I have a V-neck top on, my chest gets somewhat chilly.

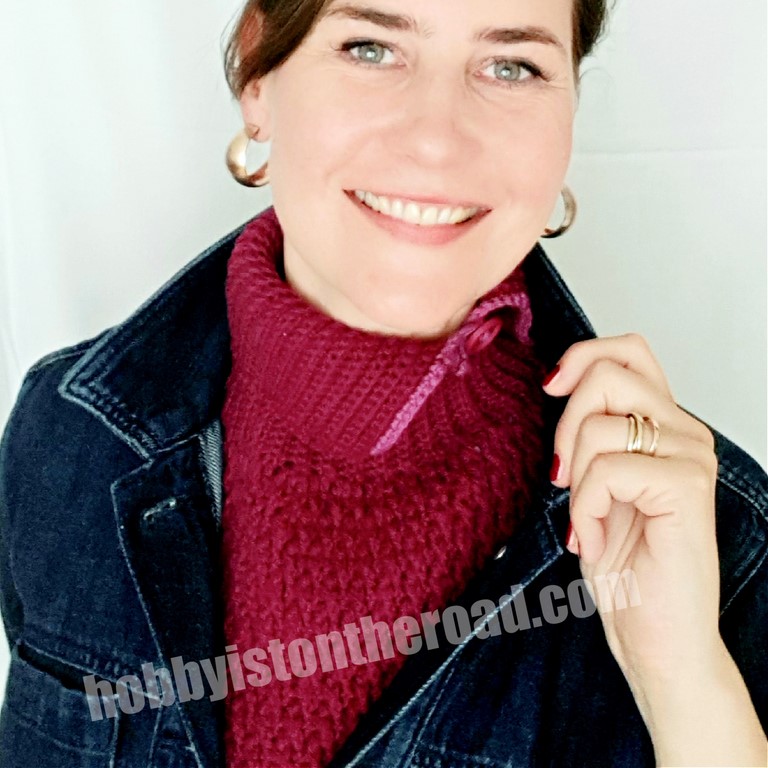
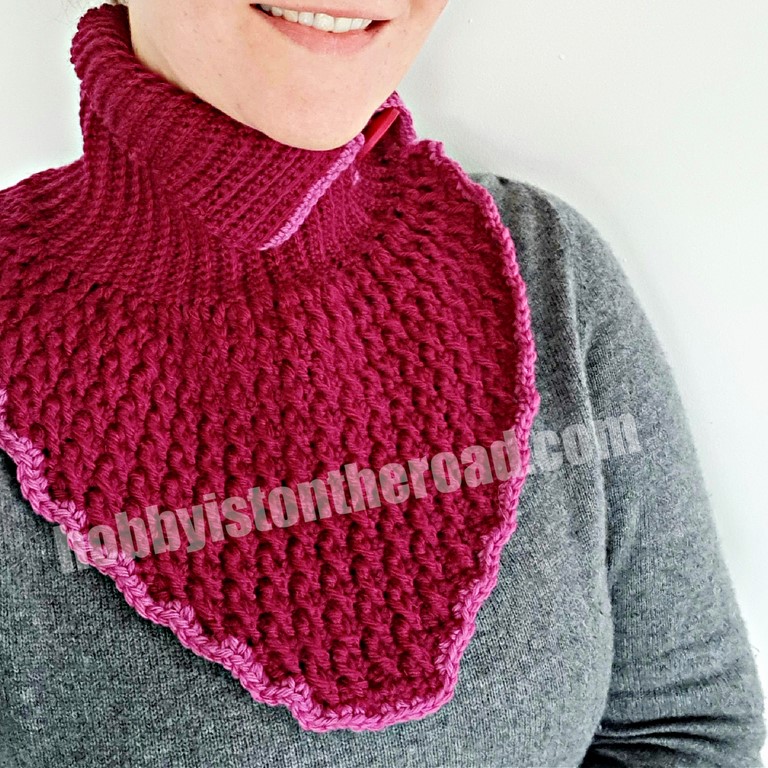
So to solve this problem, I simply created a dicky-like Aline’s neck warmer, with a triangular bib in the front, which will cover the chest without adding any bulk to an outfit.

Bib like Aline's Neckwarmer

I intended this dicky-like neckwarmer to be worn only under other garments. I am wearing it on top of my sweater in the above picture only for demonstration purposes.

This very soft and luxurious-looking Aline’s neck warmer can be worn instead of a scarf under a coat, a jacket or a blazer or as a pullover imitation paired with V-neck tops.

Aline's Neck Warmer Variations.

I like wearing mine under my jeans or leather jackets, because I normally keep the first few buttons open and need my chest to stay cosy.

Quick project

This is a very quick project worked with 5mm and 6mm hooks.

I chose superwash classic wool 3.52oz (100g)/ 219yds (200m) yarn.

I used soft, machine washable Ella Rae yarn, but any equivalent will do (check that the yardage is the same or similar).

You can easily adjust the pattern even if you do not have the right weight yarn. If you decide to go for a chunkier yarn, you will simply reduce number of stitches.

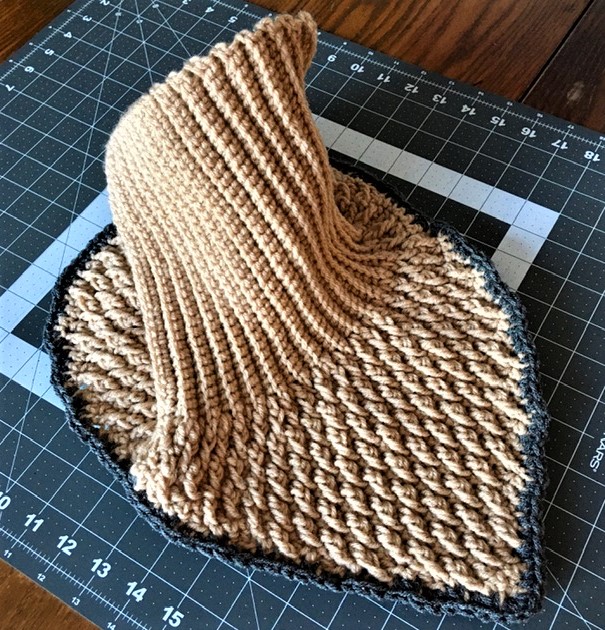
One of my pattern testers did exactly that, see image below. I love how a thicker yarn shows off that Alpine stitch!

Gayla’s chunky neckwarmer.

With a finer yarn you will have to increase the number of stitches to achieve the size you want.

I included size increase/decrease explanations in the downloadable pattern, tehy are very easy to follow.

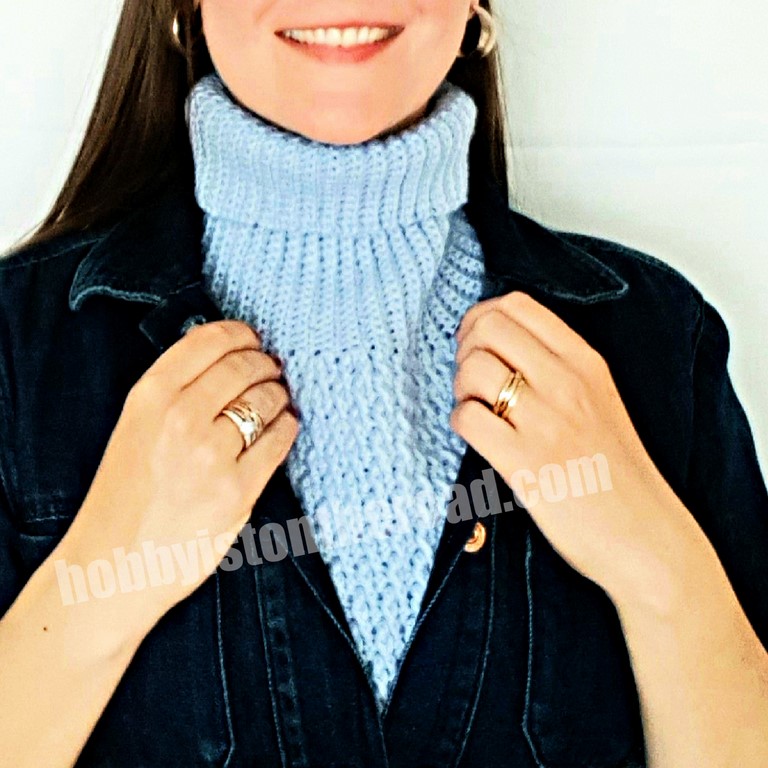
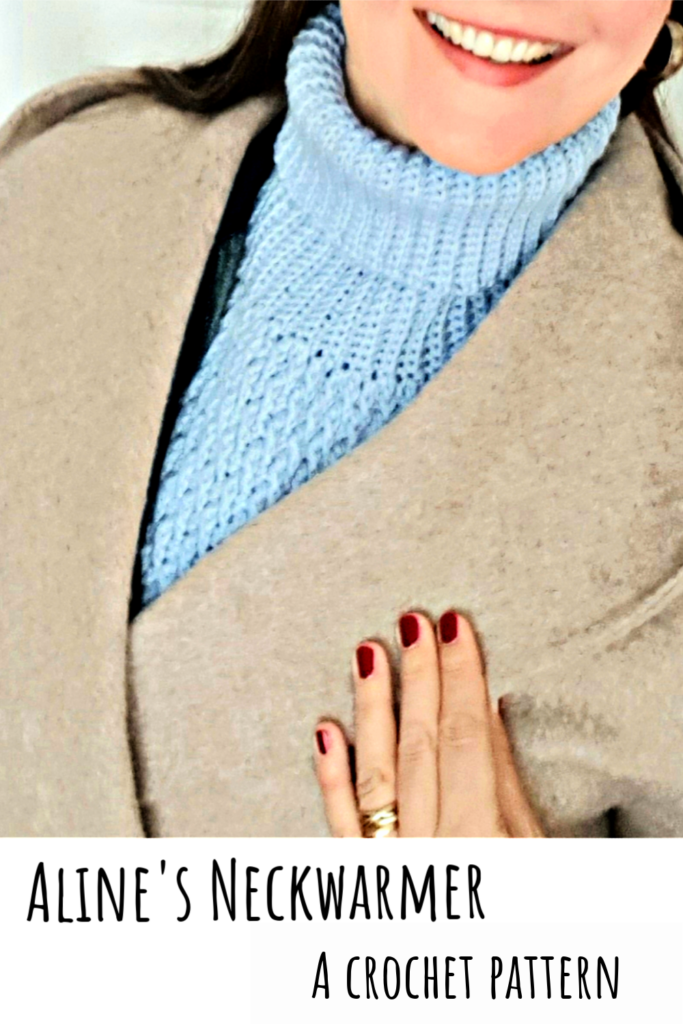
I originally created Aline’s Neck Warmer with a slit in the turtle neck and a button fastening. But it seems a lot of people prefer a full turtle neck without a slit. A family member asked me for a cowl like this, but with a full turtle neck. I really love how it turned out in this light blue colour (see picture below).

You can see that it is a bit loose on me as it is a larger size than the cherry one above.

Aline's Neck Warmer

Get instantly downloadable Aline’s Neck Warmer Pattern HERE:

Get it on Ravelry

Get it on this Website

Create beauty one stitch at a time!

Like this post? Pin it for later!

Posted on 1 Comment

Crochet Monstera Leaves

Crochet Monstera Leaves

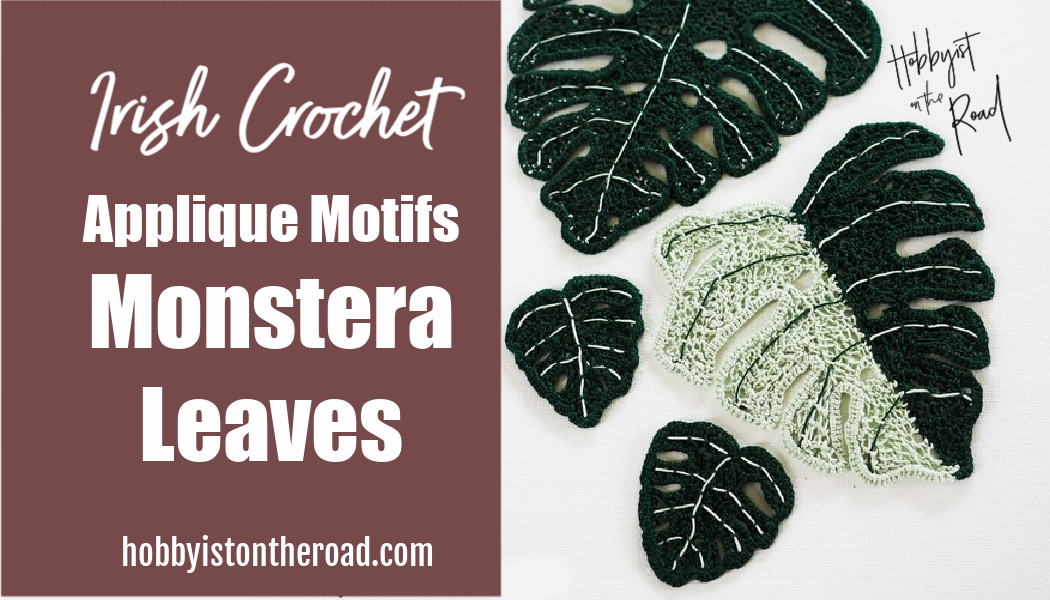
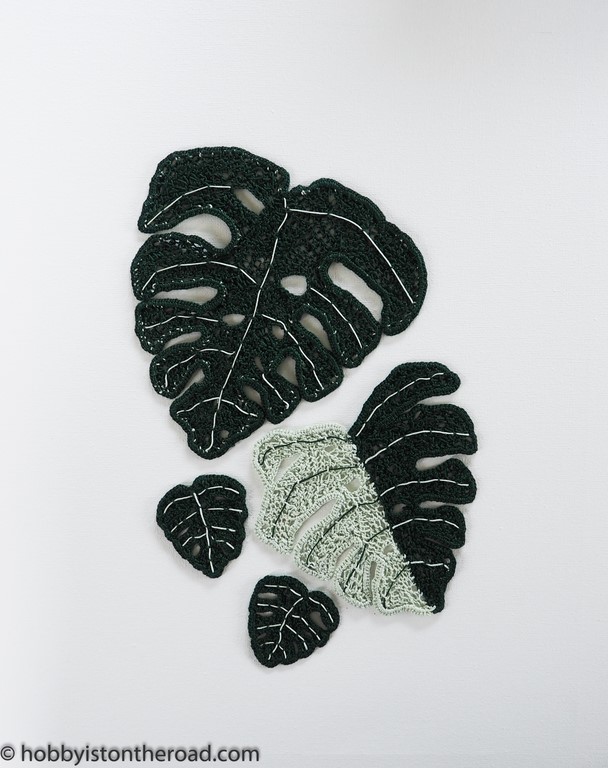
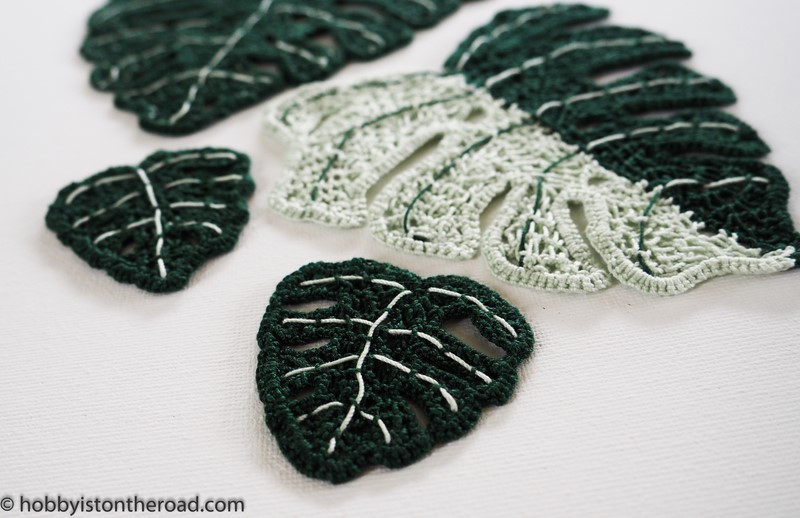
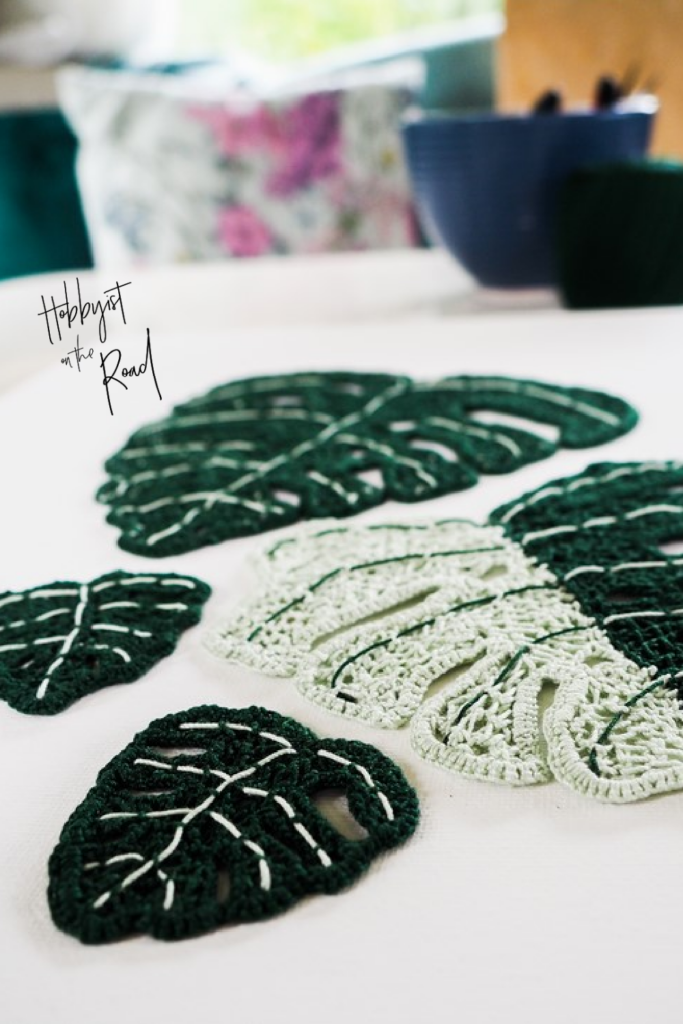
Three Crochet Monstera Leaves – the newest addition to my collection of Irish Crochet patterns (available HERE).

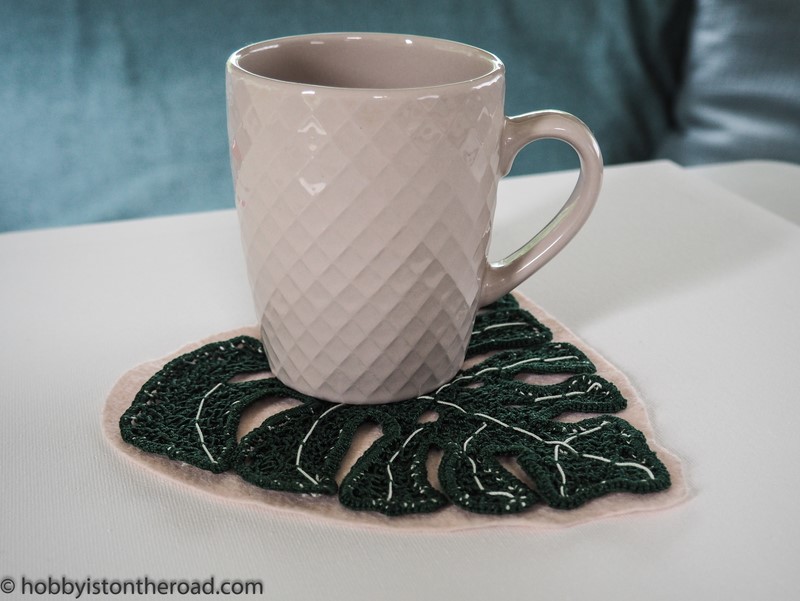
Originally, I planned to crochet a set of Monstera Leaf coasters, like this one:

Crochet monstera leaves coaster

But, somehow, this project just grew the legs of its own and took off in a completely different direction than I originally planned!

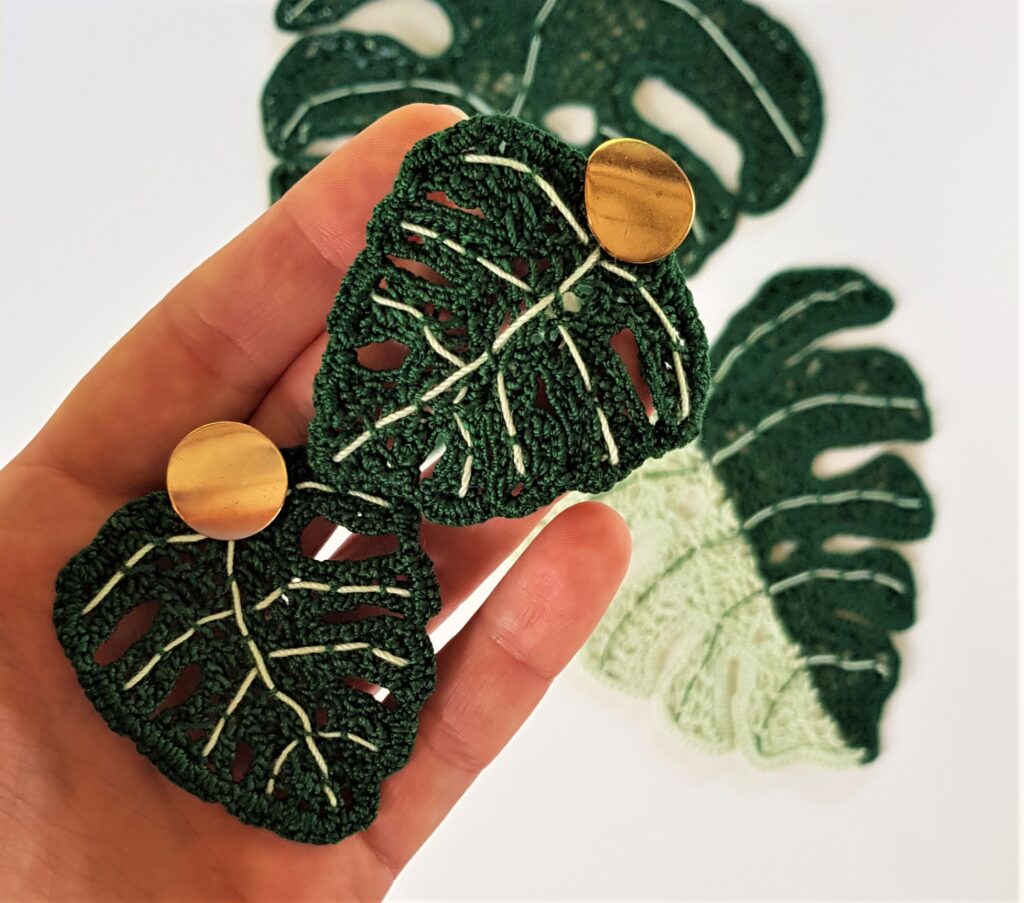
So I ended up with a pair of earrings for a day

Crochet Monstera leaves earrings

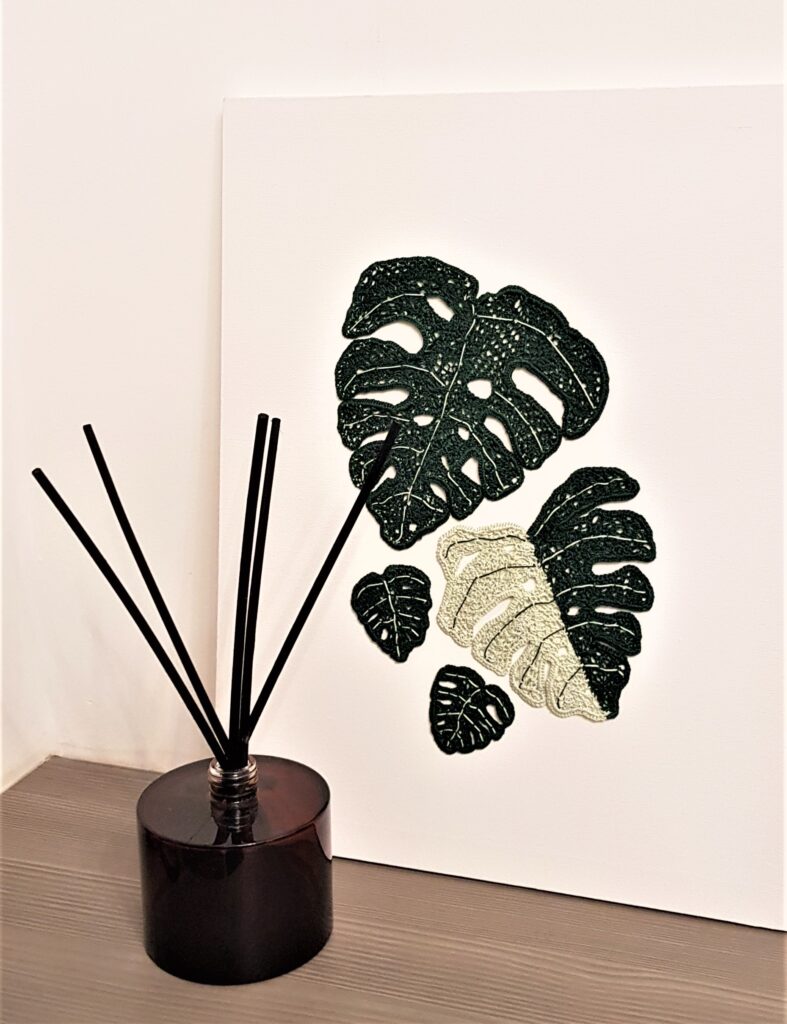
… a crochet Monstera leaves canvas…

Crochet Monstera Leaves canvas

…and no coasters at all…

I am glad to report though that the crochet Monstera Leaves picture has survived the creative process and is actually on my wall now.

Himself also likes it, and even uploaded the image as his smartphone screen background – I feel really flattered πŸ™‚

I crocheted these Monstera Leaves using irregular Tunisian lace, a process I described before when creating a Rose for my Irish Crochet Dress.

Materials and Tools used for Monstera Leaves project:

  1. The yarn is 100% mercerized cotton 100g/460m approx. 

2. 1mm hook for two larger leaves and 0.75mm hook for the smallest leaf.

You could potentially go up to 1.5mm hook, but anything larger than that, will make the process very difficult as you will be crocheting on a flat surface.

3. Soft worktop or a flat cushion.

4. Pins, scissors, needle.

5. Printer to print out Monstera Leaves drawings.

The way the process works is:

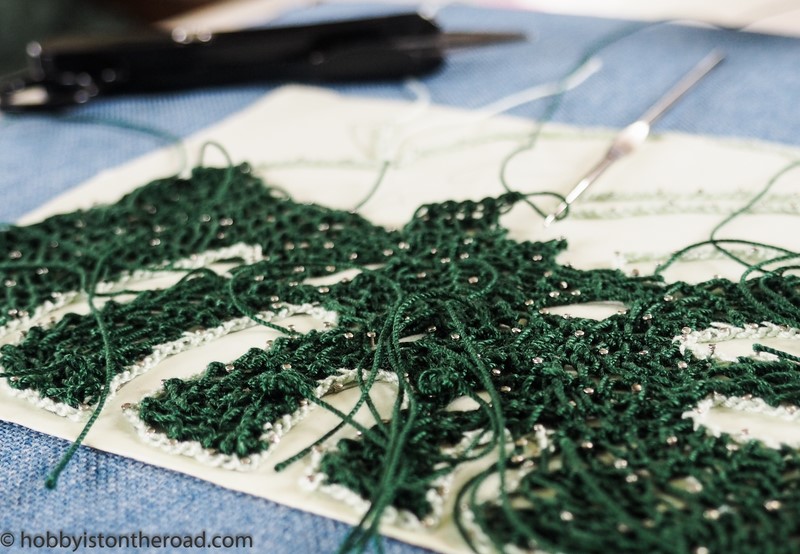
You attach your drawing of a Monstera Leaf to a flat soft worktop (or a cushion).

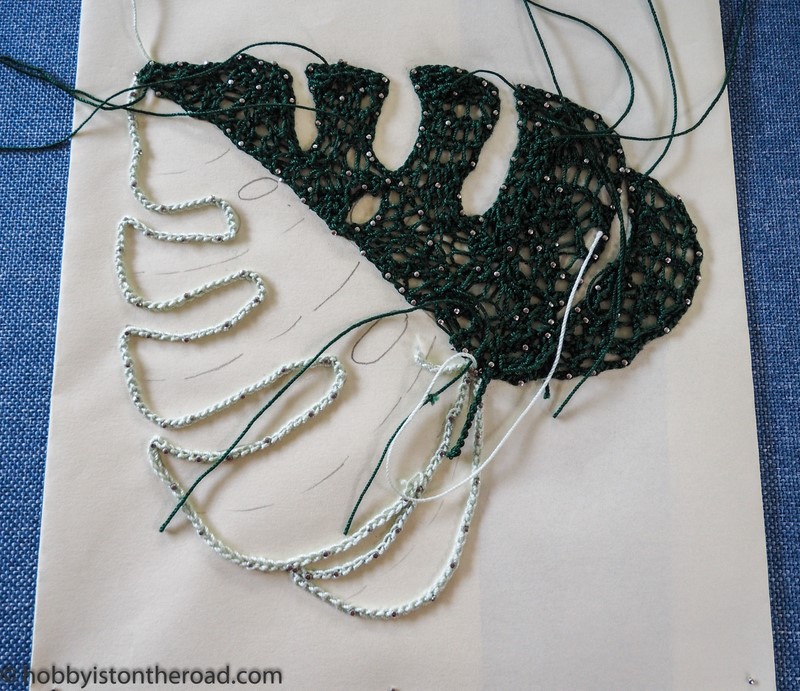
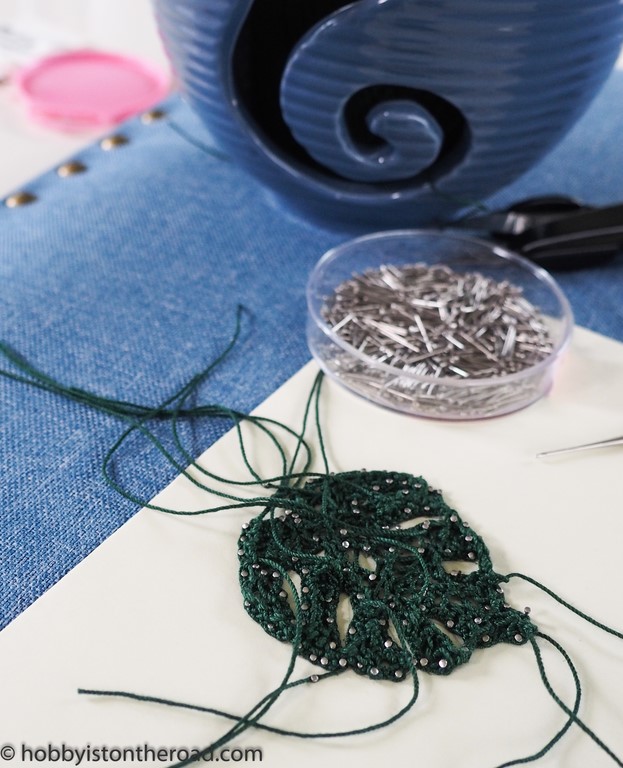
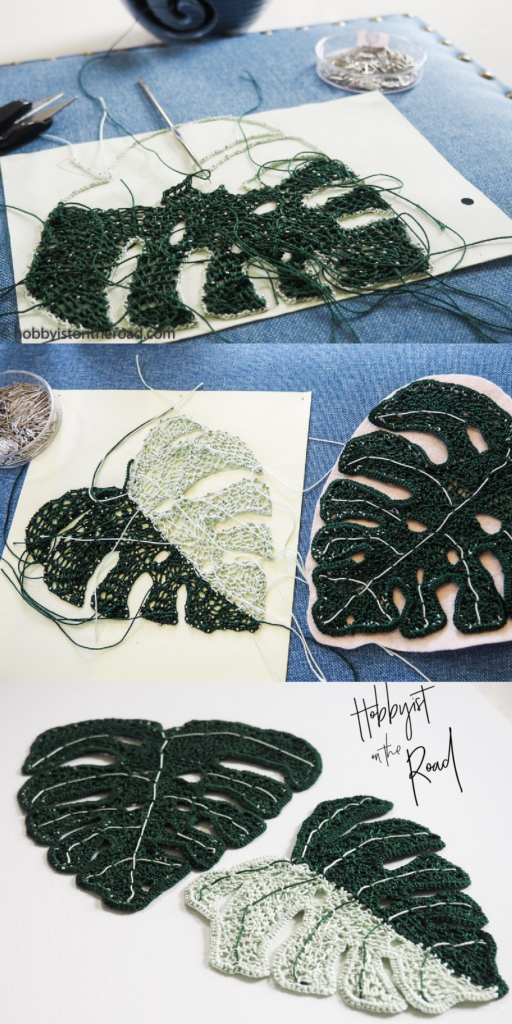
You crochet irregular Tunisian lace looking at the wrong side of your crochet Monstera leaves. This is the same procedure as in any Irish crochet project when you are working on the lace. Keep attaching your lace to the surface as you go along.

Monstera Leaf Process

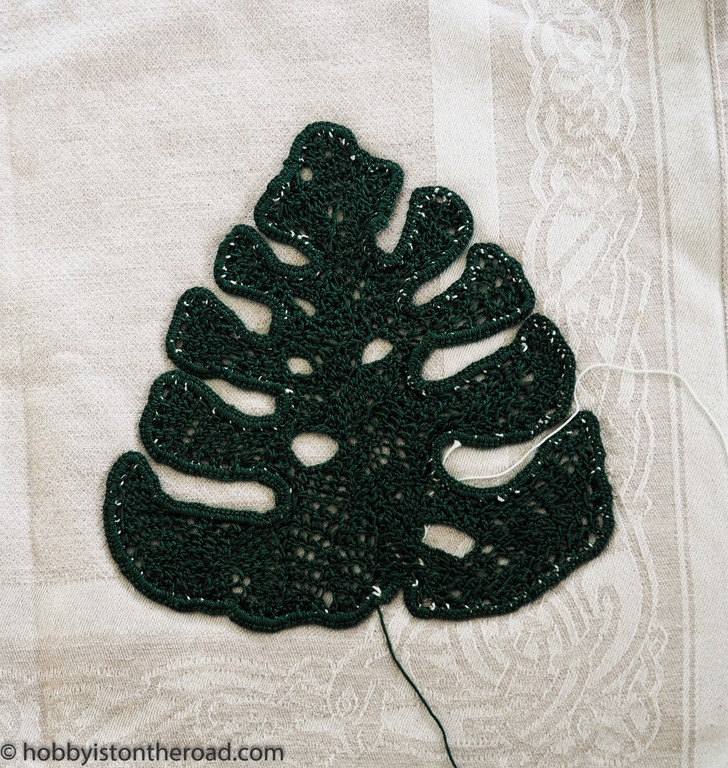
After you have filled the space with the lace, remove your crochet Monstera leaves, turn them around and see the real picture. Finish off the edges, sew in the thread ends. And now repeat the process with two smaller leaves.

Medium Monstera Leaf process

crochet monstera leaves - small

Remember to block your Monstera leaves with a steam iron, otherwise your leaves will not be completely flat.

Embroider leaf veins with a contrasting thread using simple running stitch.

Voila!

You’ve got three beautiful crochet Monstera Leaves!

You can make the larger leaves into coasters, use the smaller ones for accessories, such as earrings, or do what I did – create a crochet canvas!

A crochet canvas picture was the first for me. I only bought the canvas in order to have a white background for taking pictures…

But a week later it ended up on the wall!

You never really know which direction your crochet project will take you!

For Step-by-step instructions downloadable PDF pattern:

Get it on Ravelry

Get it on Etsy

Get it on this Website

Remember to drop me a line asking for a 30%OFF coupon for this pattern at: hobbyistontheroad@gmail.com

Create beauty one stitch at a time!

Liked this post?

Pin it for later!
Crochet Monstera leaves pinterest
Crochet Monstera Leaves process 
 - pinterest