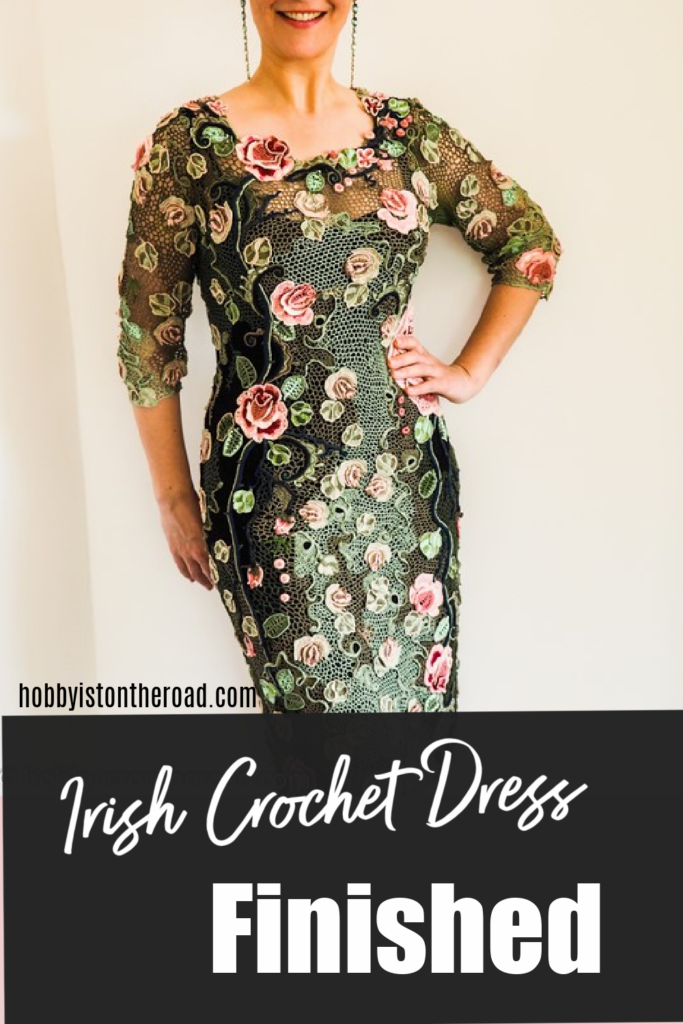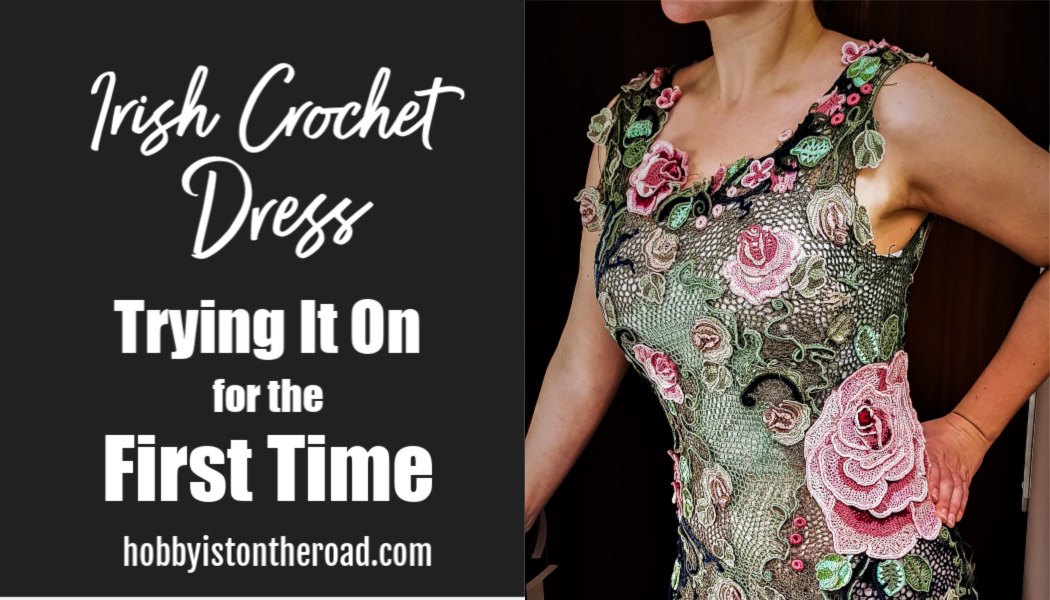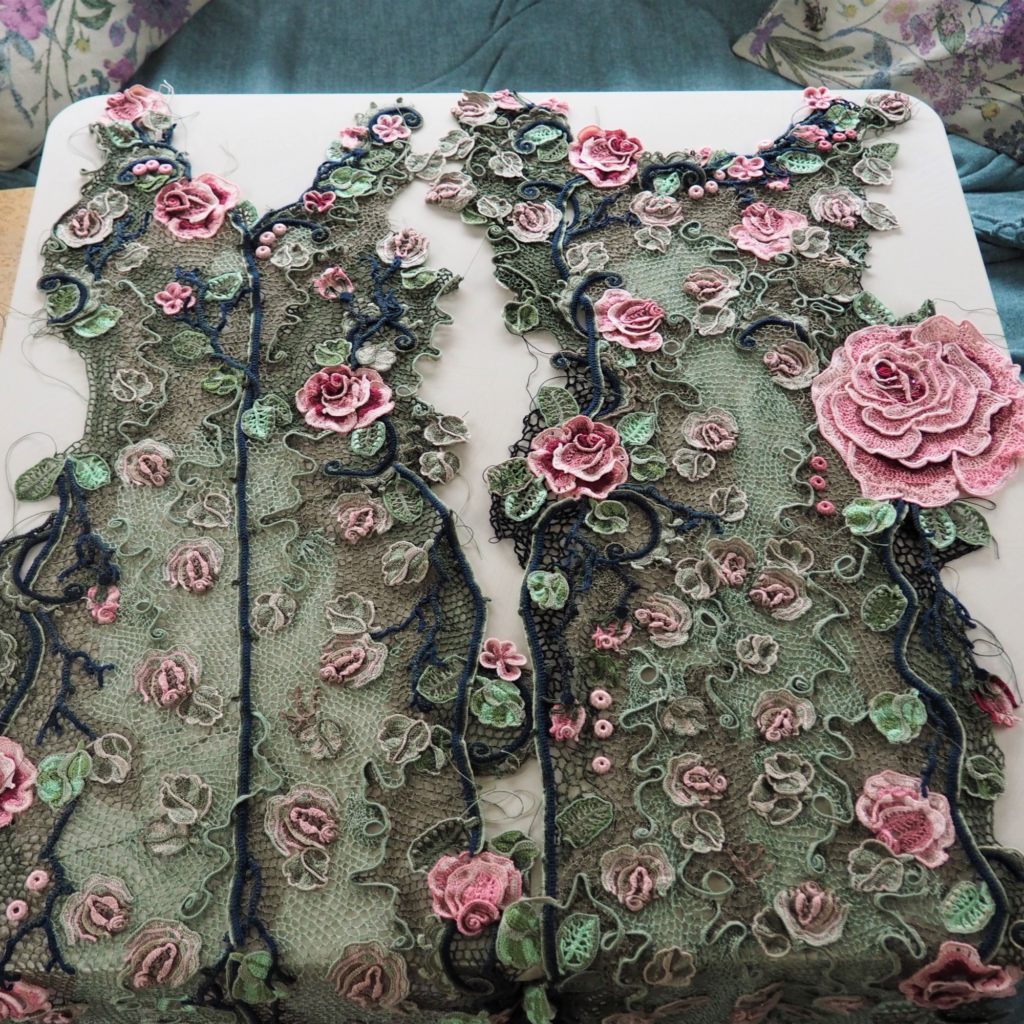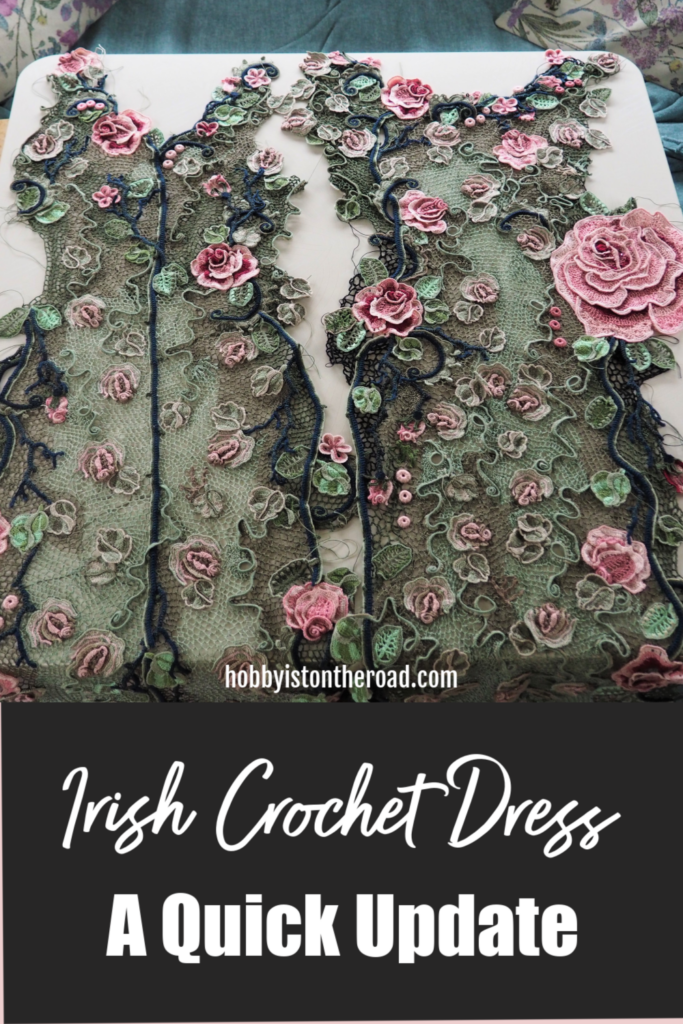
Two and a half years since the start of the project, my Irish Crochet Dress is finally properly finished – done and dusted, completed, finito! 😀
And on a quiet Sunday afternoon, I was able to have a photoshoot I’d been looking forward to for quite a while now 🙂
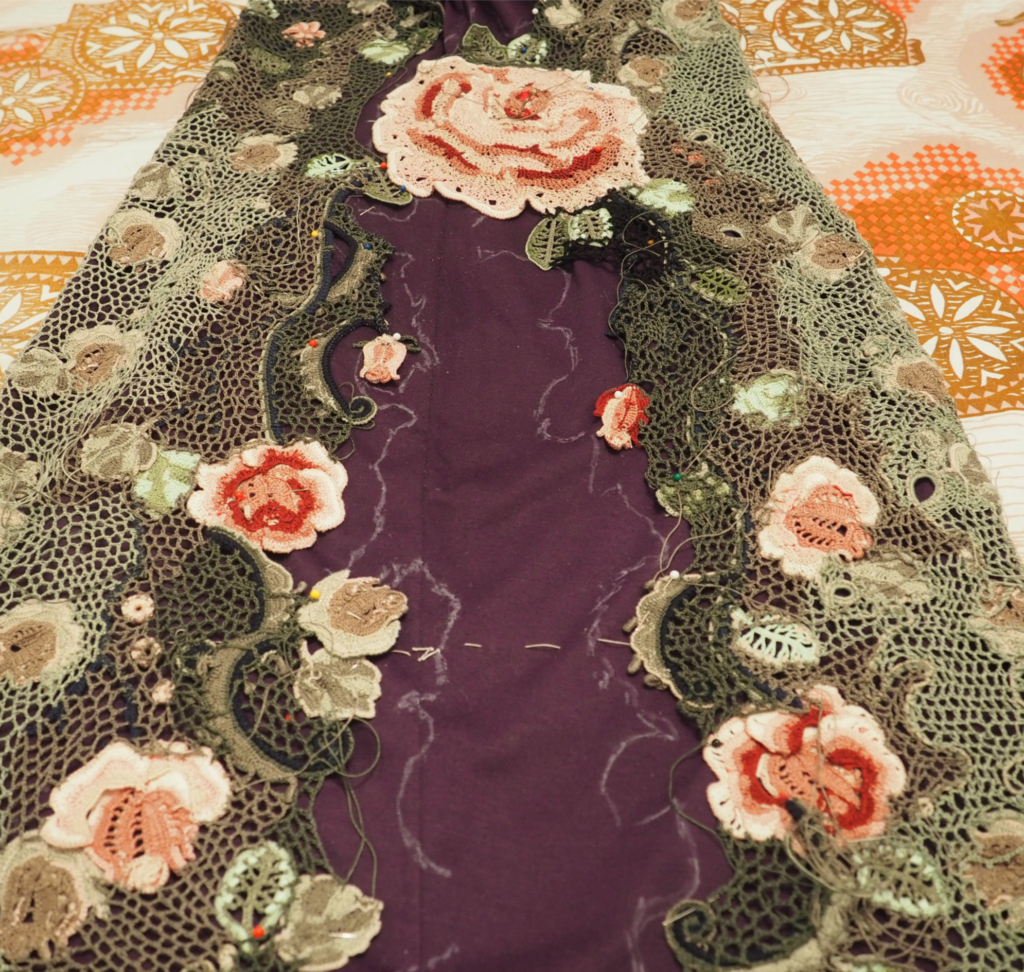
One final consideration before wearing the dress was the colour of the undergarment.
Since this is a see-through dress, the colour of the undergarment has an important impact on the finished look.
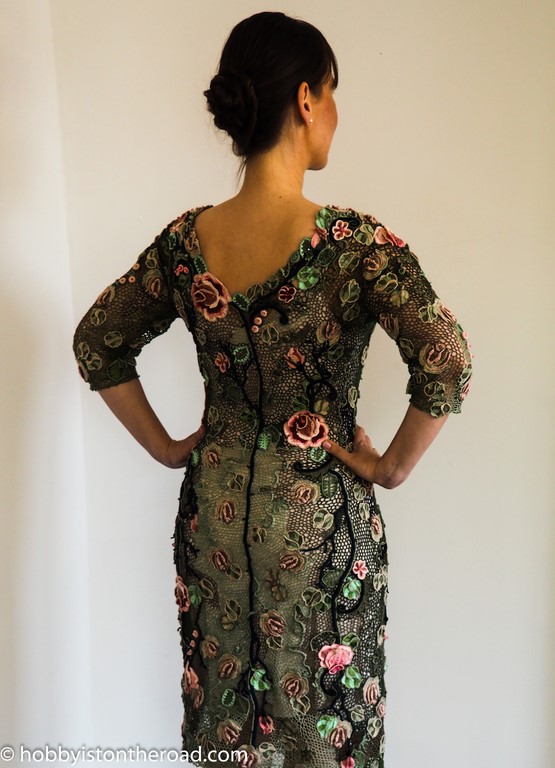
As you are looking through the pictures below, notice how the look of the dress changes depending on the undergarment colour.
In some pictures, I am wearing a black undergarment, whereas in others, a light coloured one.
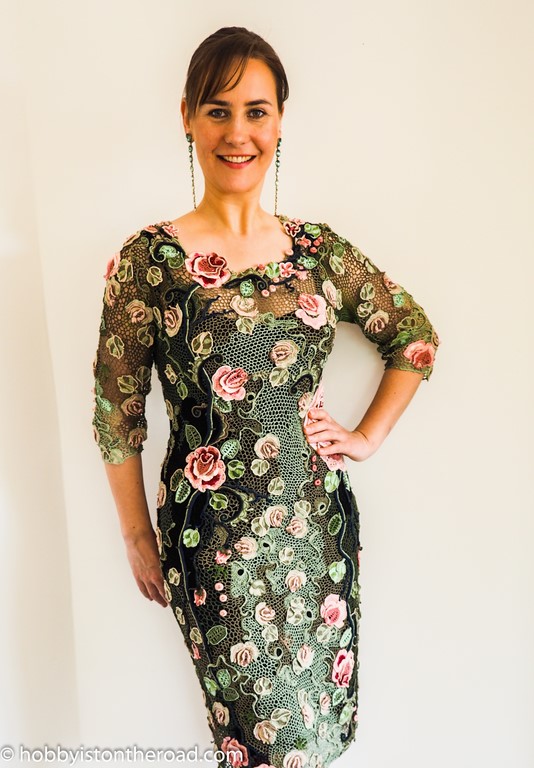
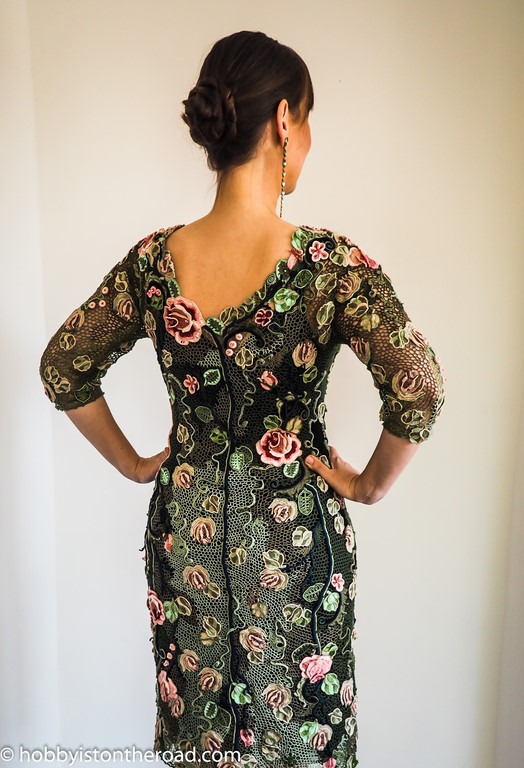
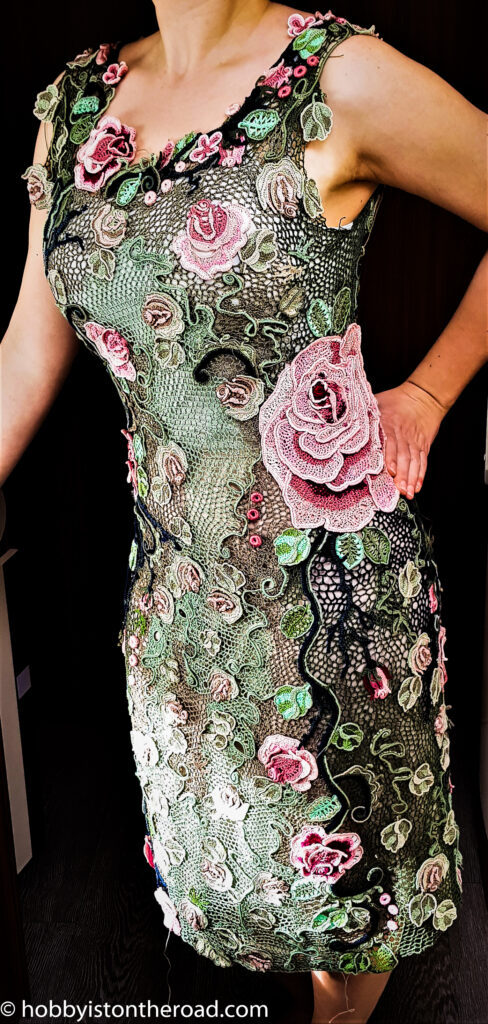
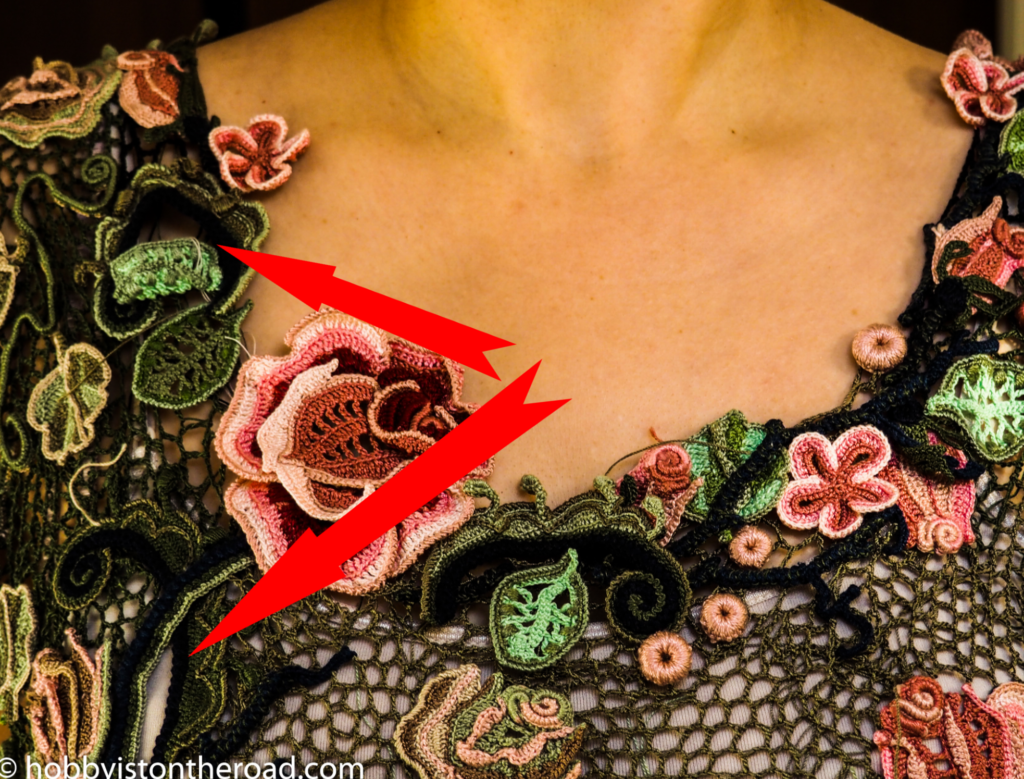
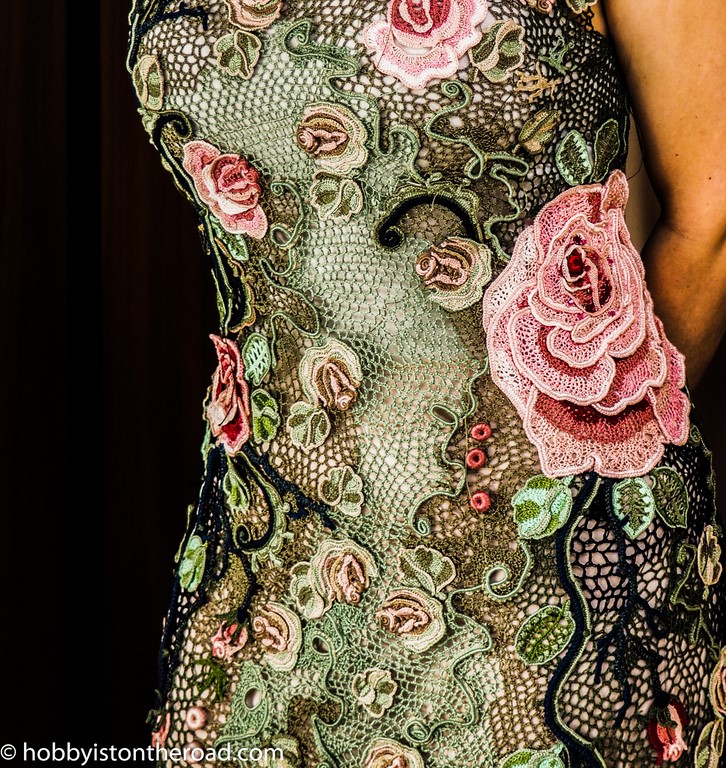
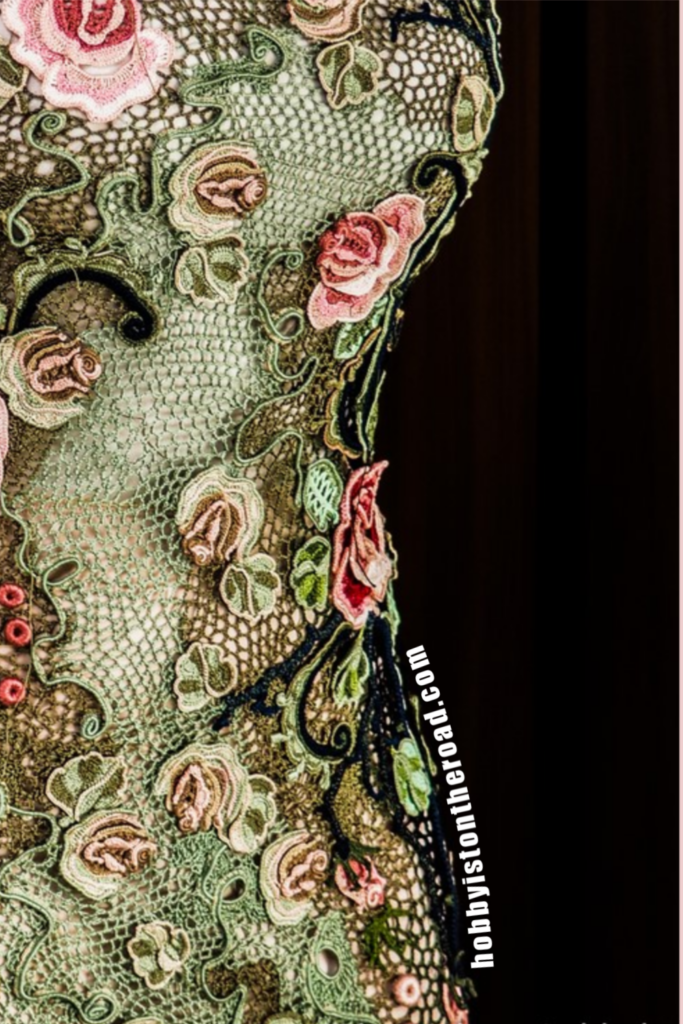
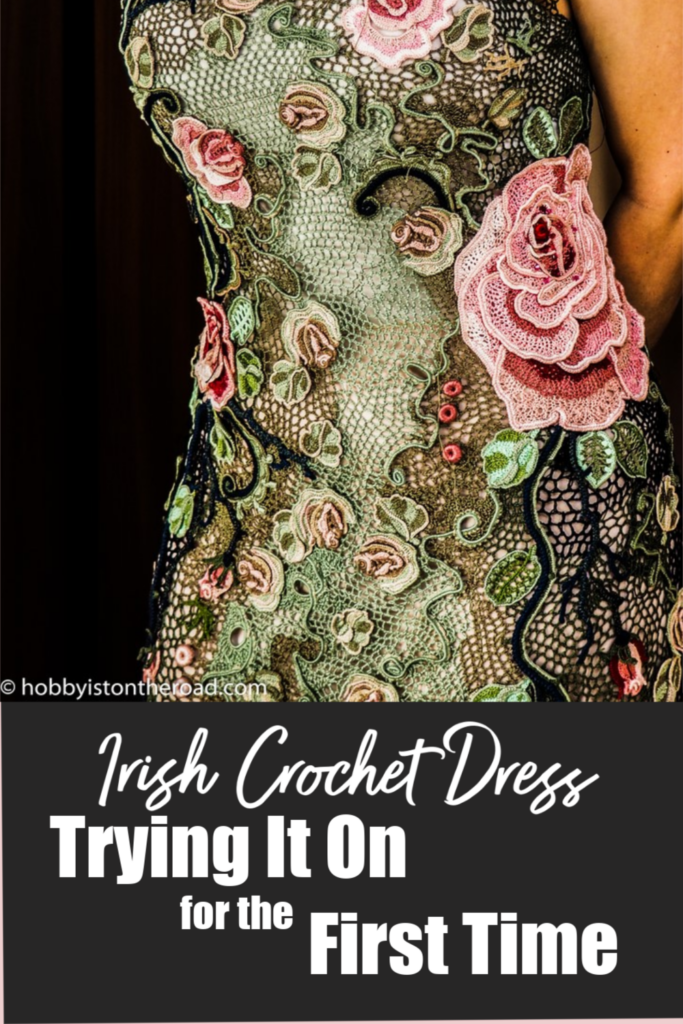
In the two pictures above the dress is worn with a black undergarment.
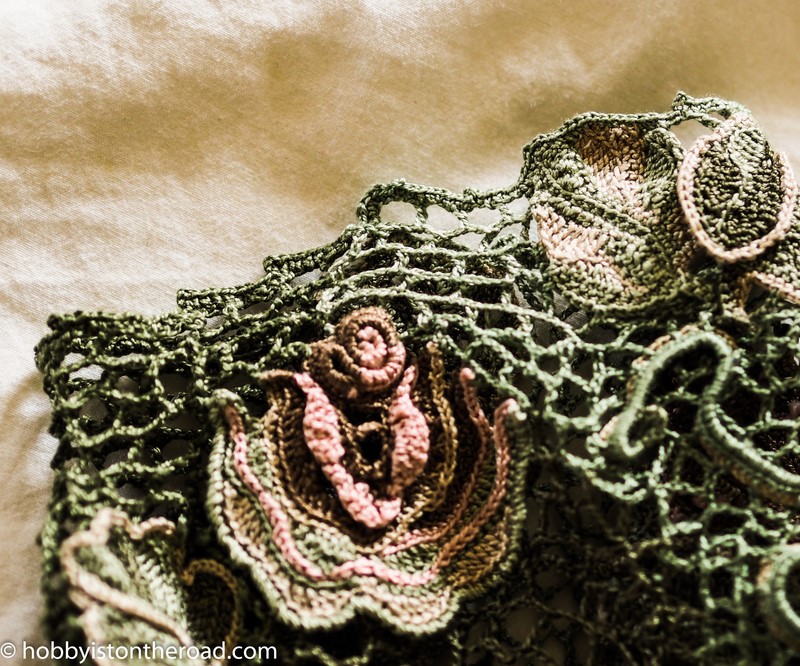
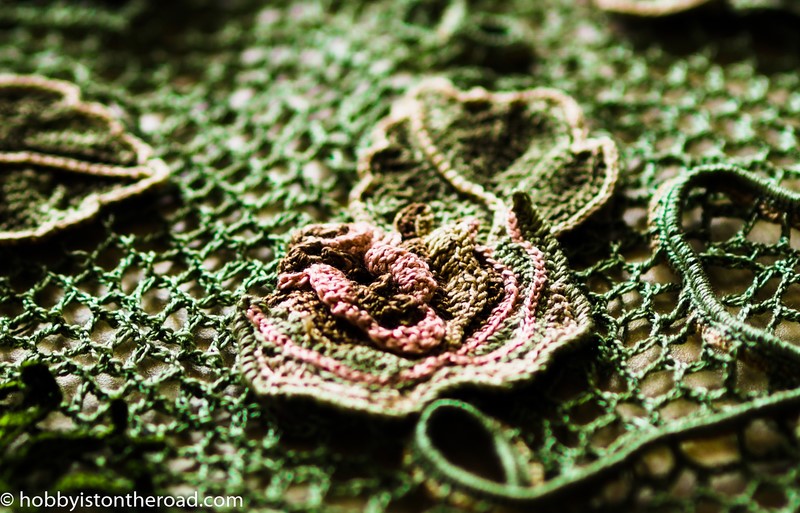
Two pictures below have light undergarment is the base for the dress.

As you can see from the pictures above, this question of what to wear under the Irish crochet dress is an important one.
For example in this case, the black undergarment lends the dress a more dramatic look, whereas the lighter one seems to tone down the details.
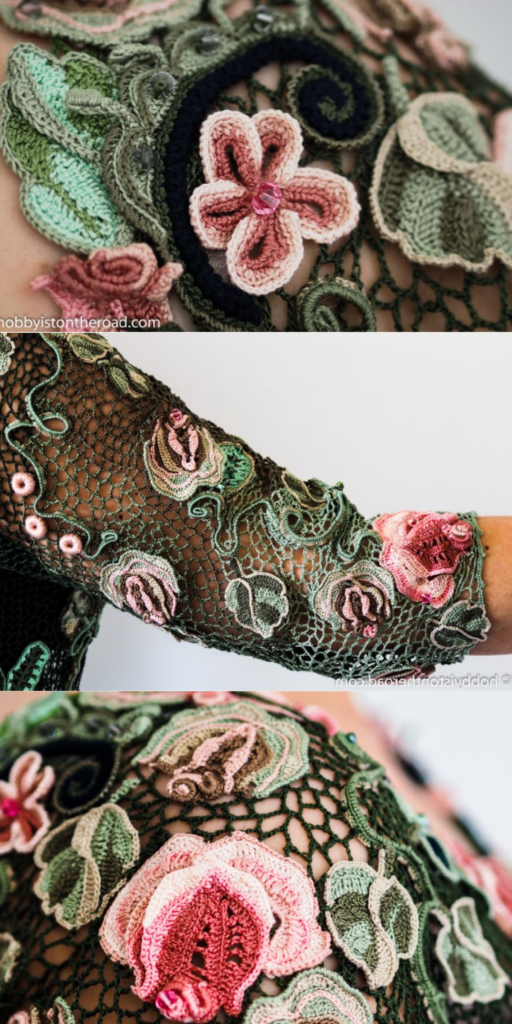
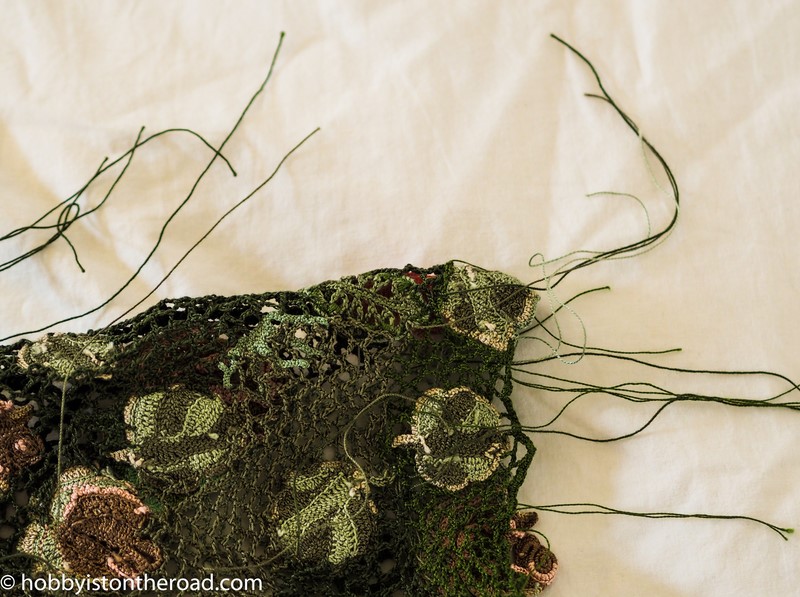
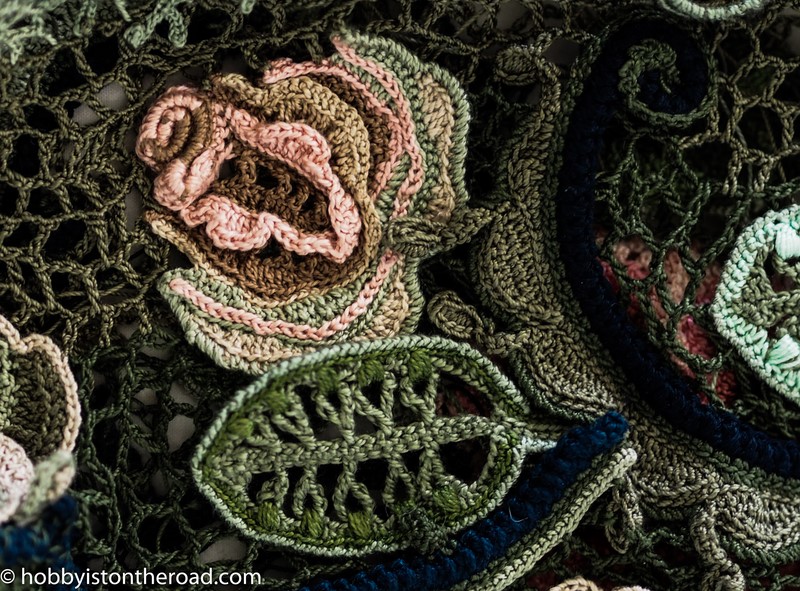
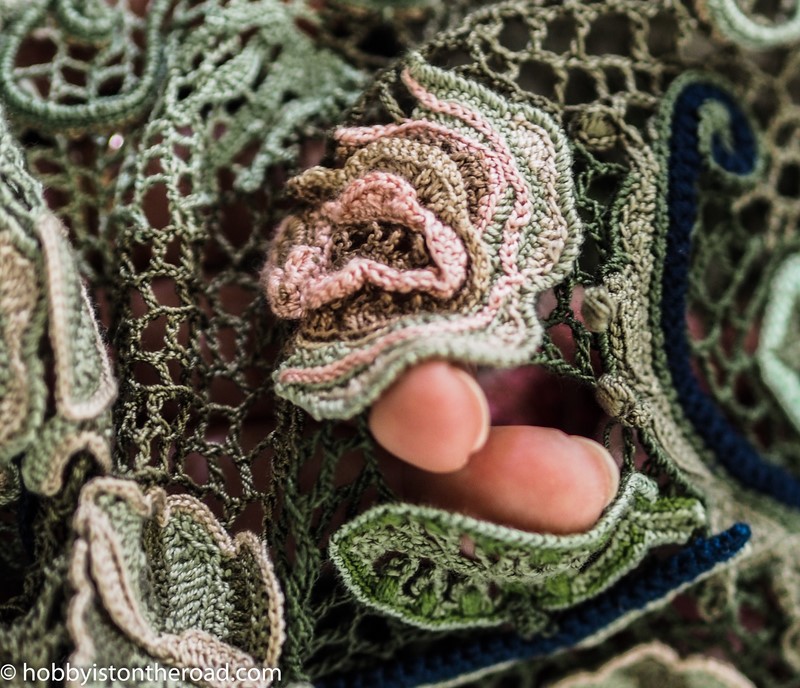
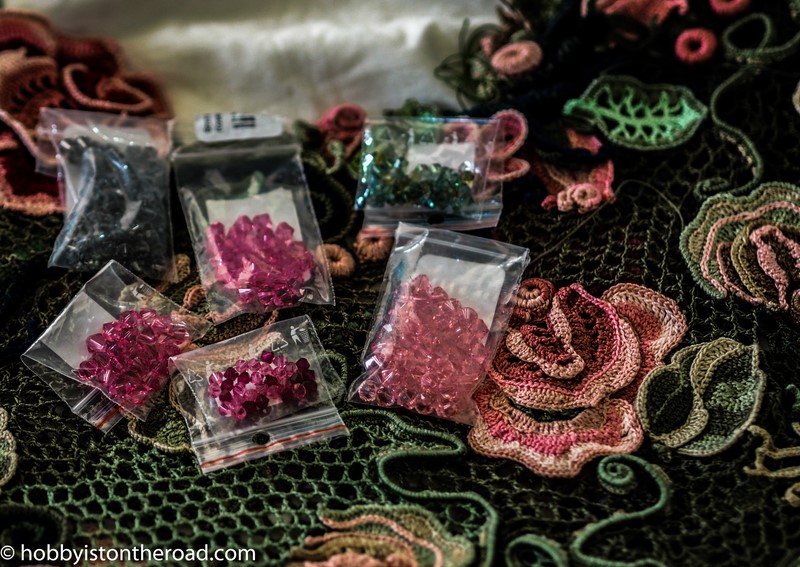
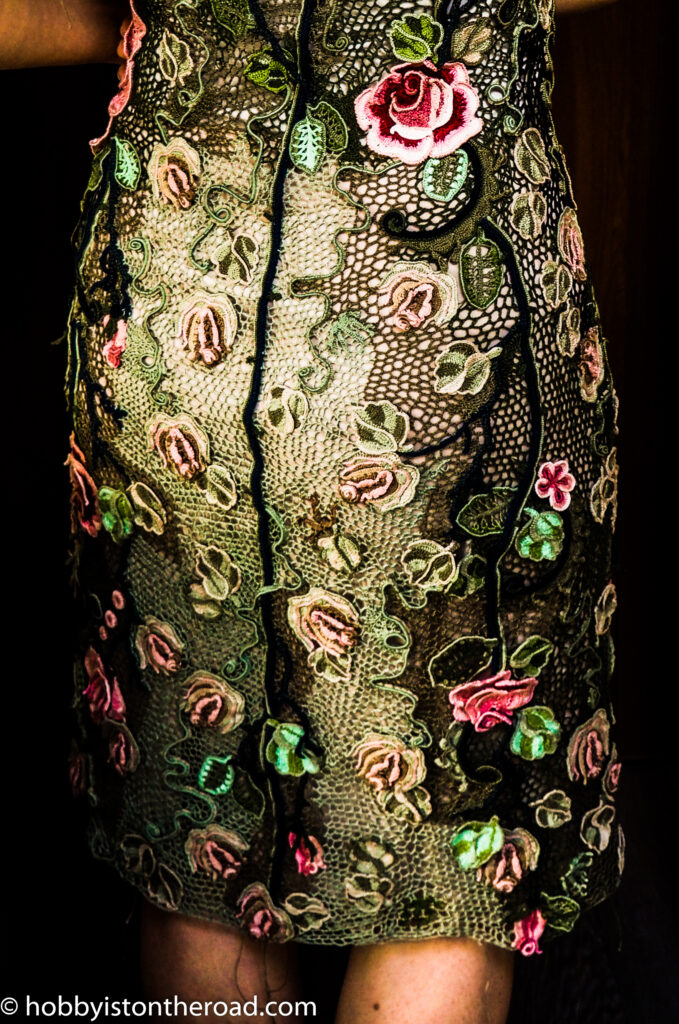
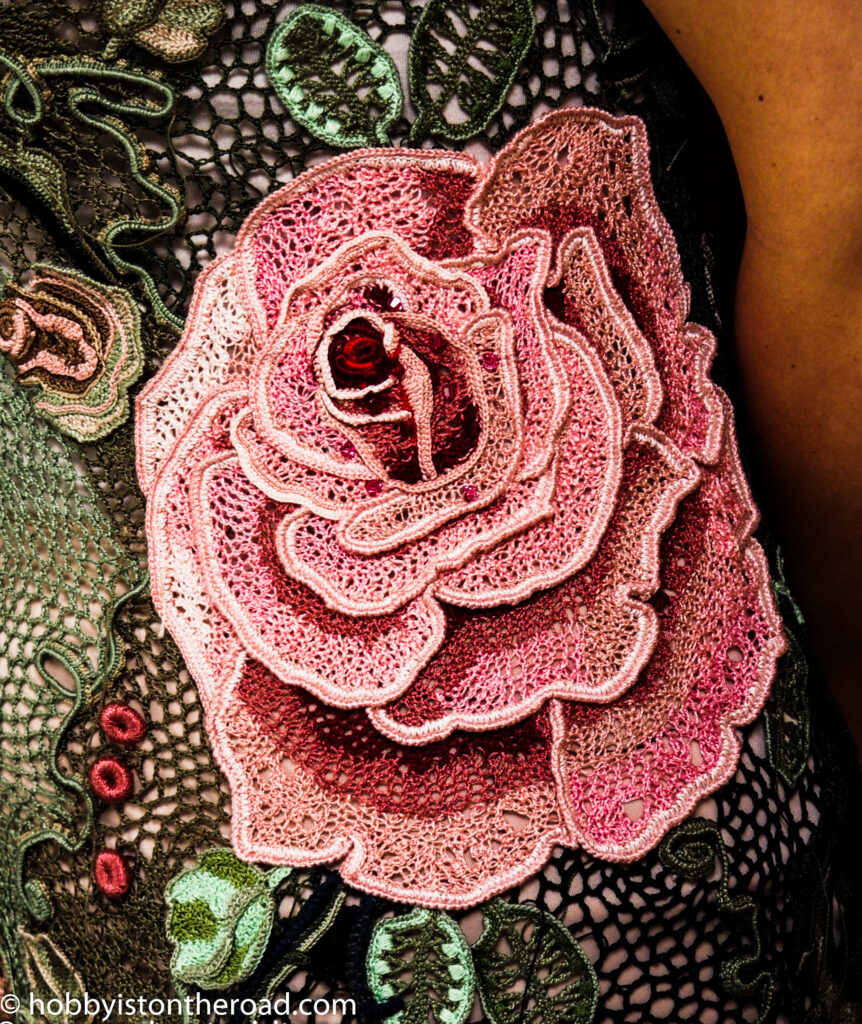
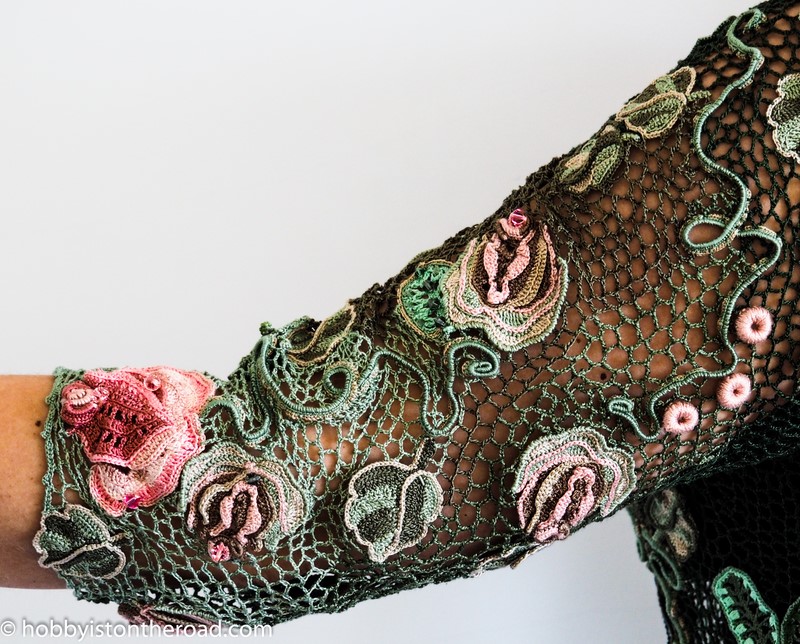
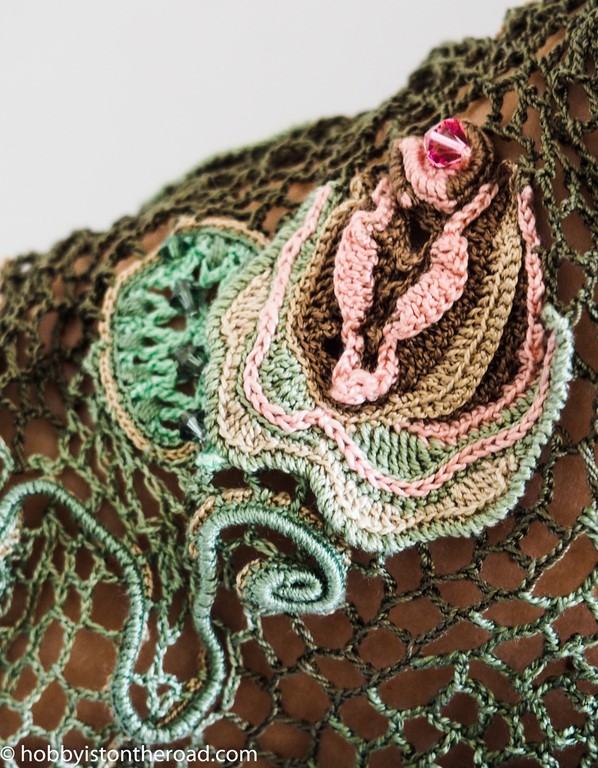
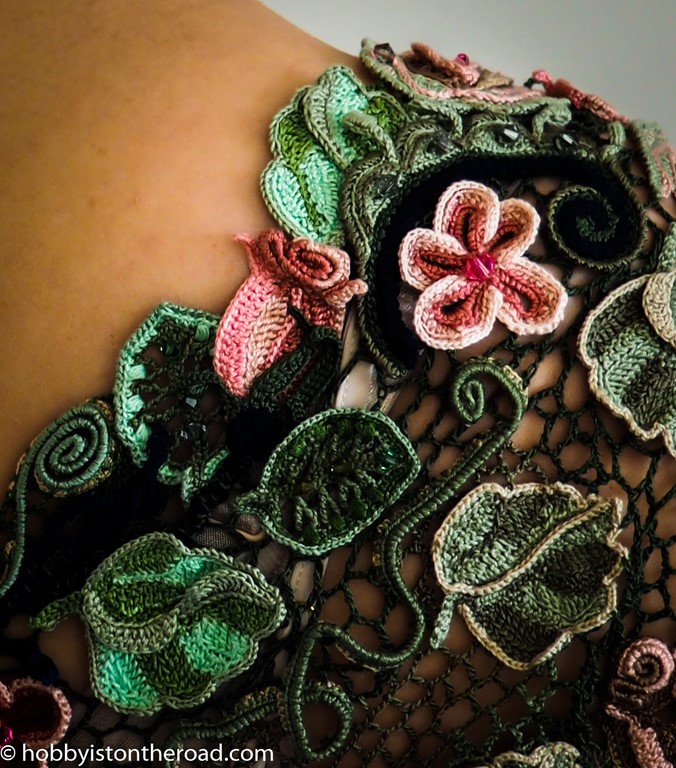
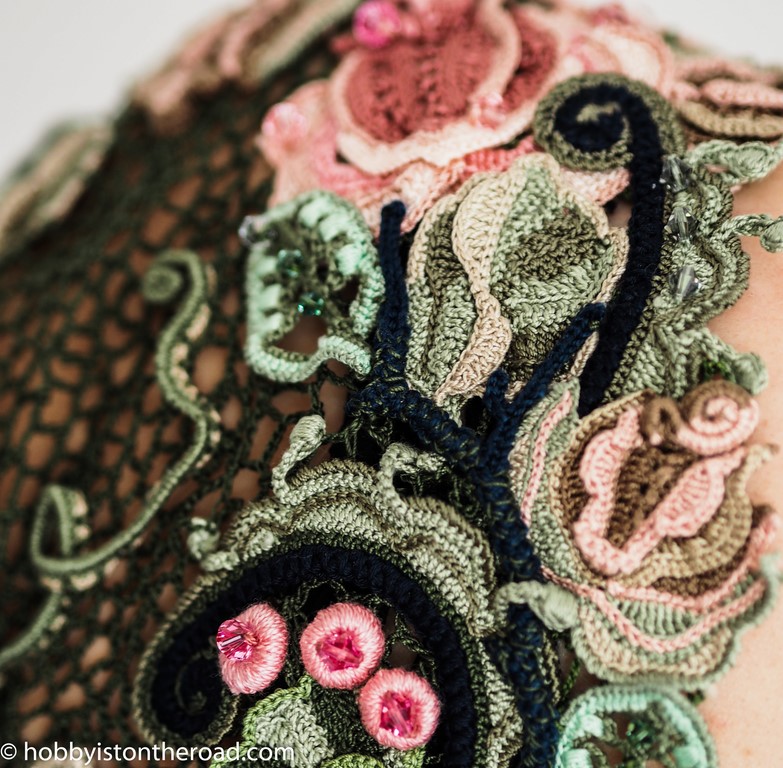
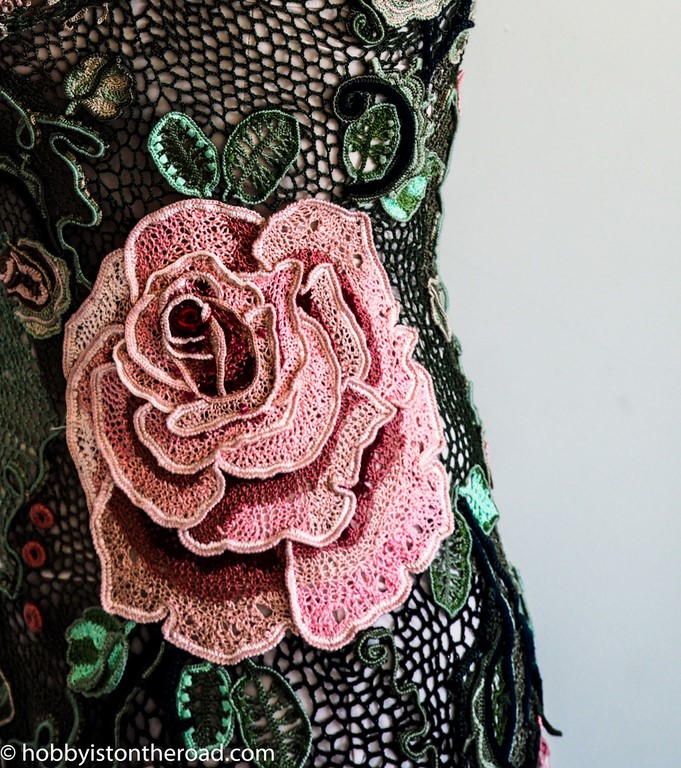
And to finish this series, here are a few close-ups:
One of those dark nights as I was completing the dress, I thought to myself this has been my first and is going to be my LAST Irish lace dress…
NEVER again!!! I thought to myself…
But now, as I’ve completed the dress, and have had a chance to enjoy it a little, I’m not so sure anymore…
…another Irish Lace Dress project just might happen at some stage in not too far off future… 🙂 who knows…
Create beauty one stitch at a time! (Even if it takes you over two years to finish!)
Previous posts in this series:
2. Irish Crochet Dress: Main Rose
3. Irish Crochet Rose Finished
4. Irish Crochet Dress: Elements Completed
5. Irish Crochet Dress: Design
7. Irish Crochet Dress: Picture Emerging
8. Irish Crochet Dress: A Quick Update
9. Irish Crochet Dress: Trying It On for the First Time
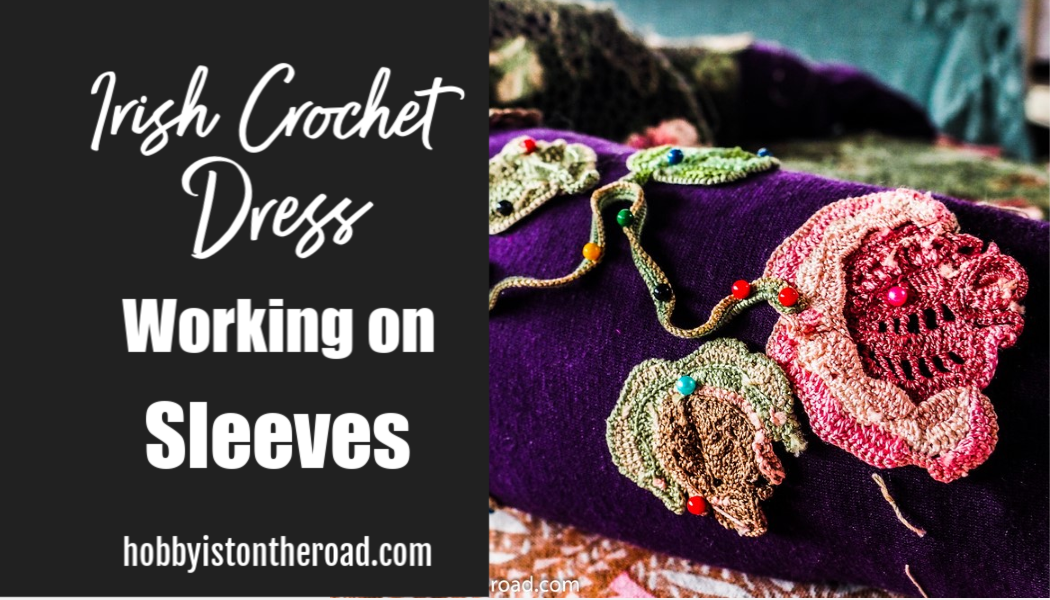
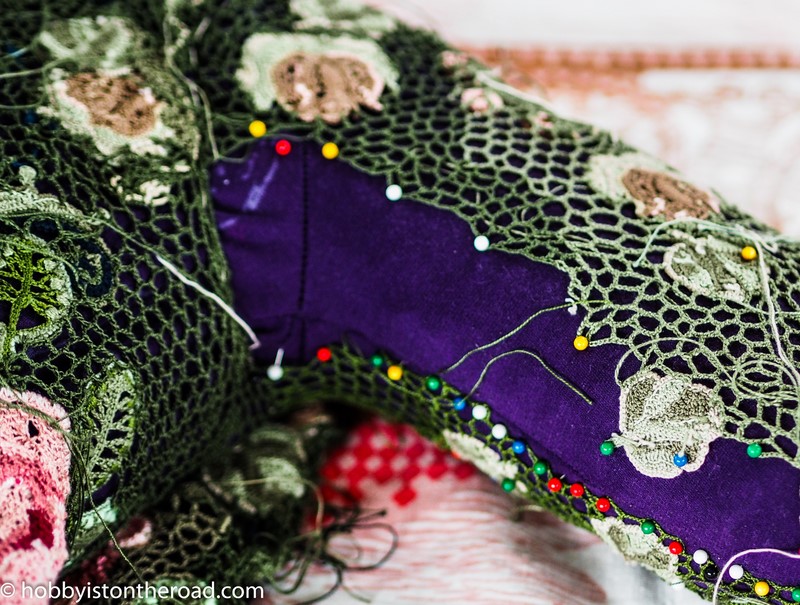
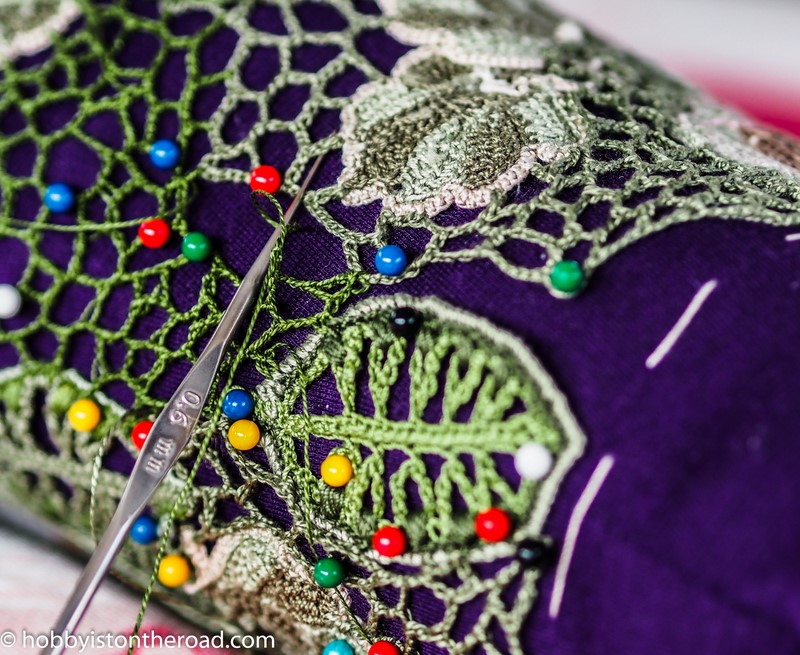
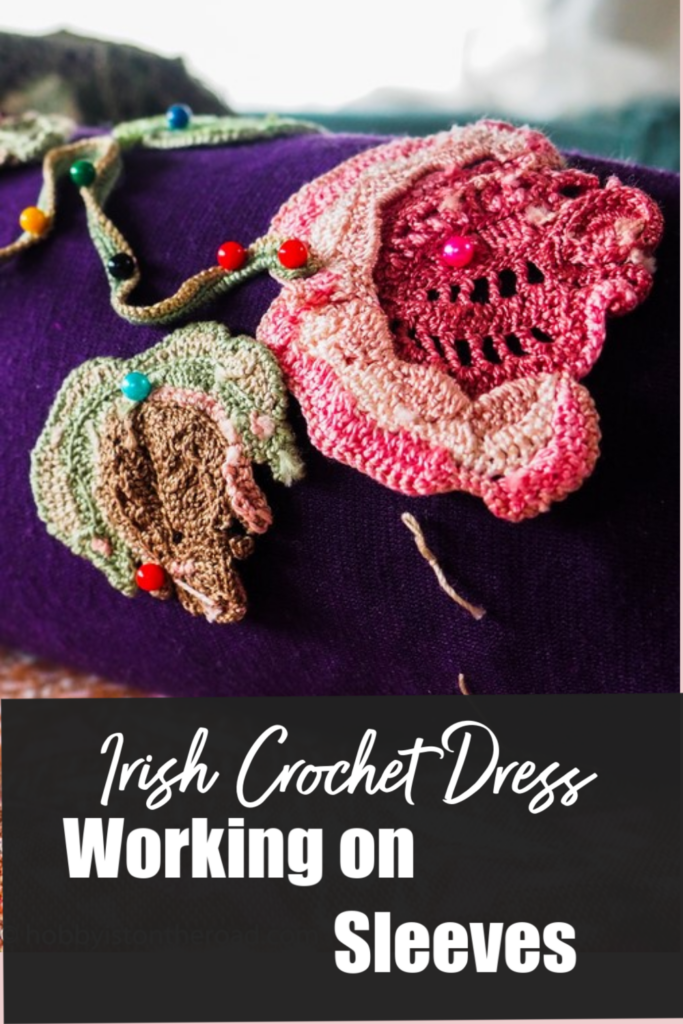
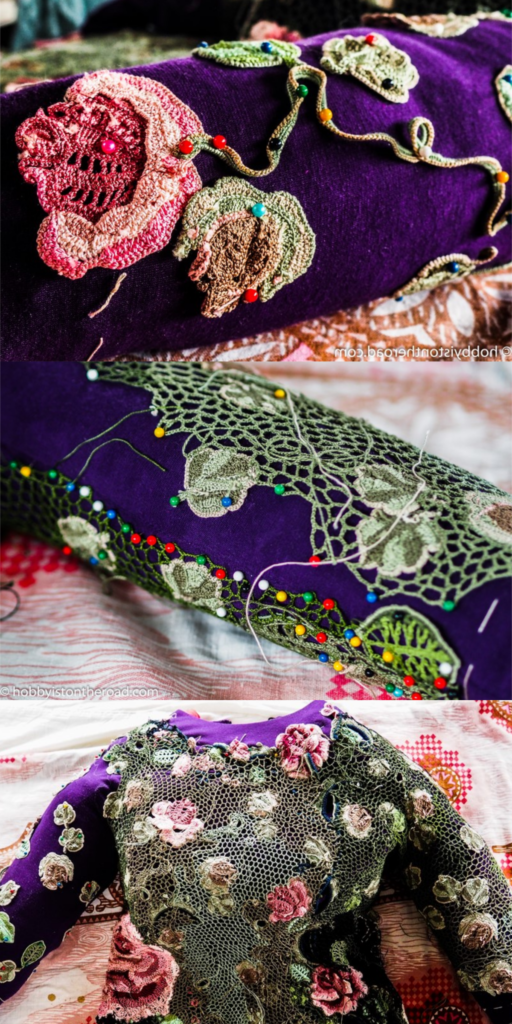
10. Irish Crochet Dress: Working On Sleeves
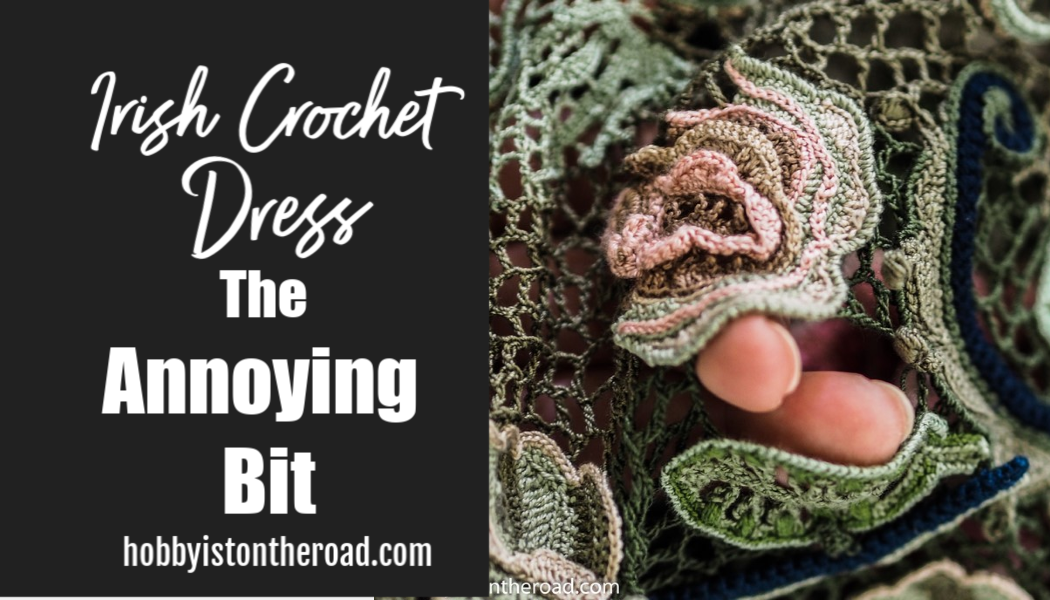
11. Irish Crochet Dress: The Annoying Bit
Want to learn the Irish Crochet technique with an easy project?
Click HERE for a perfect starter project.
Liked this post?
Then pin it for later!