If you’ve never crocheted in Irish lace technique before, you’ll discover that it’s a different process from the usual crochet or knitting projects.
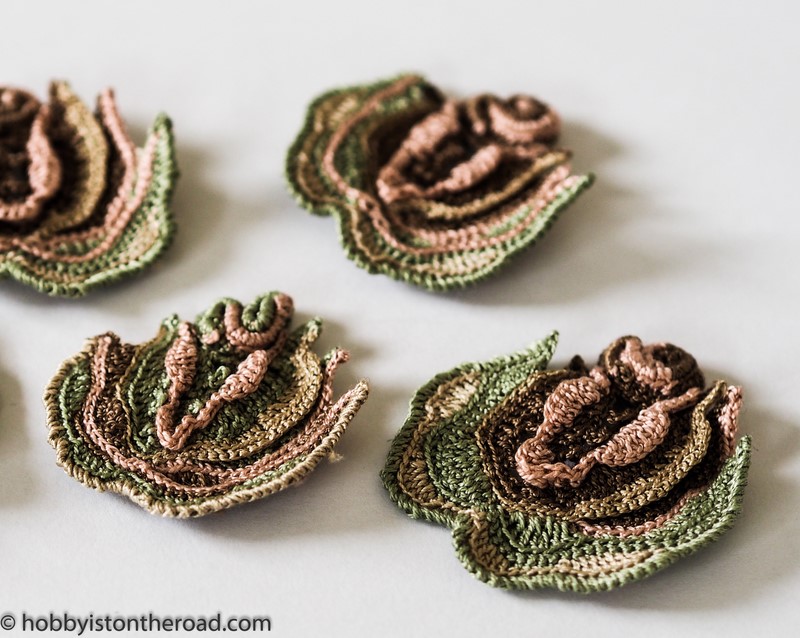
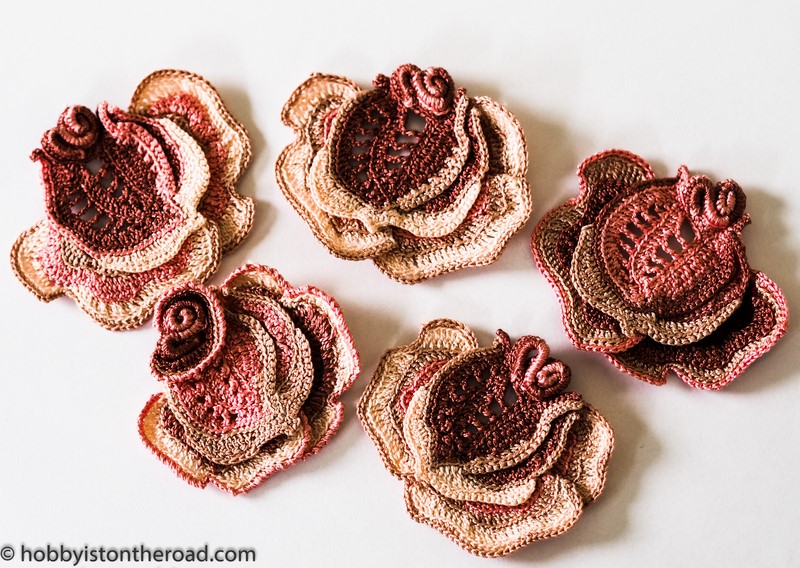
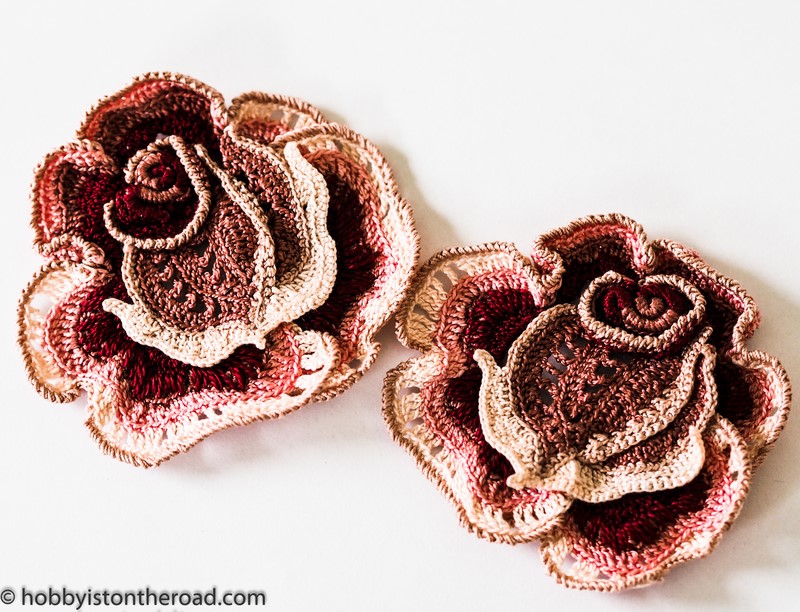
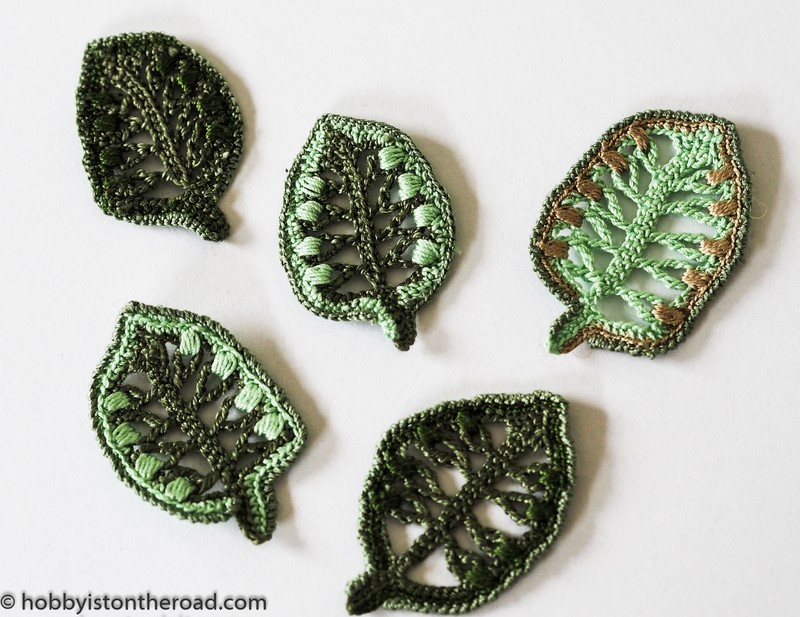
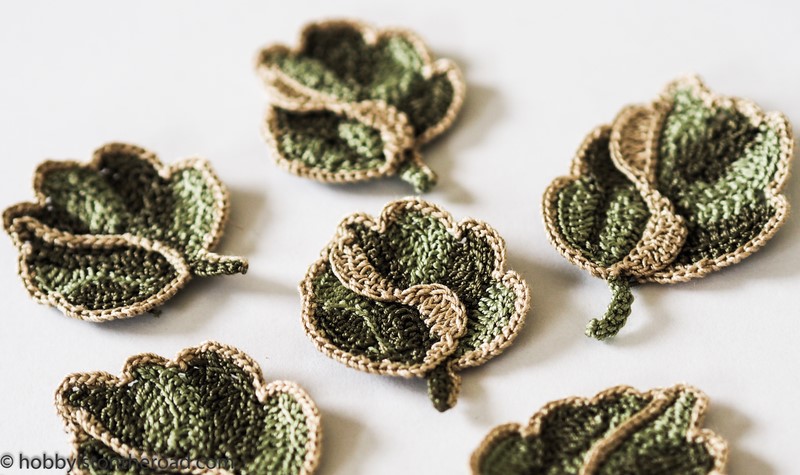
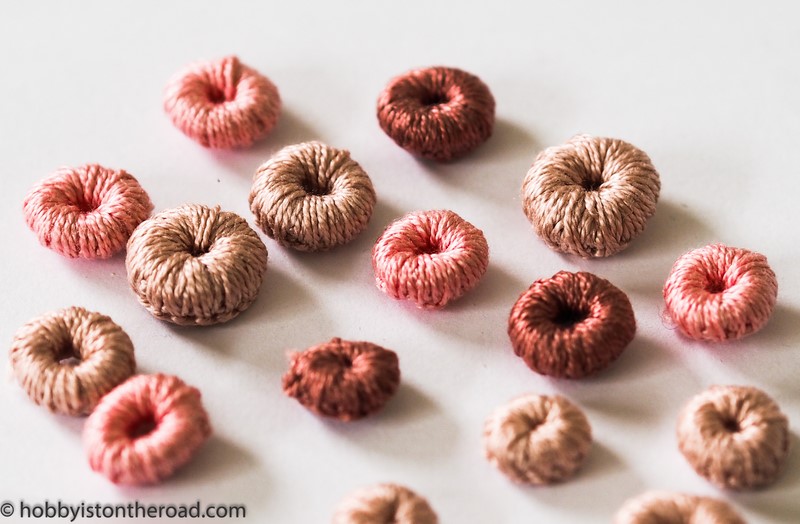
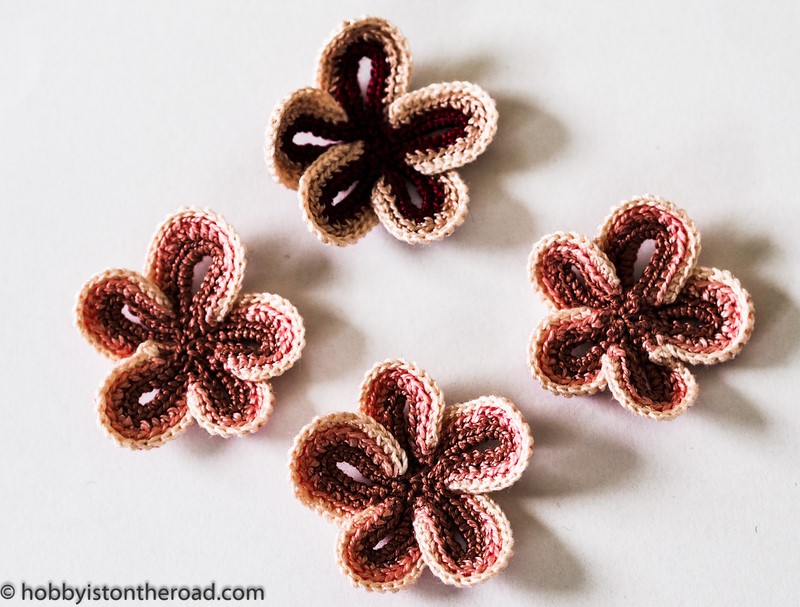
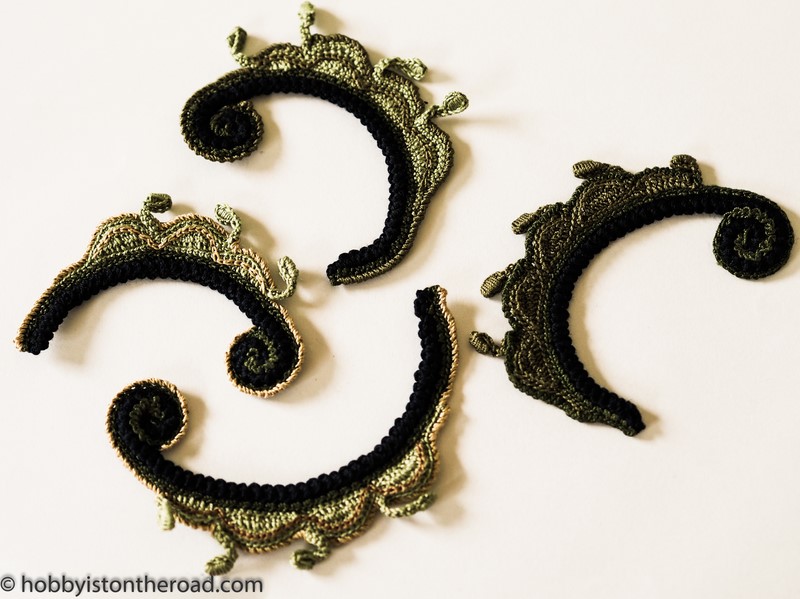
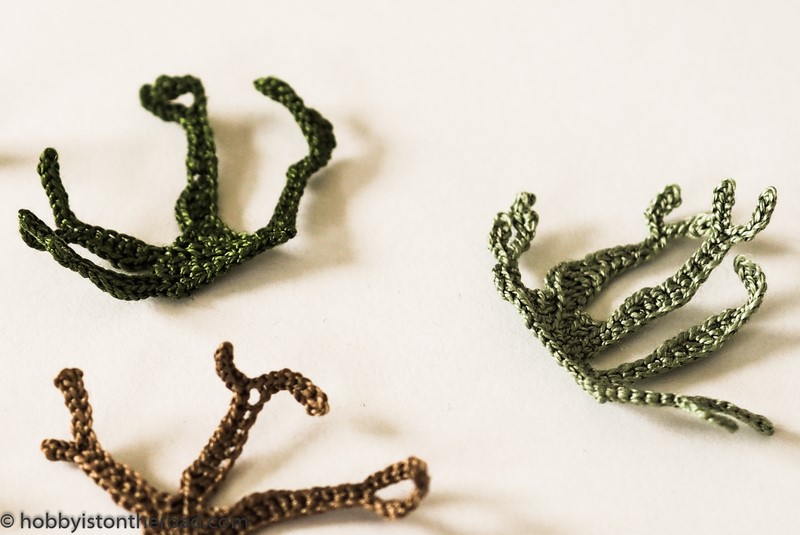
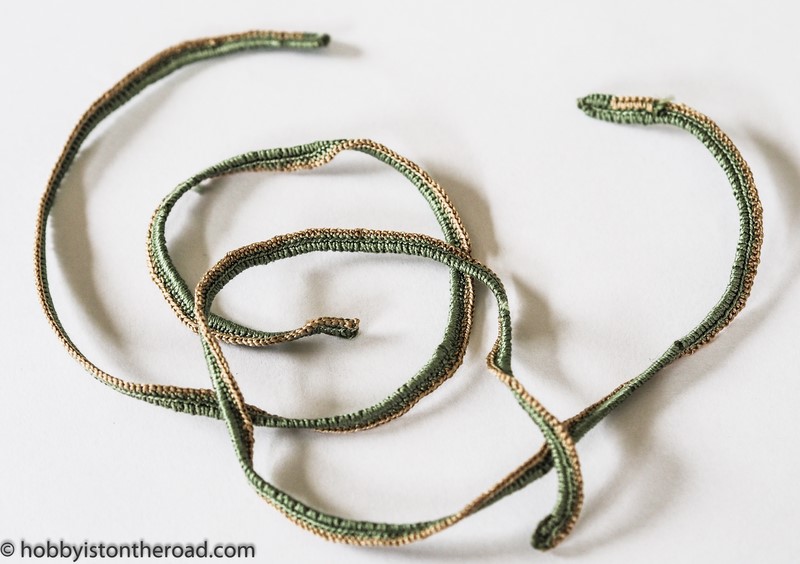
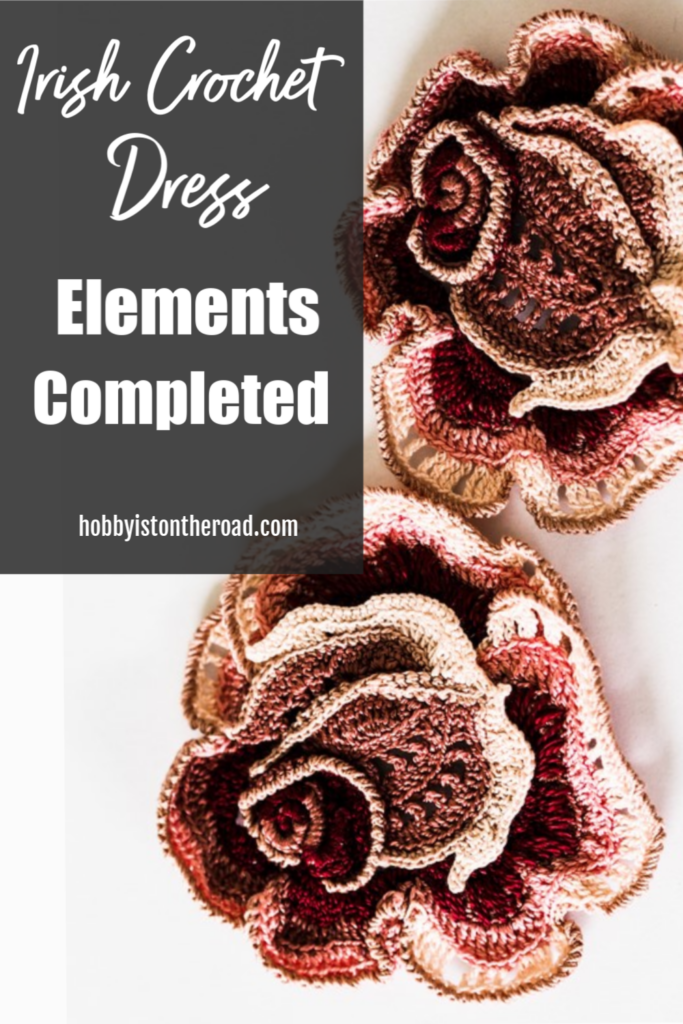
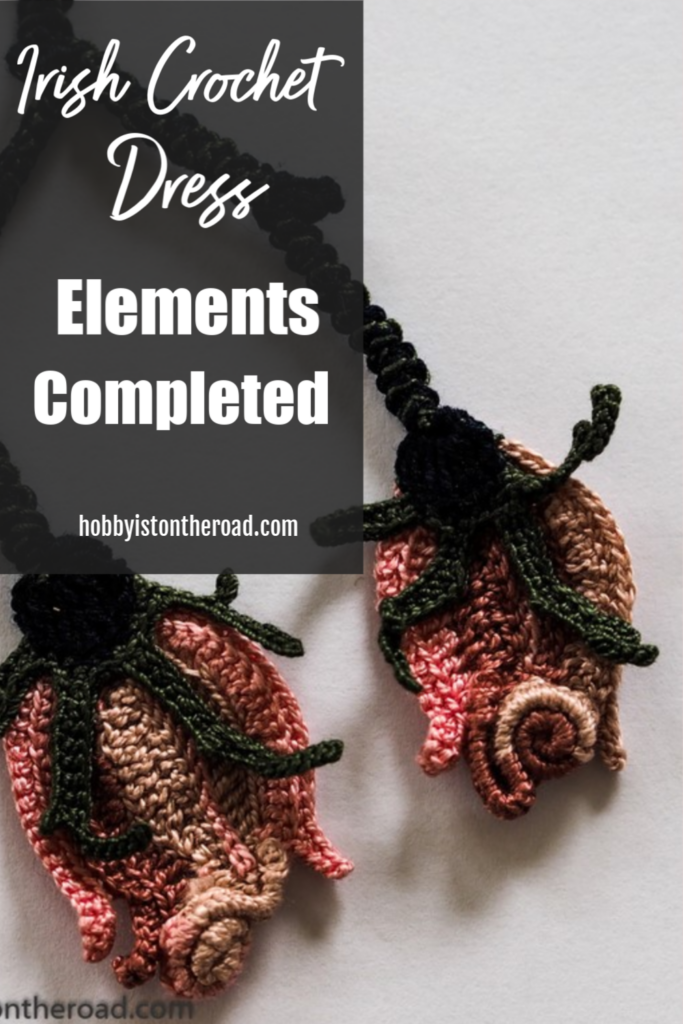
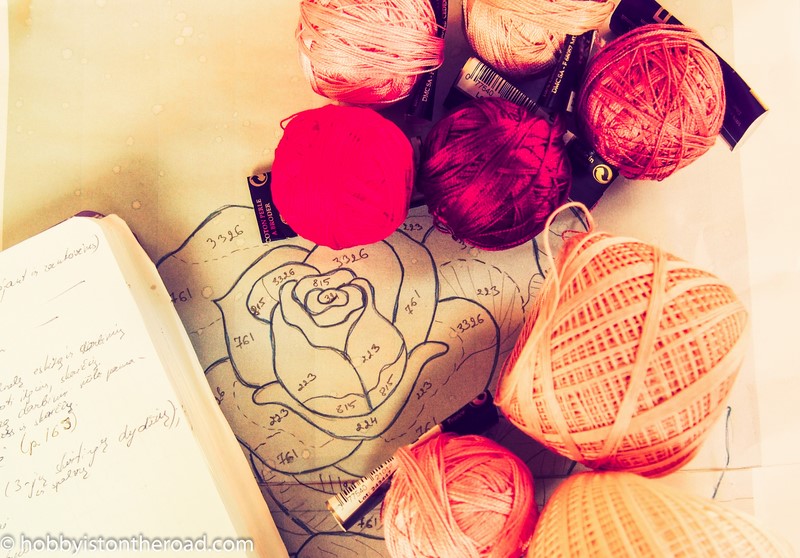
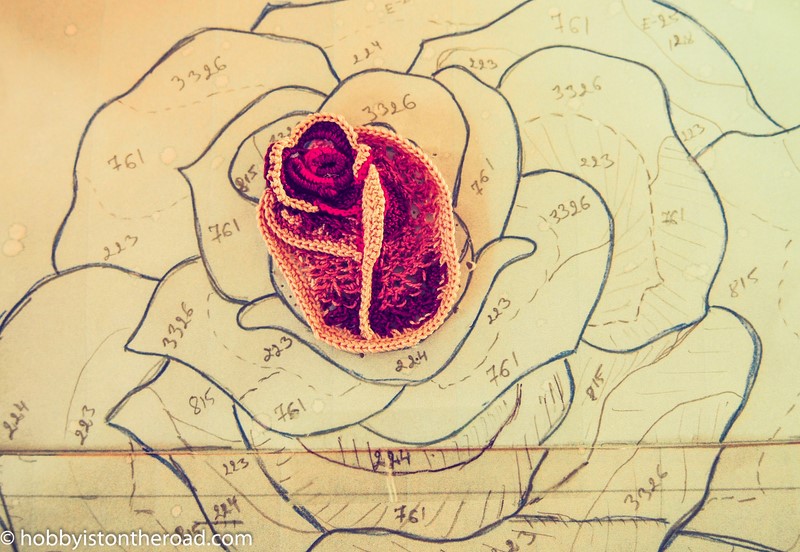
As I described before, at first you have to crochet all separate decorative elements of the dress you are making.
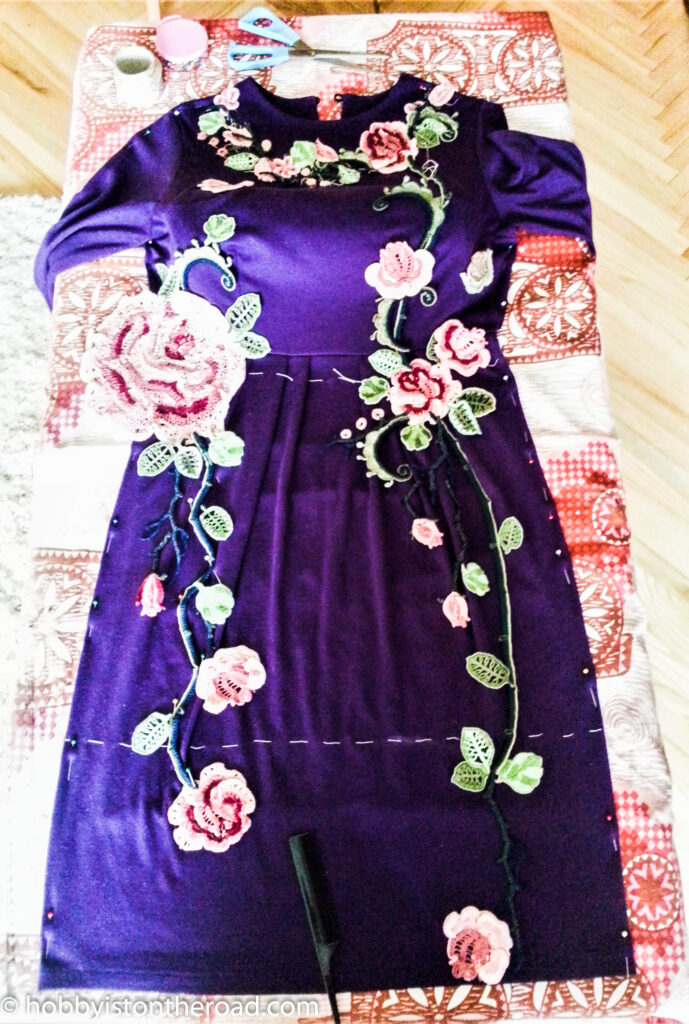
After that, you have to cut separate parts of a dress from a piece of fabric or, in my case, use an old, well-fitting dress, and model your Irish lace design on that. I described the whole process HERE.
It’s only when you are happy with the layout of the design, you will start crocheting the lace and bring everything together.
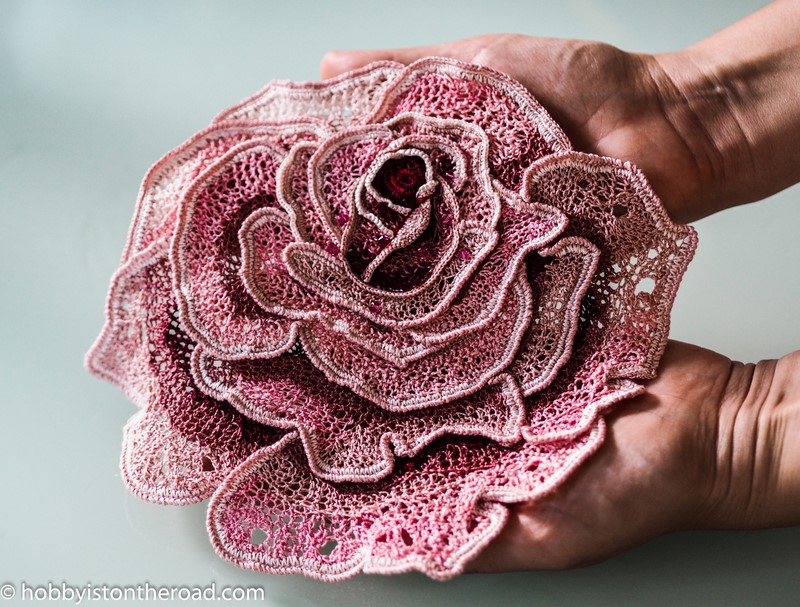
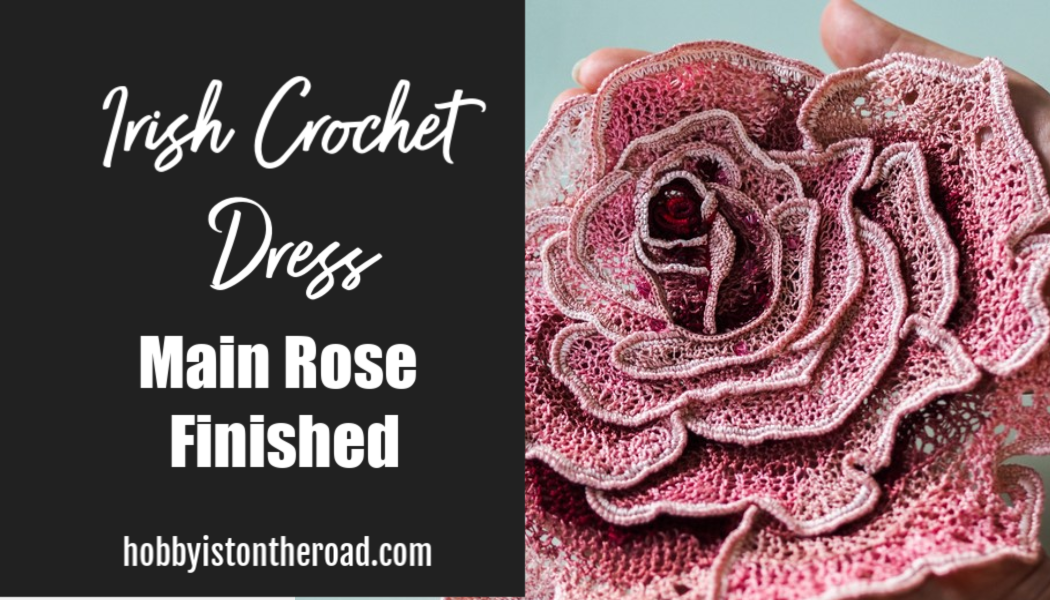
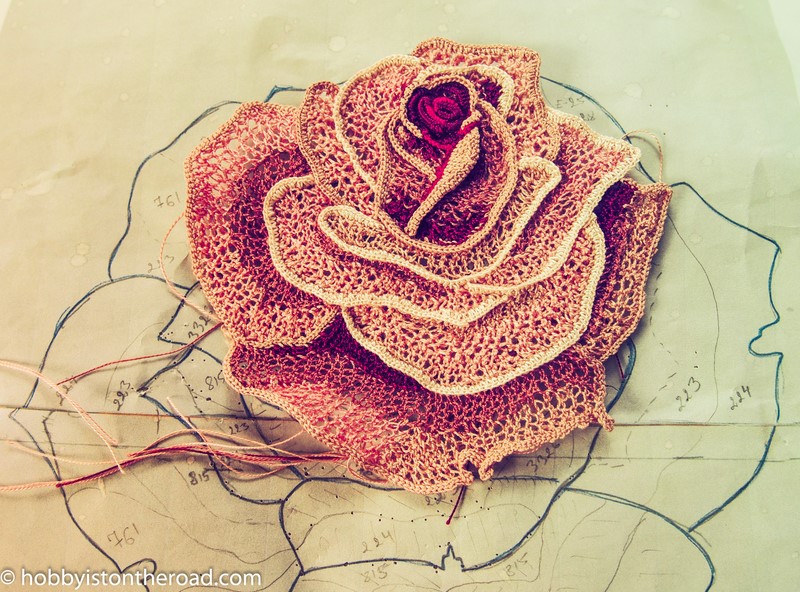
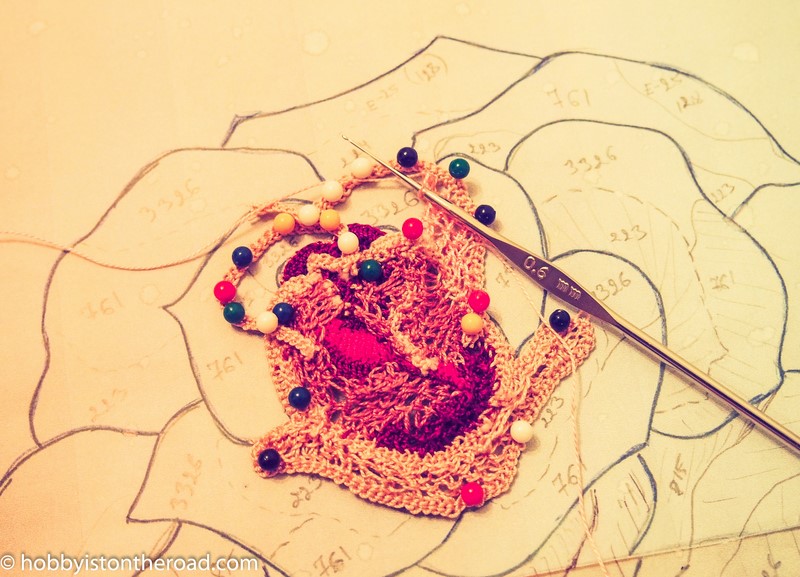
The process of crocheting Irish lace is similar to that which I told you about in post ‘Main Rose’.
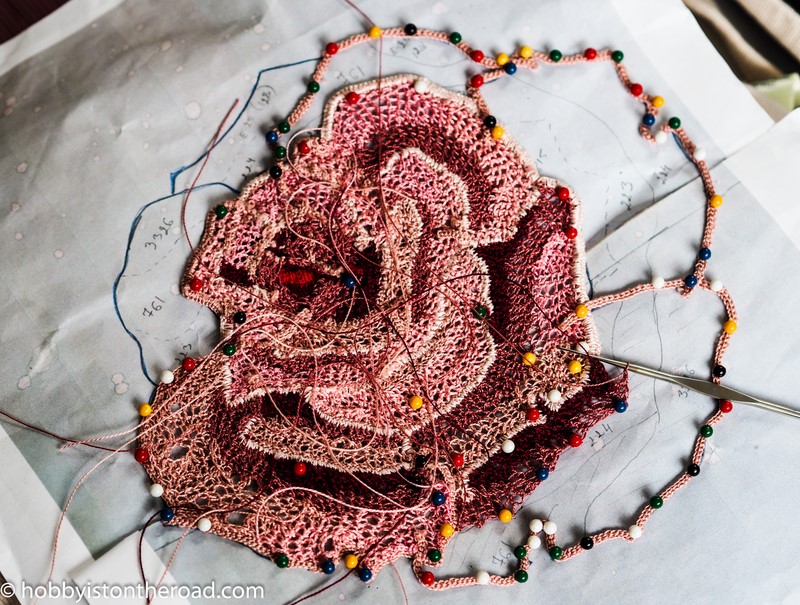
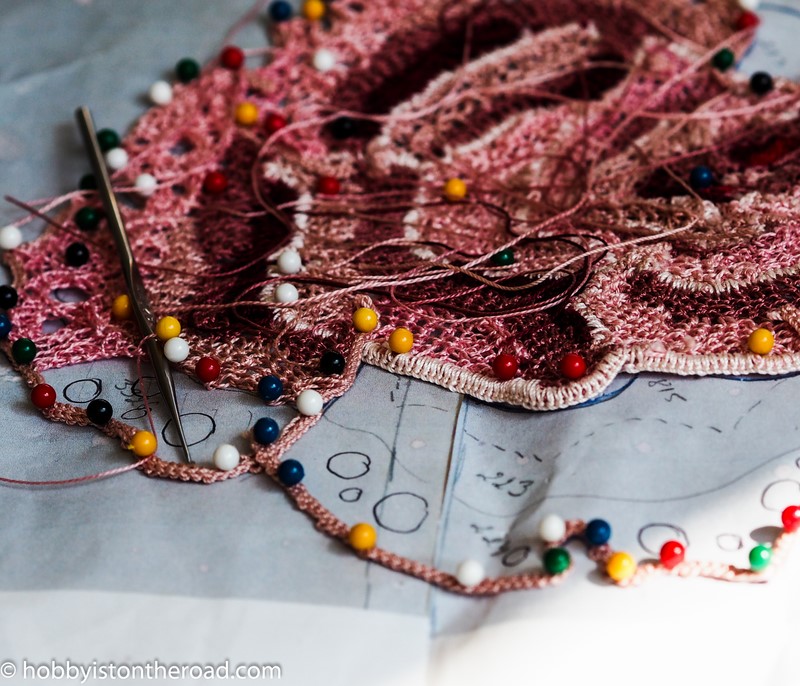
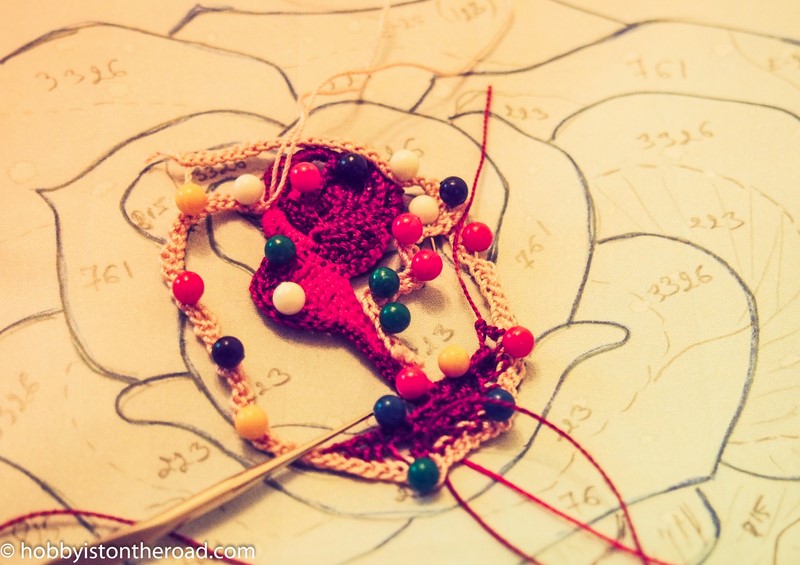
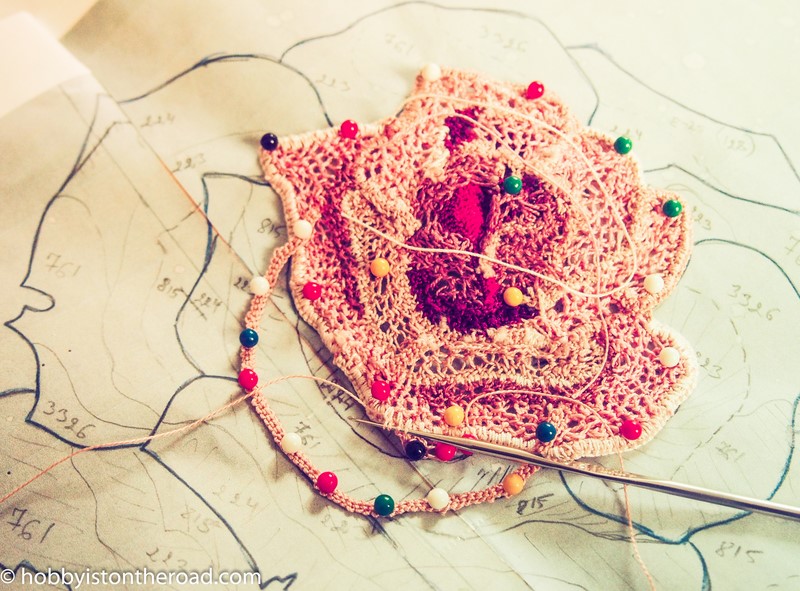
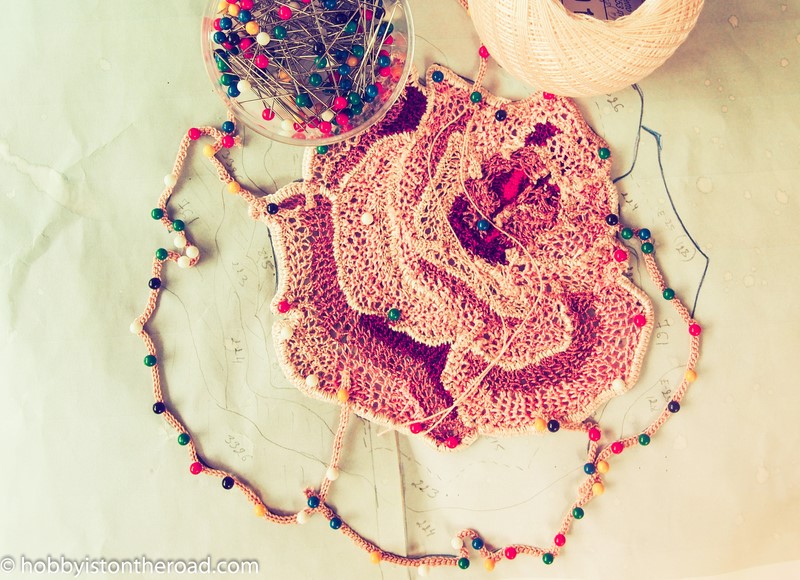
You have to work on a flat surface looking at the ‘wrong’ side of the dress.
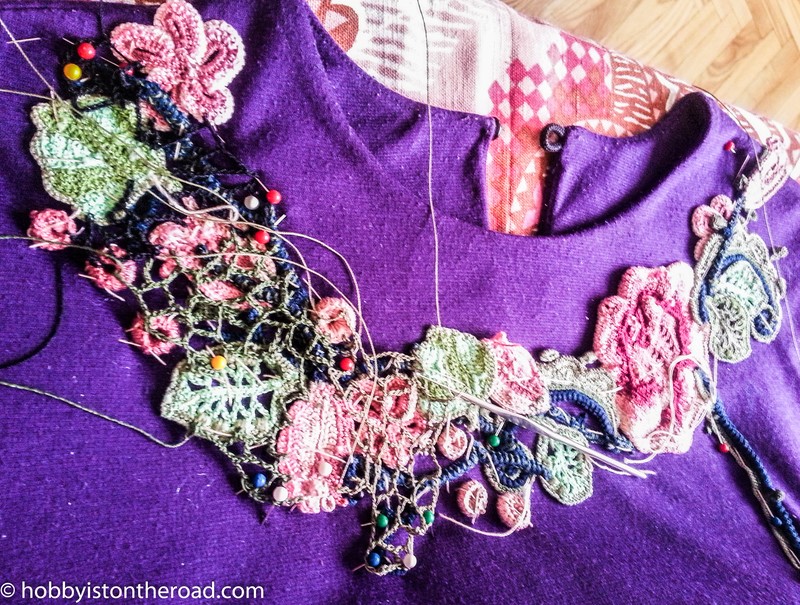
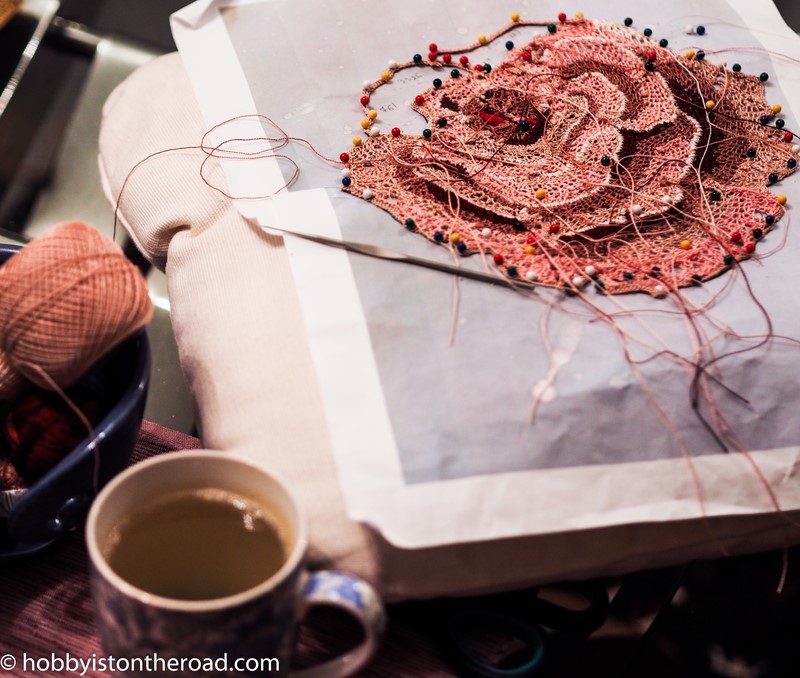
Securely attach all separate elements to the surface so as not to displace them while crocheting.
All of this makes the process of crocheting Irish lace really slow and tedious, as I realize now, although I honestly thought I will breeze through it…
When my mom saw me crouching over that dress laid out on a coffee table, she offered me money so as I would simply buy something like that instead of ‘killing myself making it’… 😀
Since this was my very first Irish lace crochet project, I found it difficult to imagine how the dress will come together.

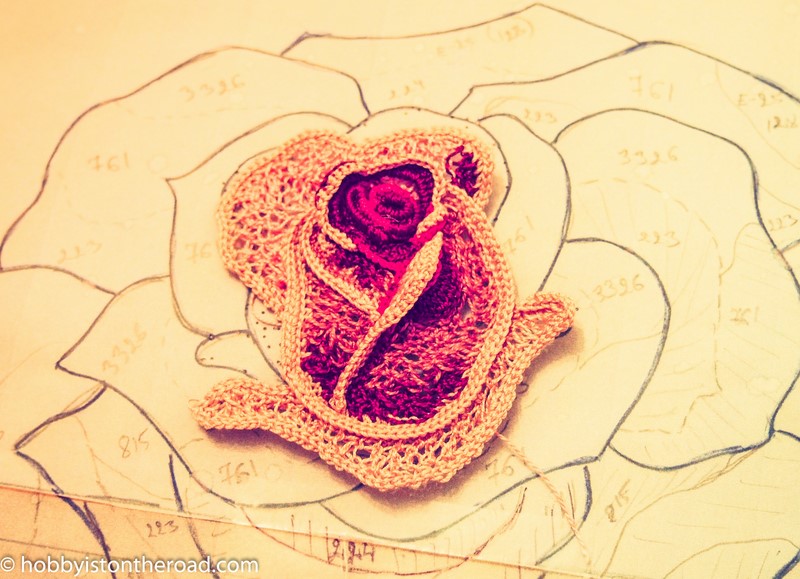
So every time I finished an important part of the lace dress, I simply unpinned it from the surface and turned it around so as to see…
…WHAT’S GOING ON!
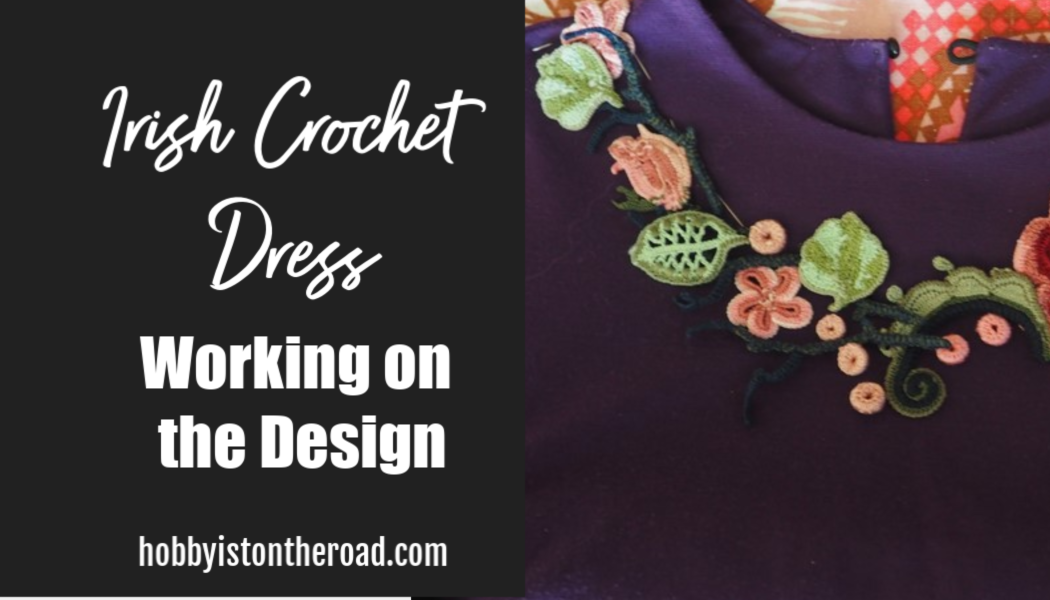
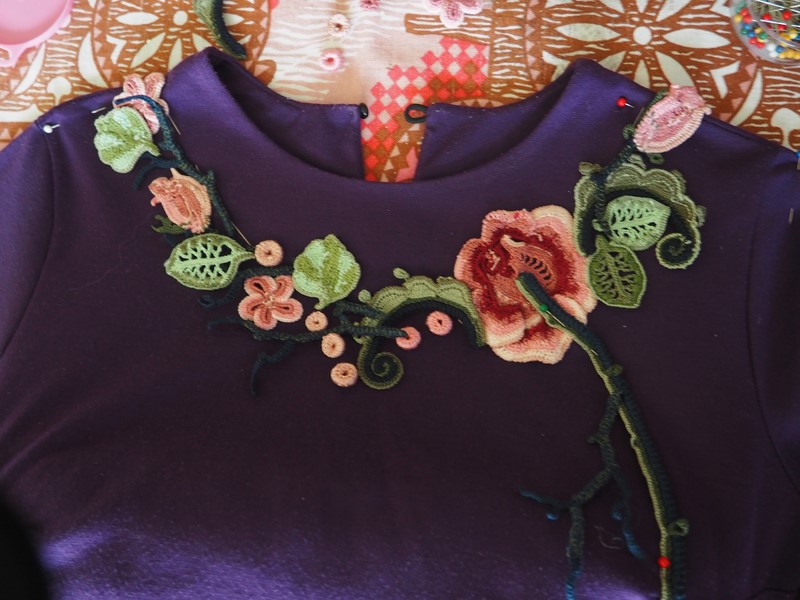
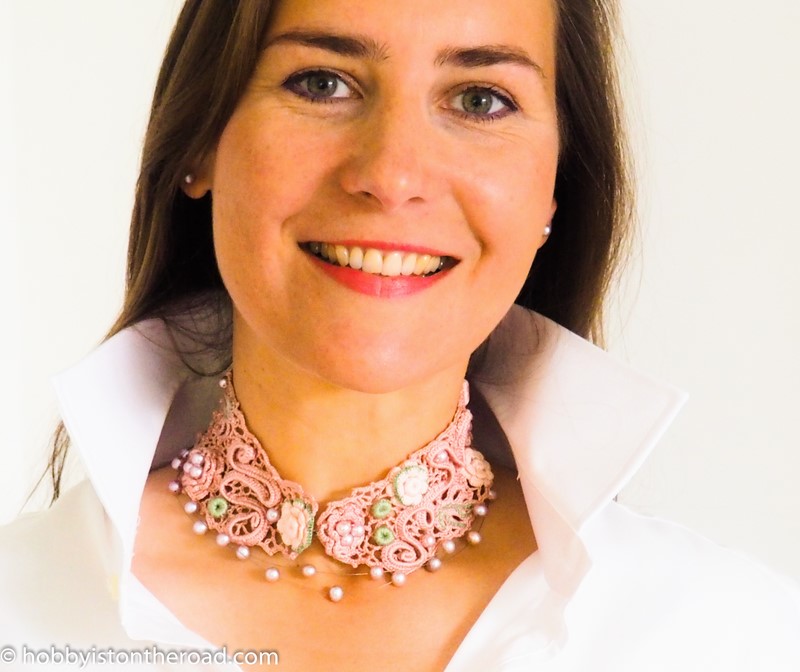
I started with the front neckline, as I had a clearer idea of how it should look.
And after a few hours (or maybe days) of working on it…
Tah-dah!
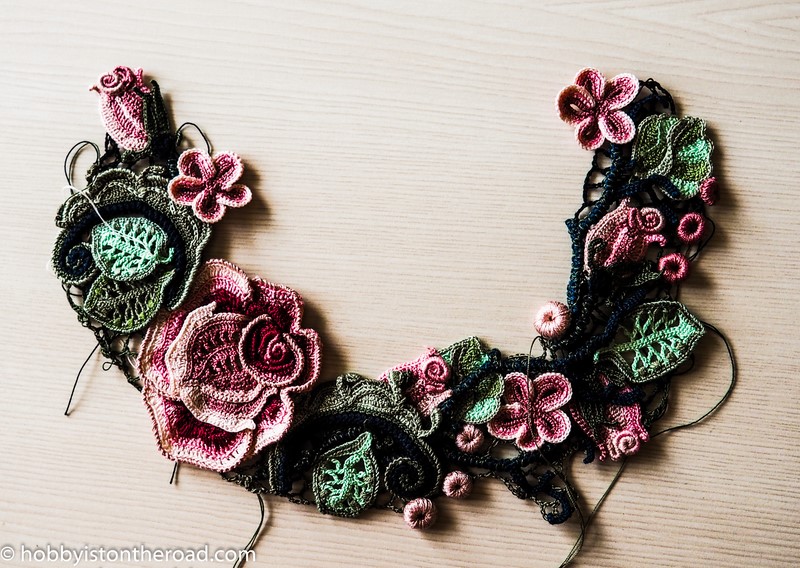
I am happy with the result!
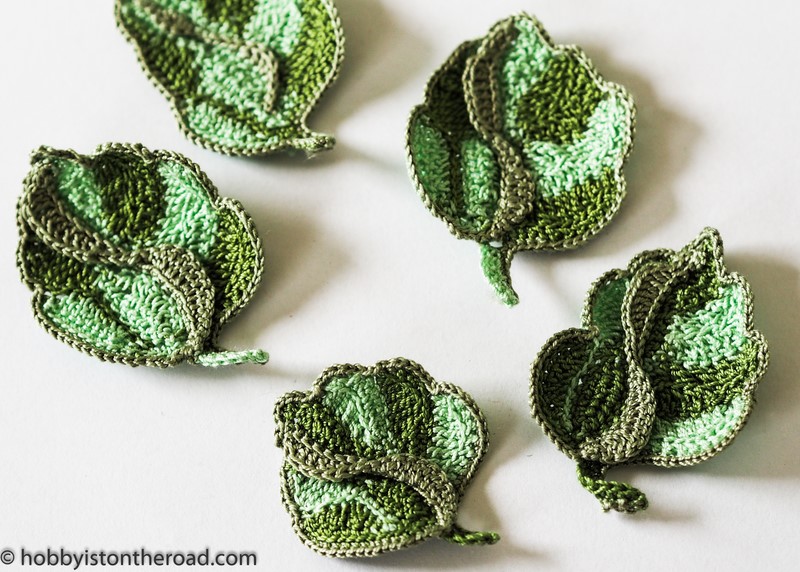
Somehow those little flowers and leaves look really harmonious.
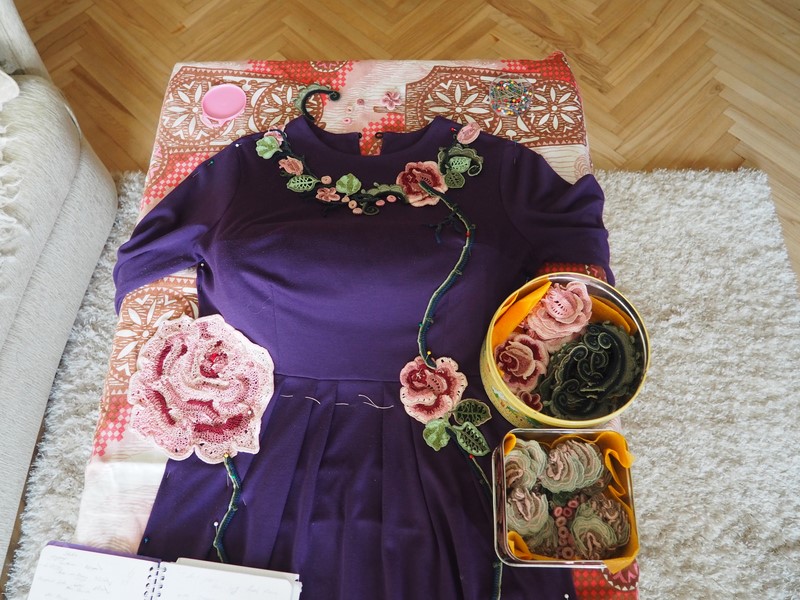
So back to the worktop, pin the neckline back on (wrong side up) and continue working…
…very sloooooowwwwwwllllyyyy…
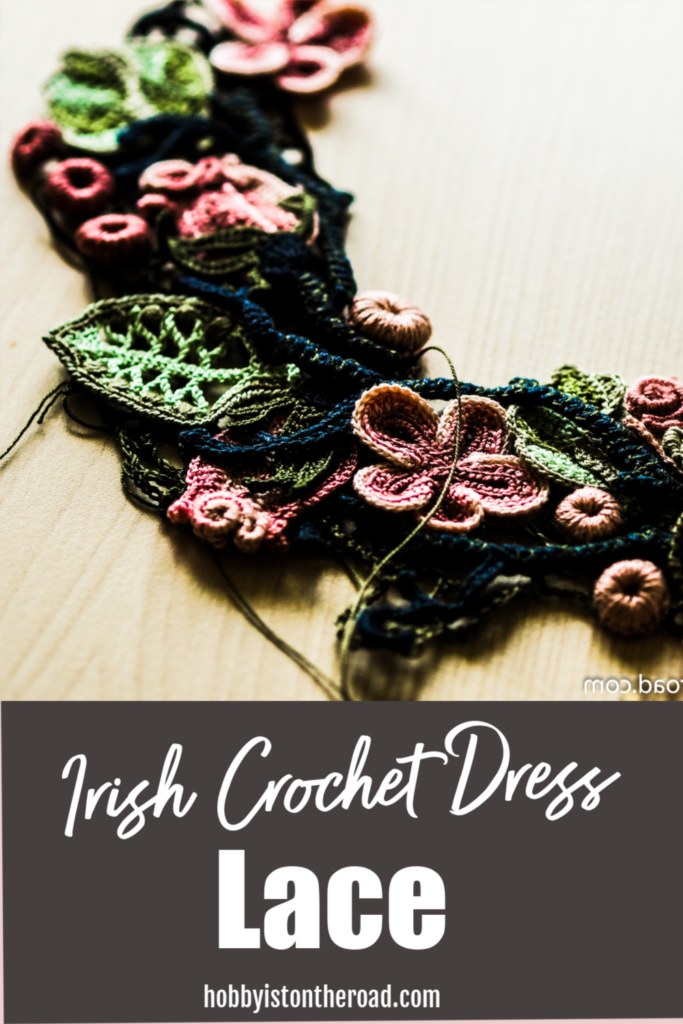
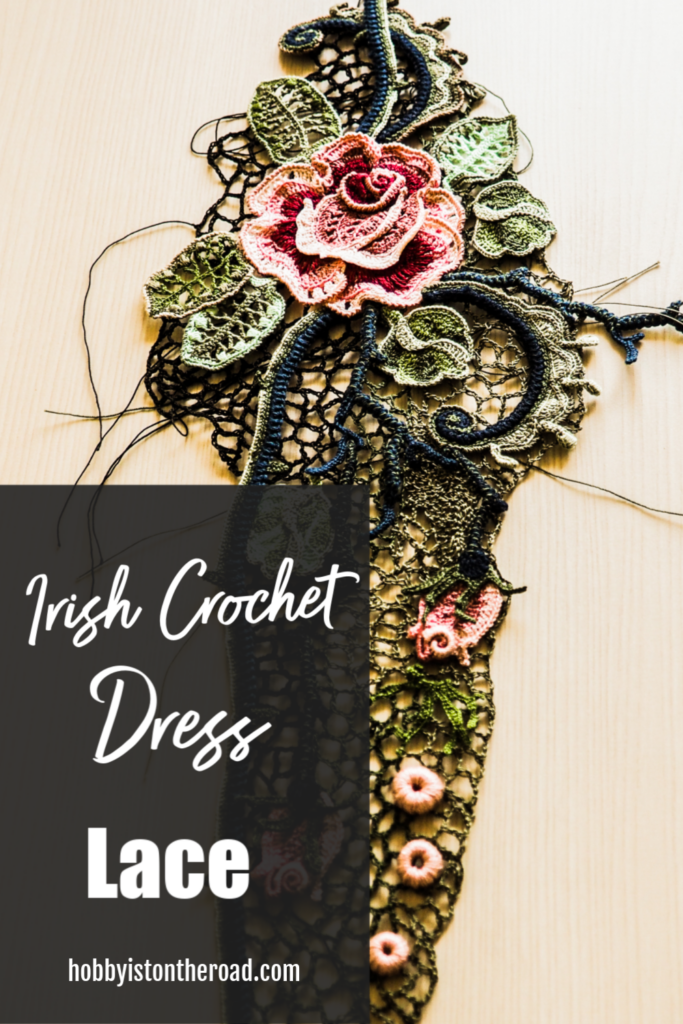
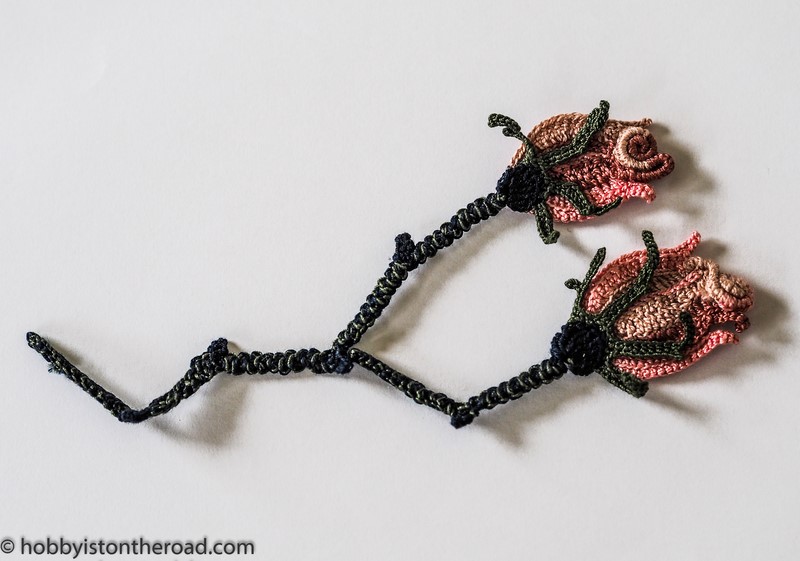
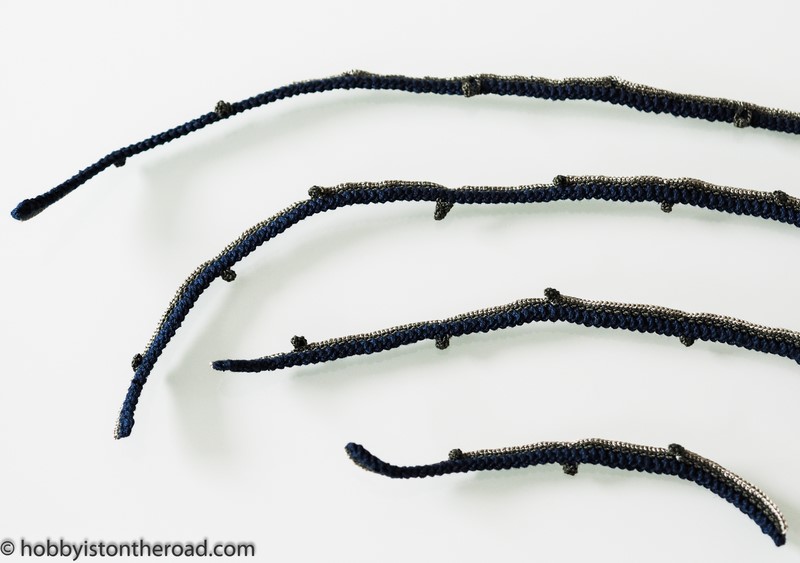
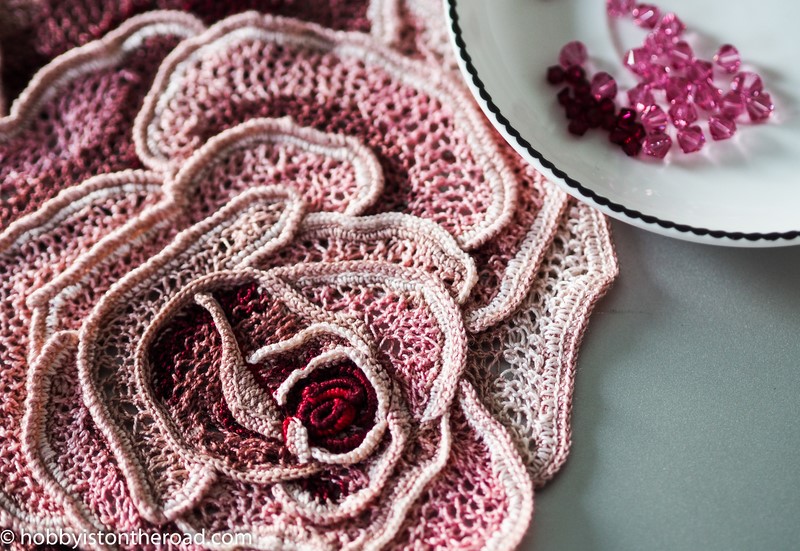
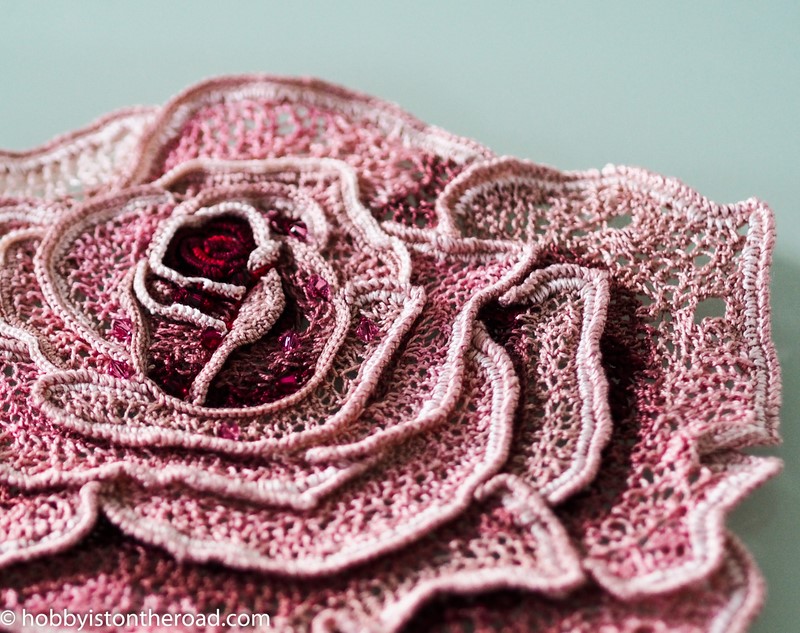
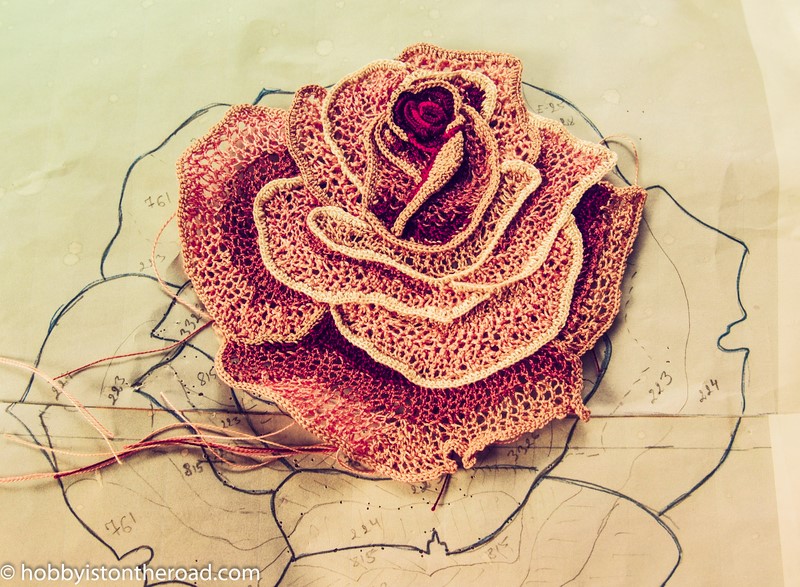
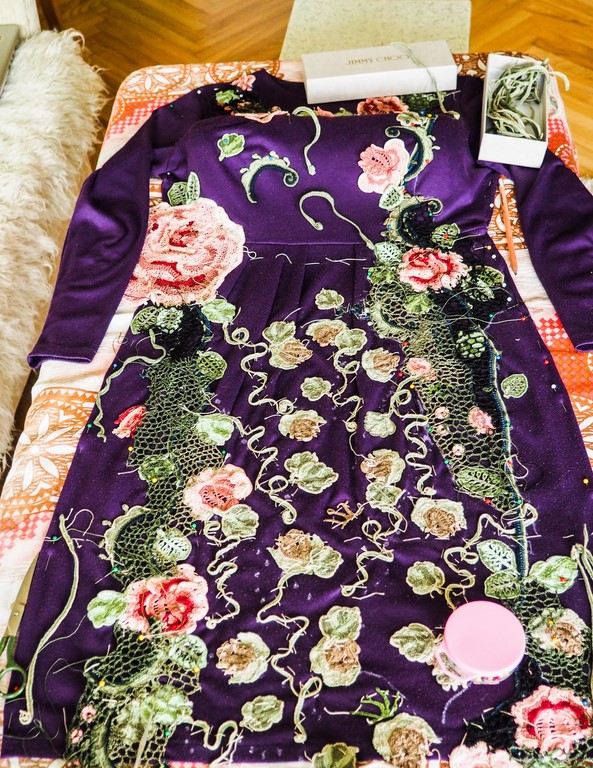
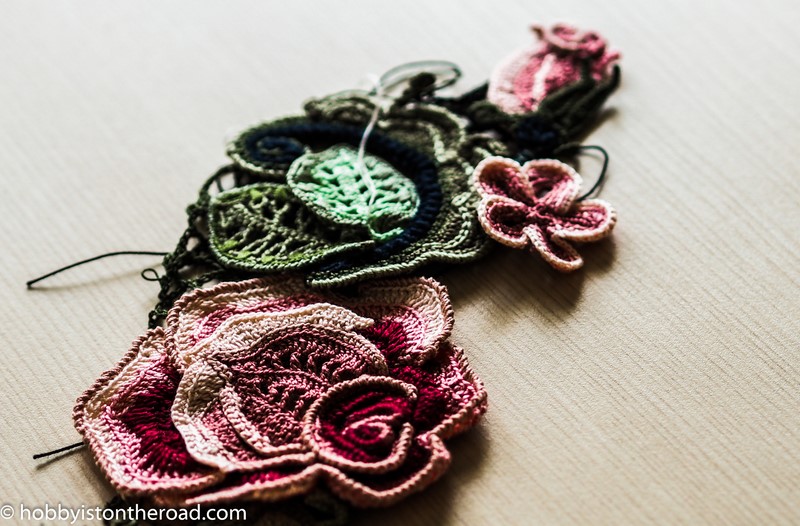
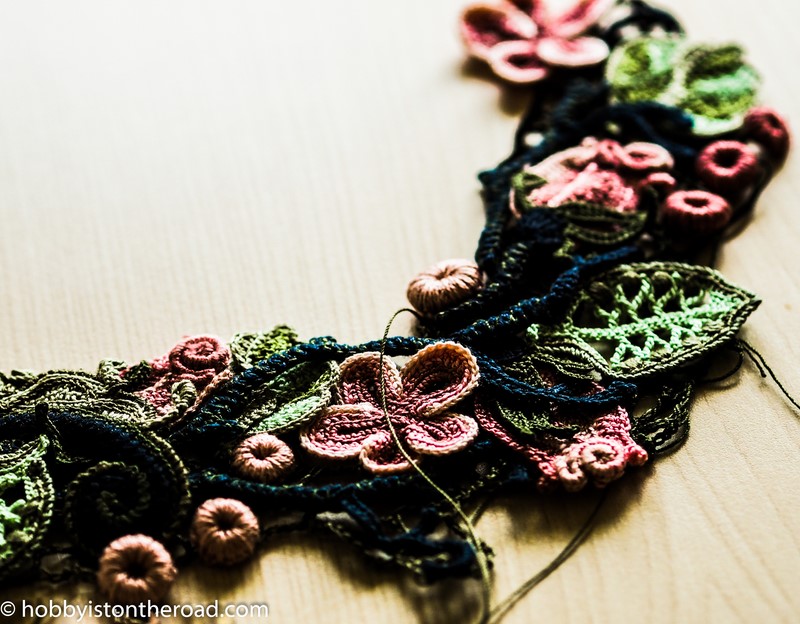
Here are a few more Irish lace fragments.
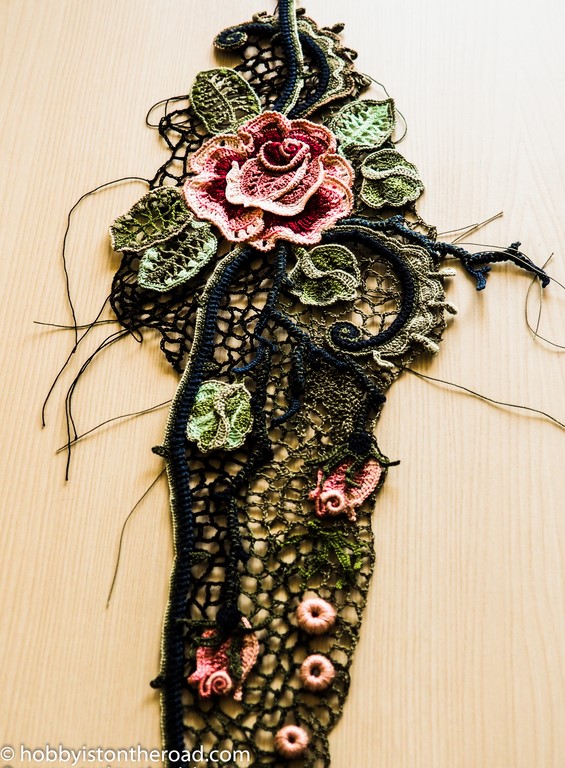

The process of crocheting Irish lace and all separate elements into one dress is painfully slow and inconvenient…
…although now when I see a picture emerging, I am getting more and more excited and somewhat impatient 😀
Create beauty one stitch at a time!
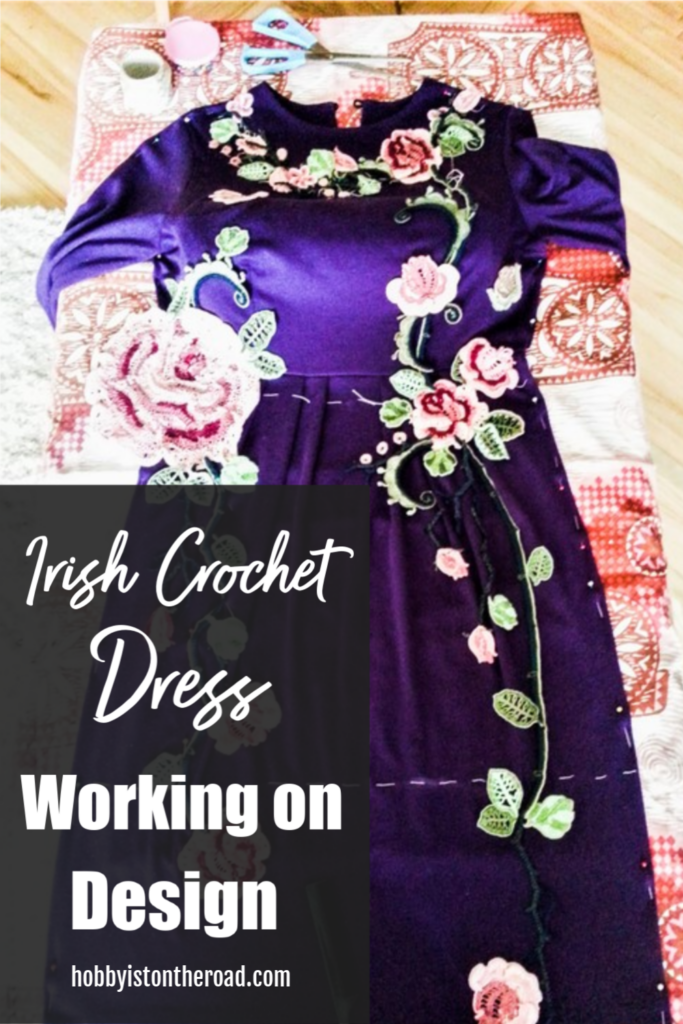
Liked this post?
Pin it for later!