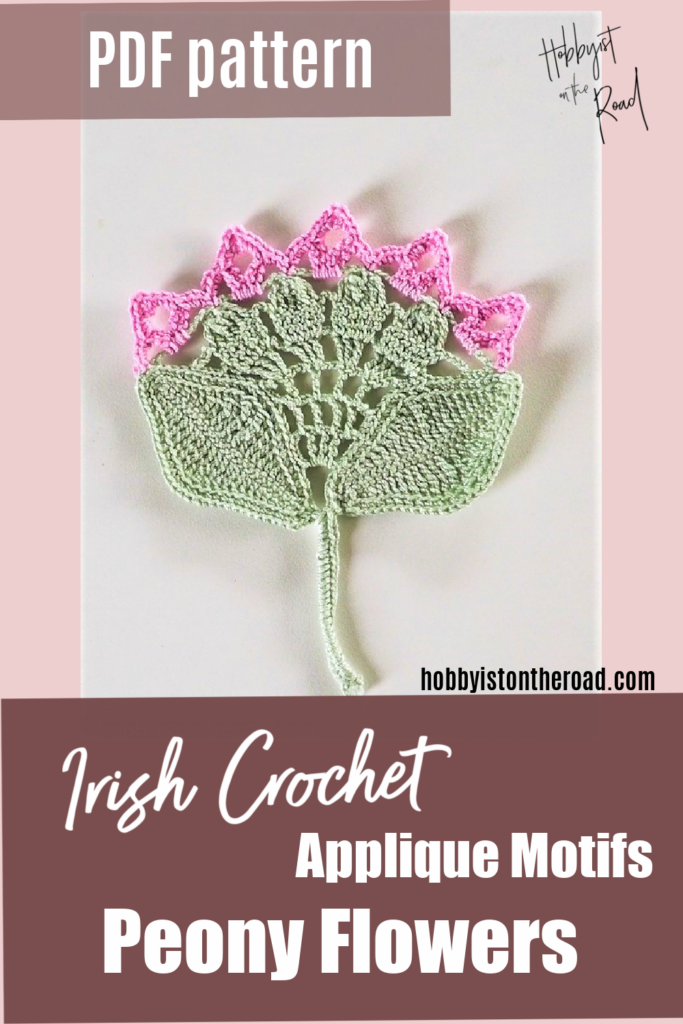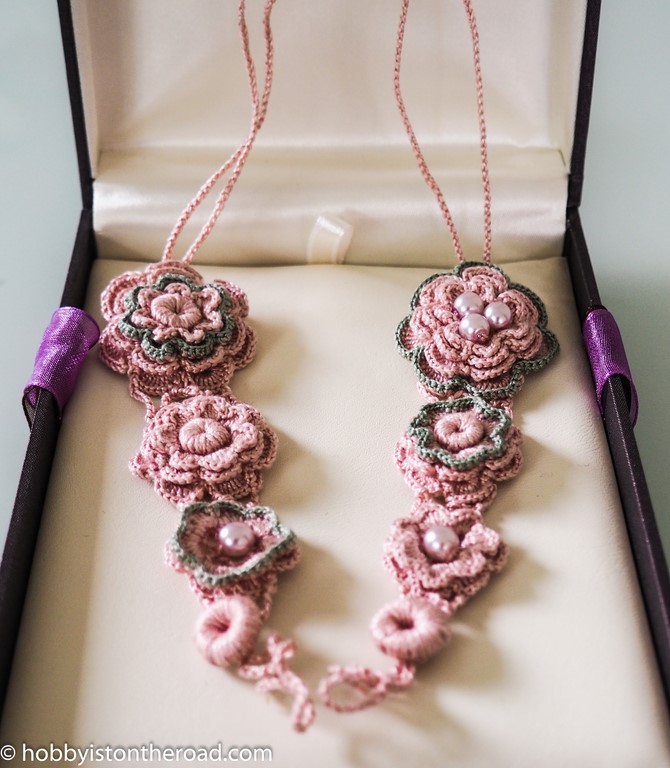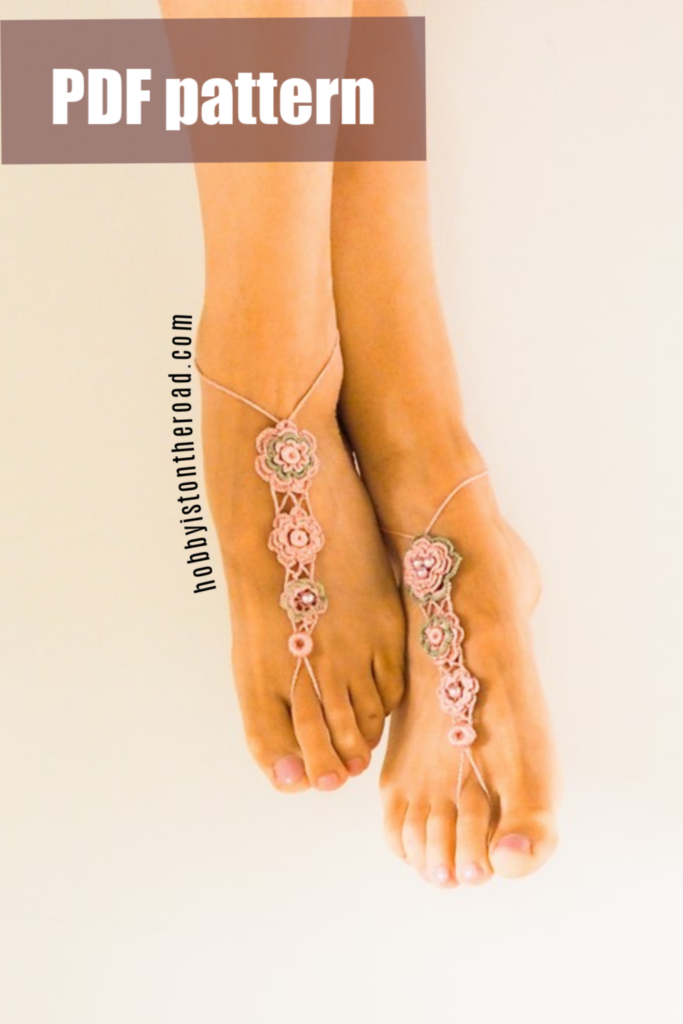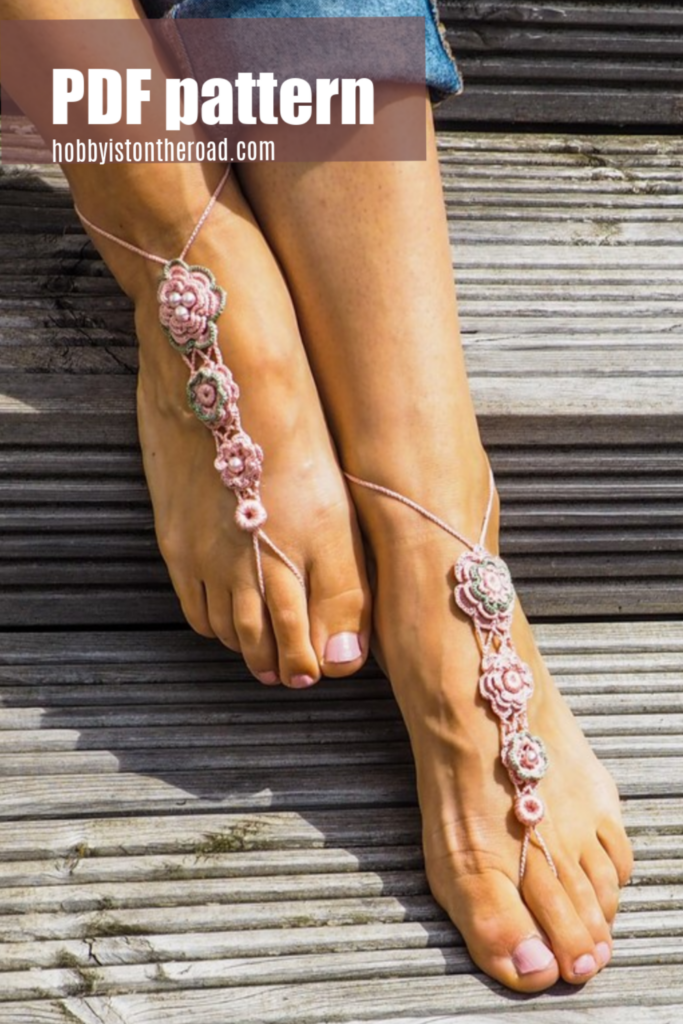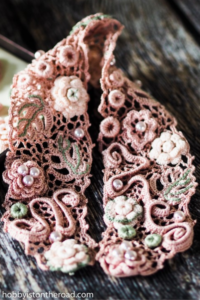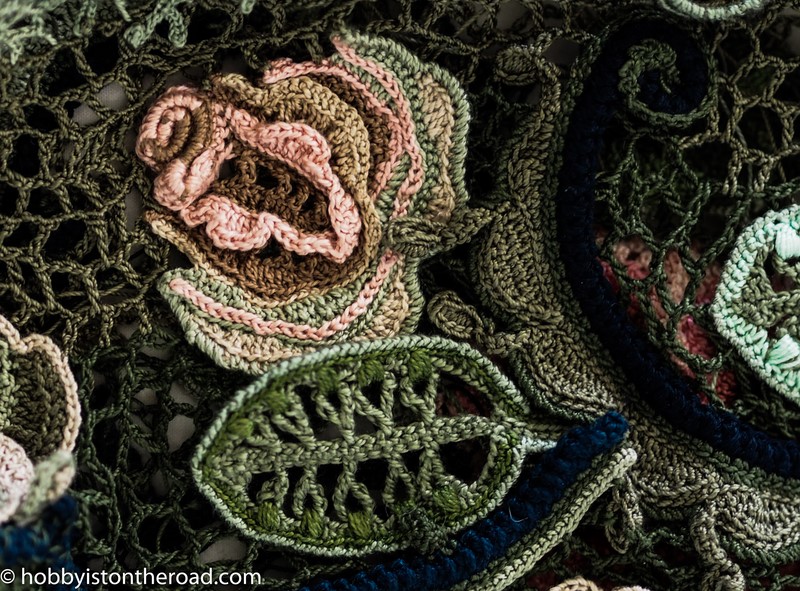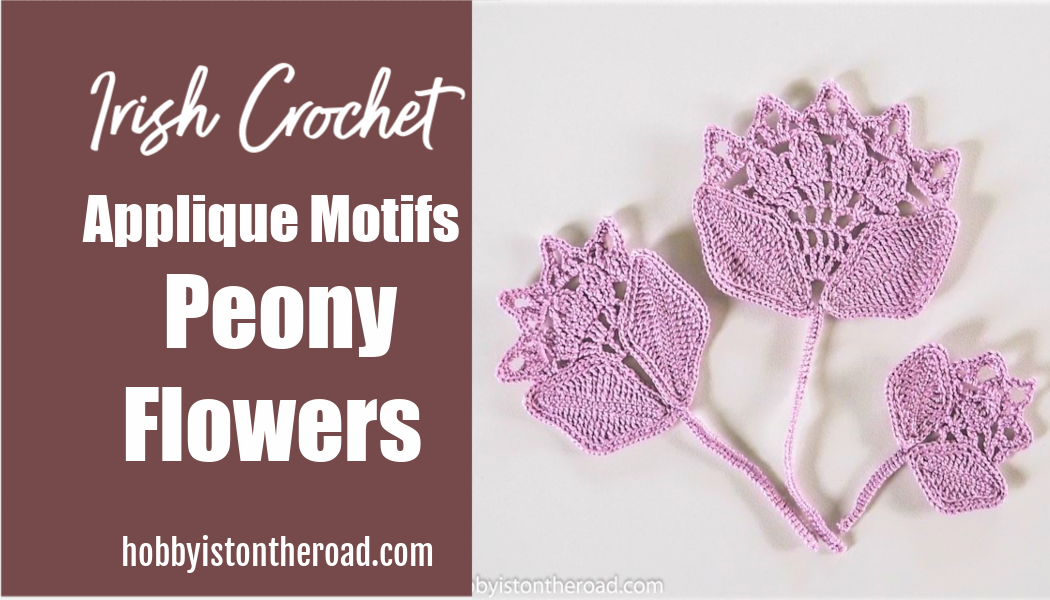
First things first, I am not really sure I should be calling these Stylized crochet flowers, Peonies. I only called them stylized Crochet Peonies after I’ve crocheted them and could not think of any other flower they resemble. So I went with the name of Peony because I managed to convince myself that they look somewhat like peonies. 🙂
But if you have any other suggestions, let me know!
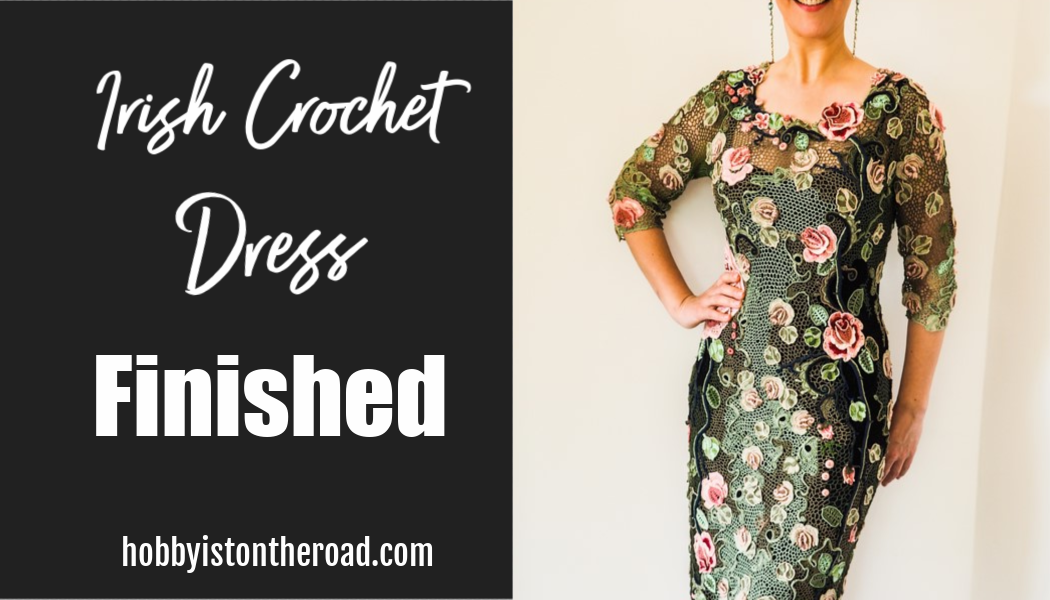
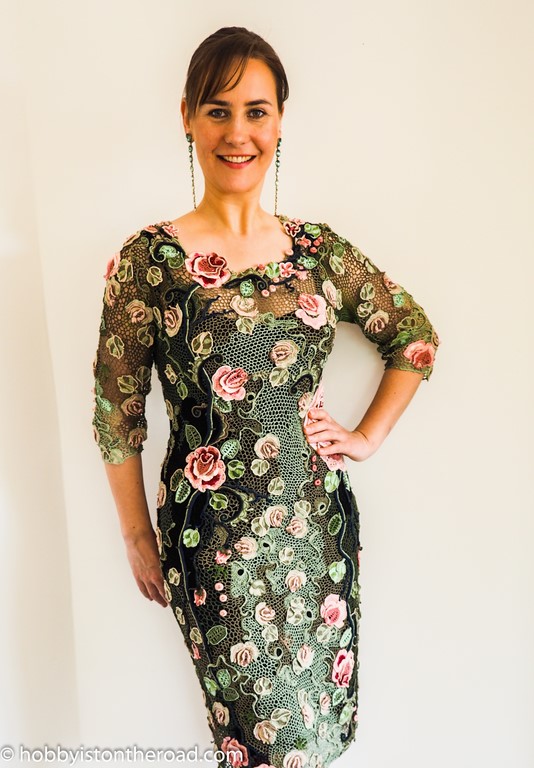
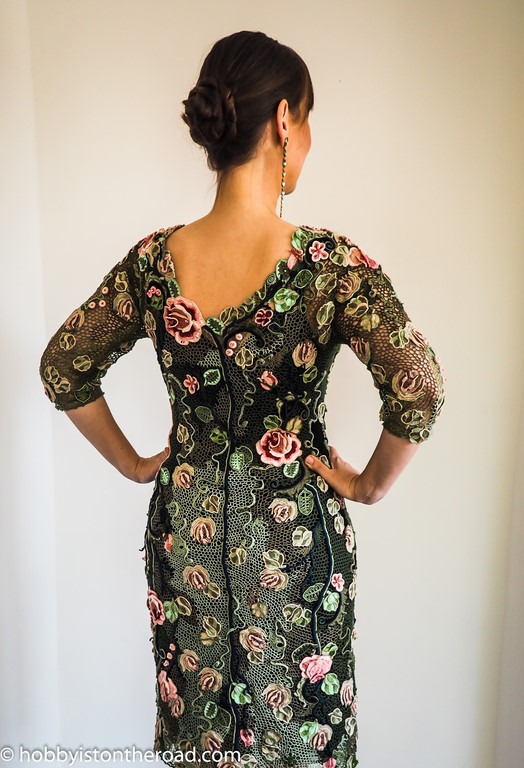
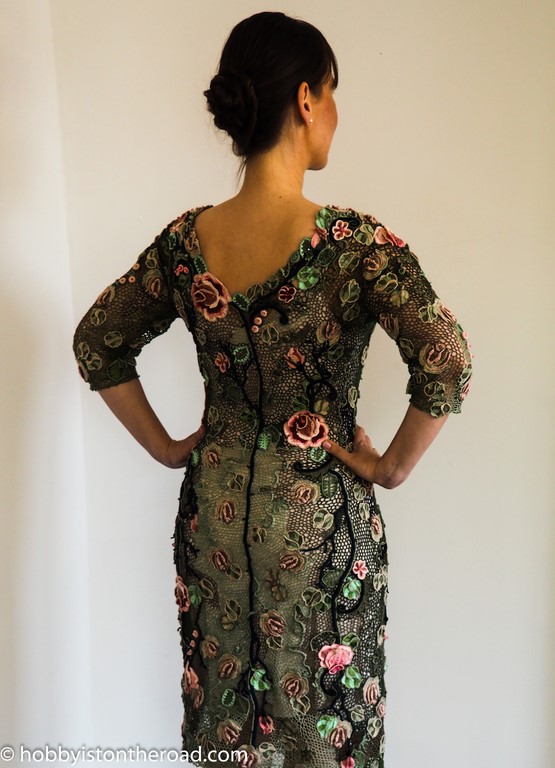
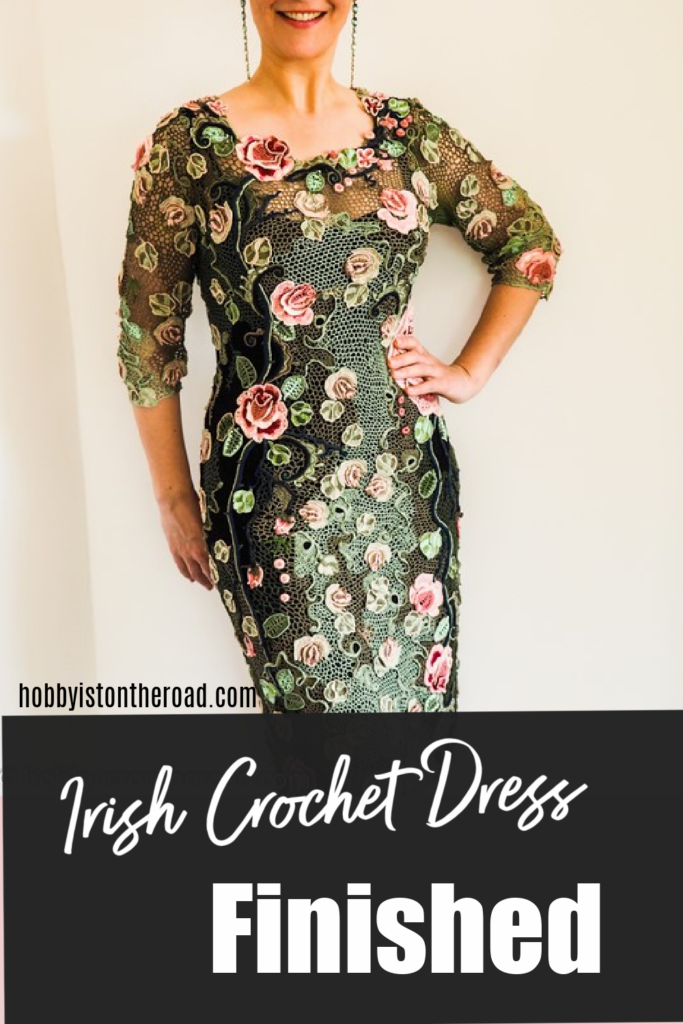
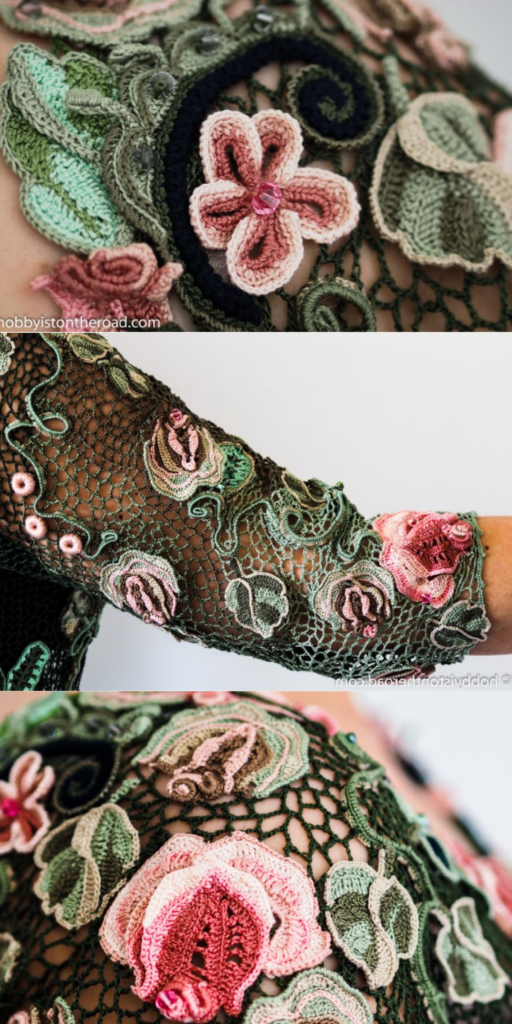
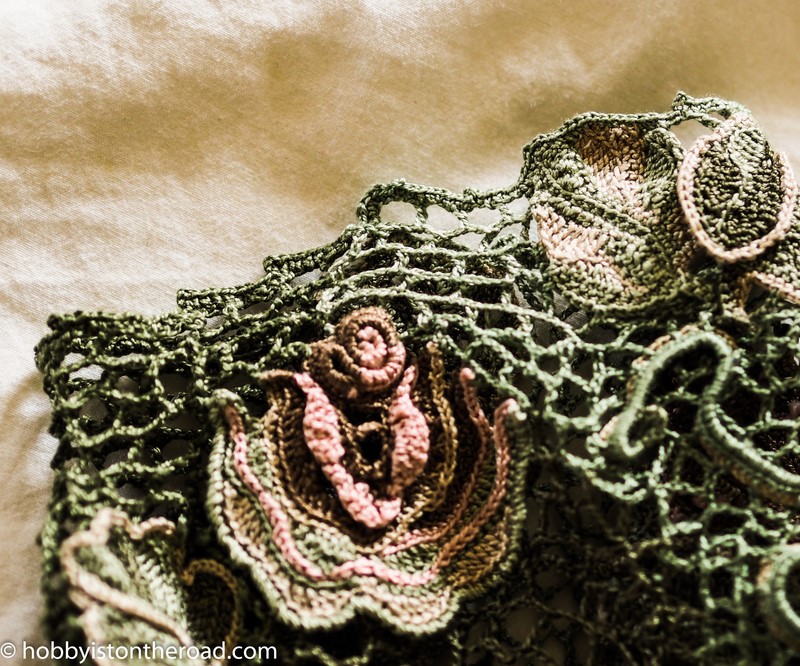
At the moment I am developing a larger Irish crochet project, a dress.
Since I want to make this new dress completely my own, I have to create all design elements from scratch.
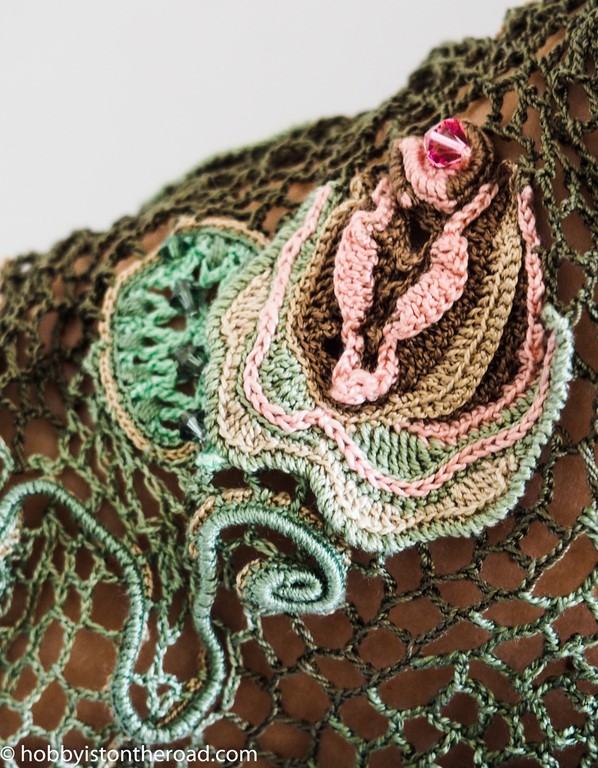
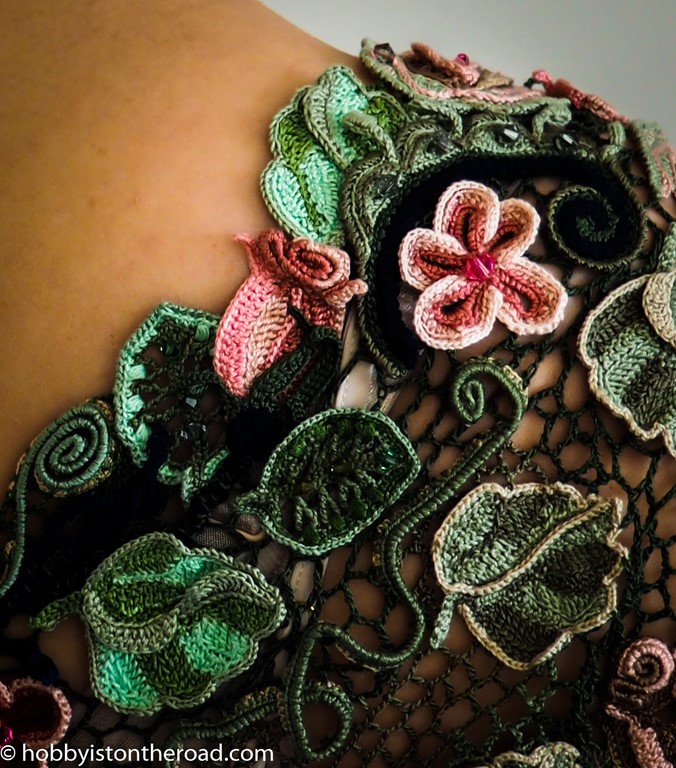
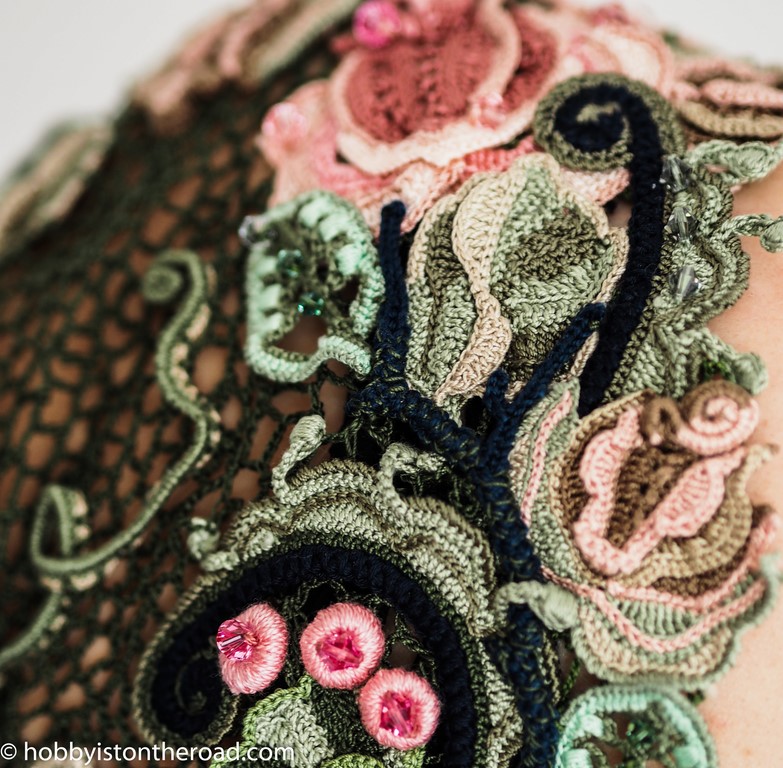
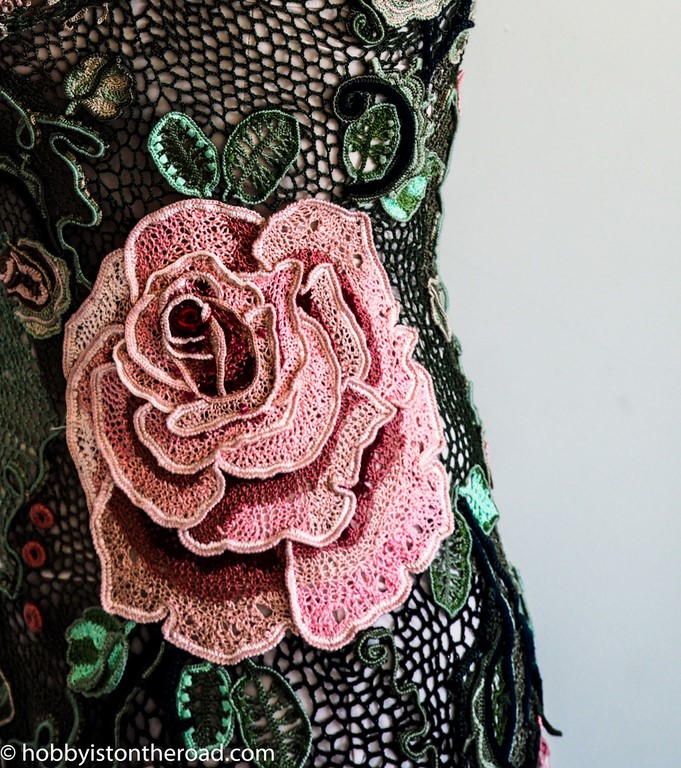
These stylized crochet Peony flowers are the first elements I have created for the new dress that’s currently residing in my head.
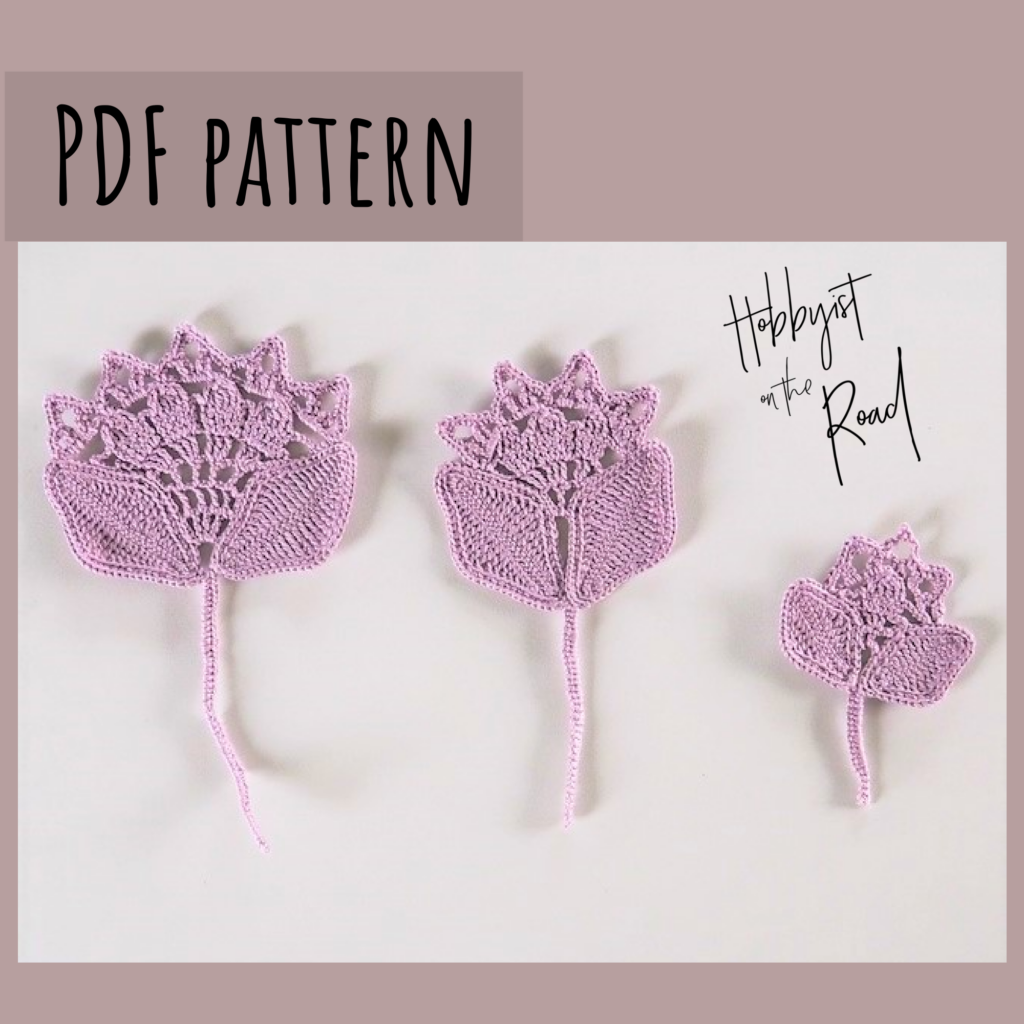
I thought I’d better share the pattern for the Stylized Crochet Peonies with you now since I have no idea when the completed project will see the light of day! I am sure though, it will take a while…
So if you are interested in these applique peony motifs I have the links to this pattern on Ravelry, Etsy and this website below.
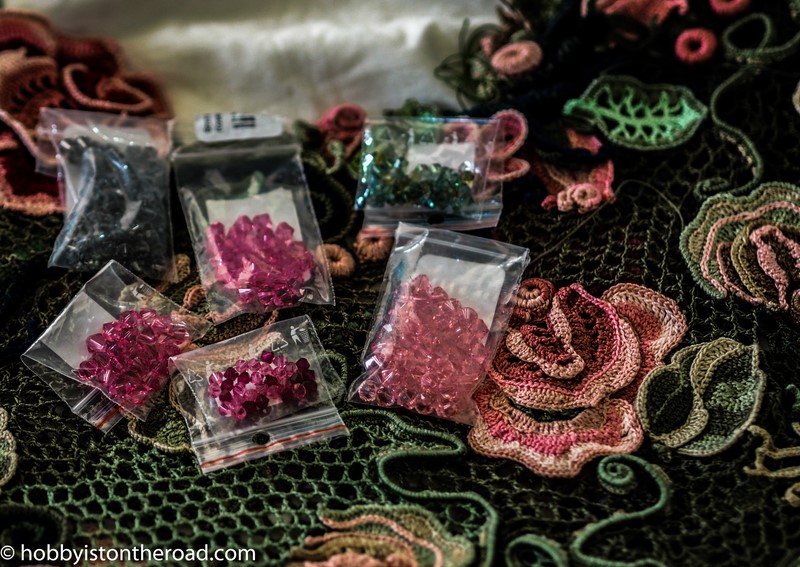
Materials used:
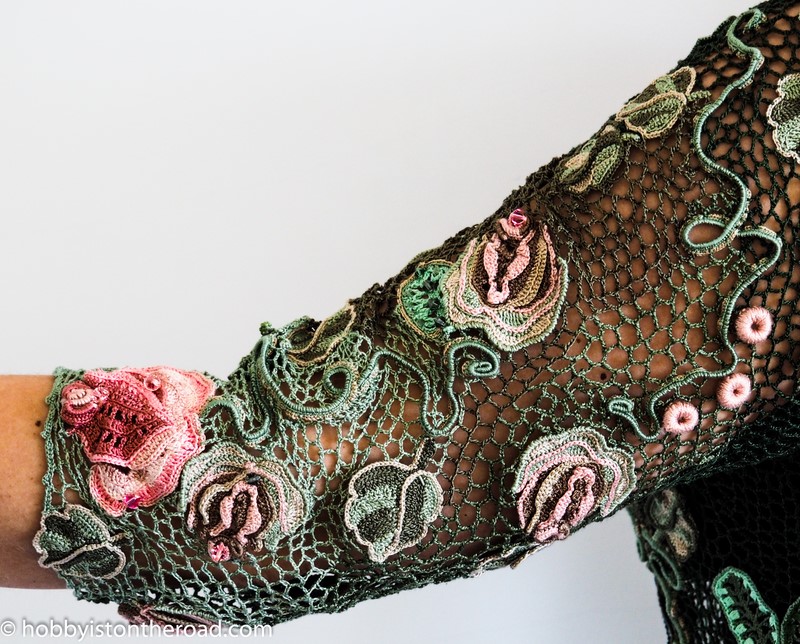
For this flower, I am using thread 100g/ 450m approx. and a 1mm size hook.
I don’t have an exact thread brand, as it’s a thread I’ve had for years and the label has been lost.
You can use any size of yarn and hook, it all depends on what you want to use the flower for. Just keep in mind that the larger the hook and yarn size, the larger and chunkier the flower will be.
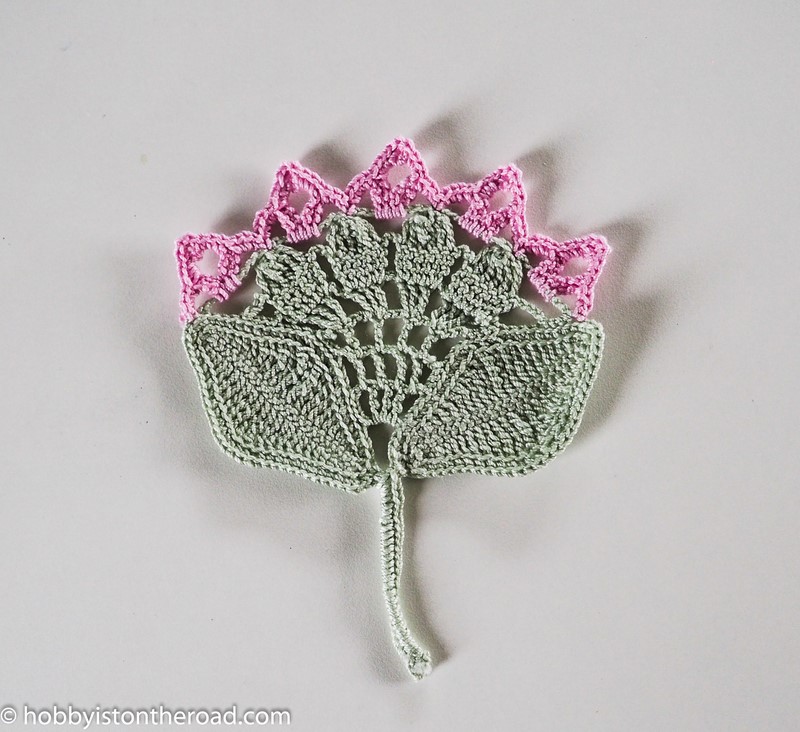
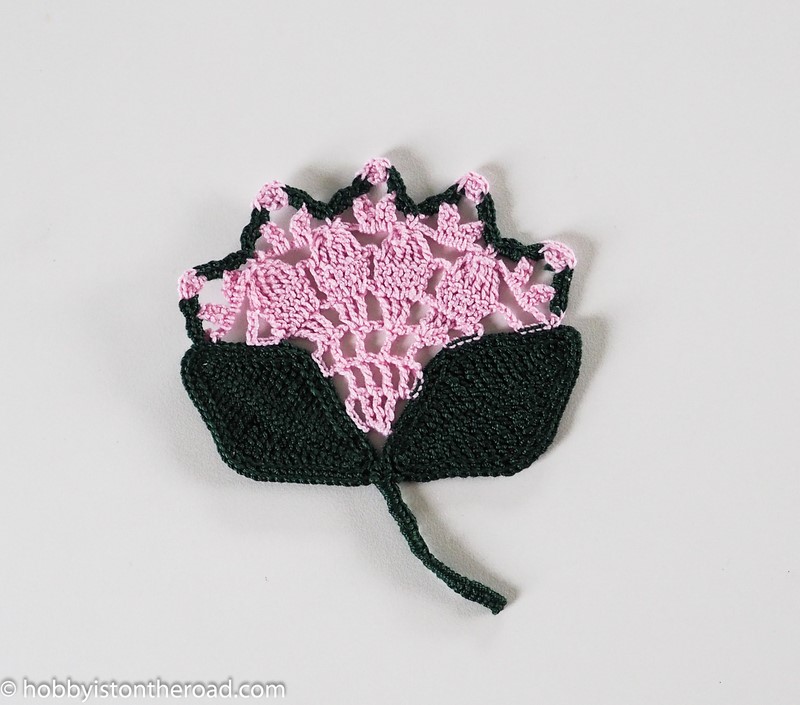
These stylized crochet peonies look really lovely with some color variations:
What can you do with your Peonies?
Here are some suggestions:
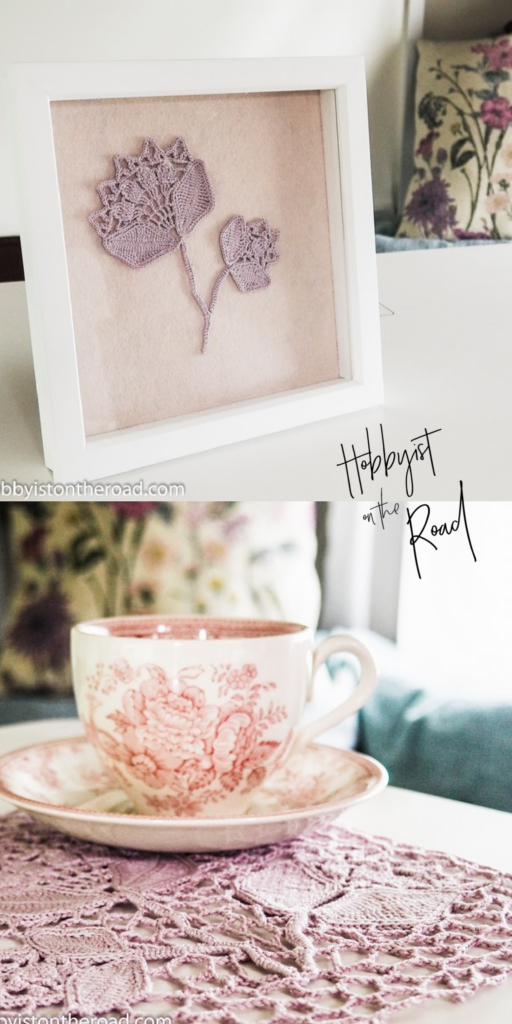
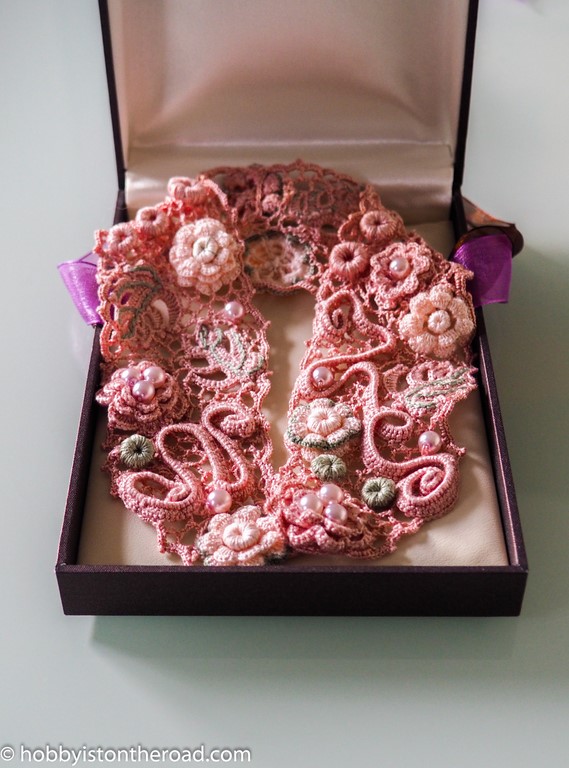
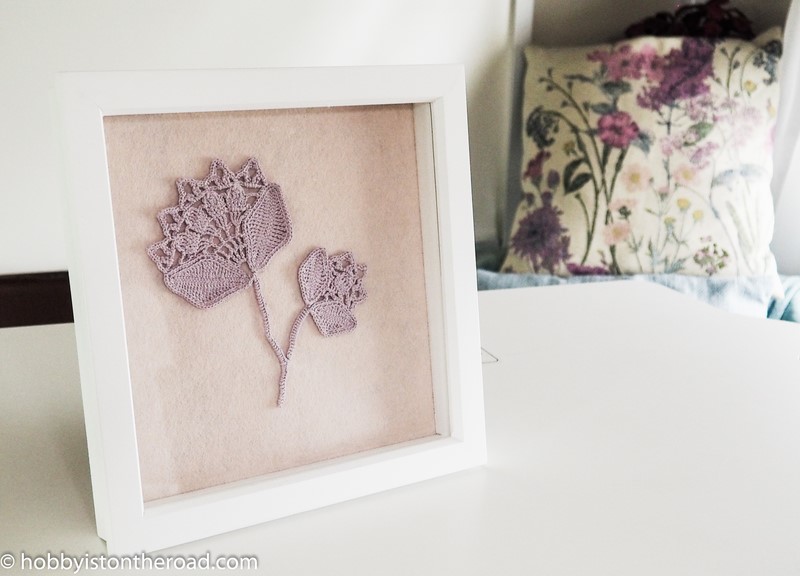
- Frame them – it’s absolutely wonderful to have an original picture at home, brightening up a dull corner. Those pale pastel colours look really beautiful and go well with so many other interior decor elements.
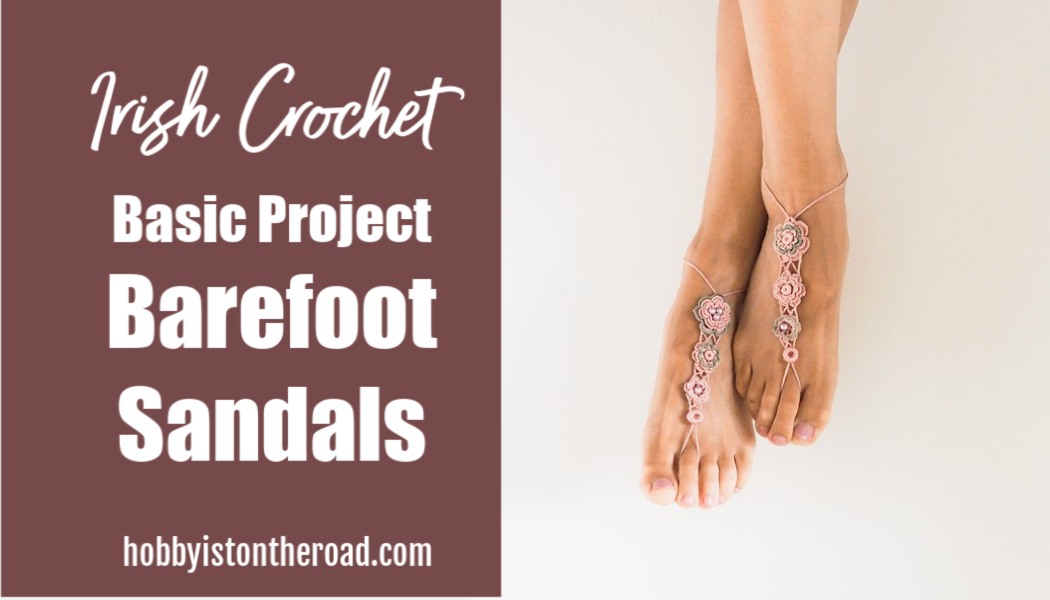
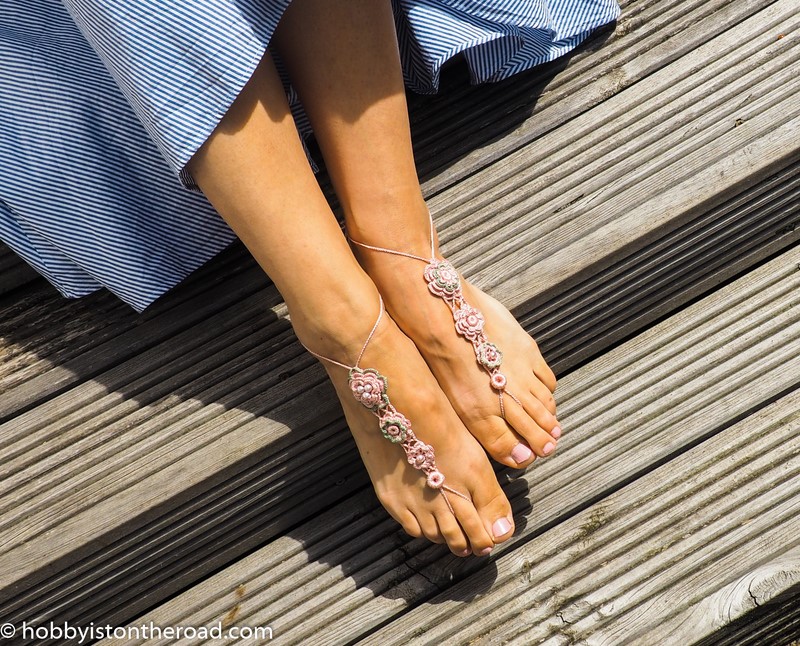
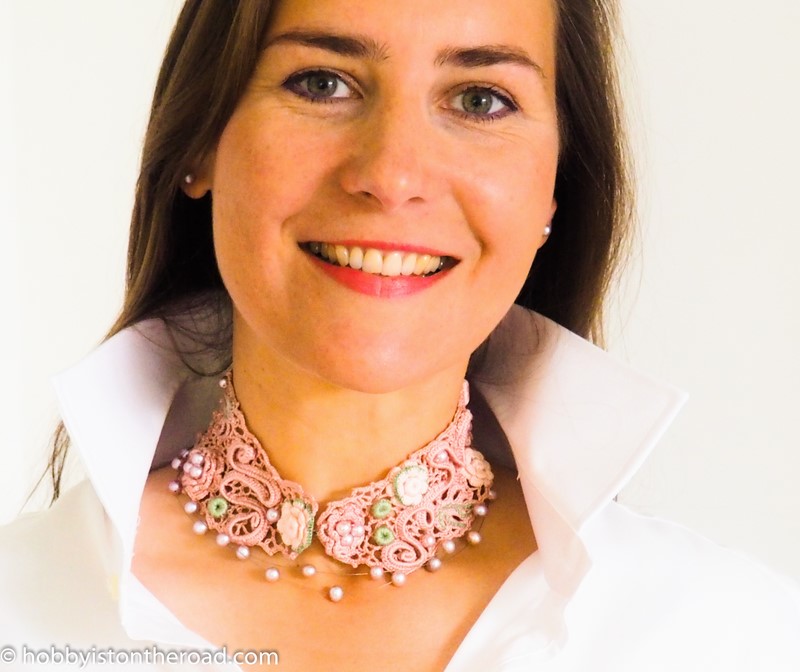
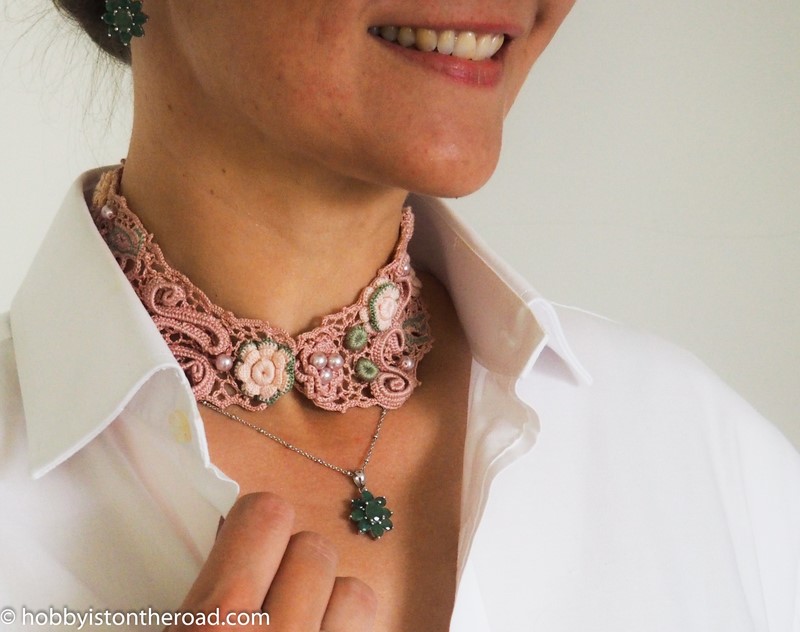
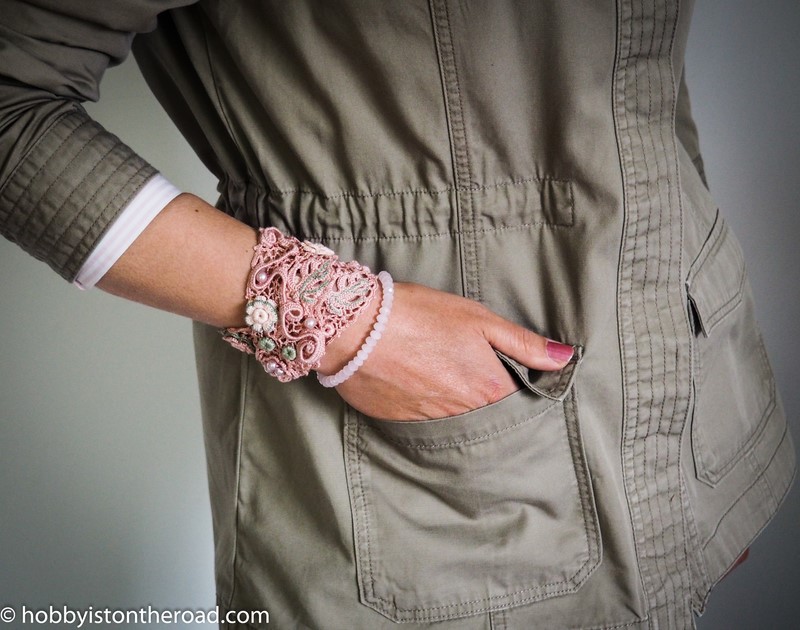
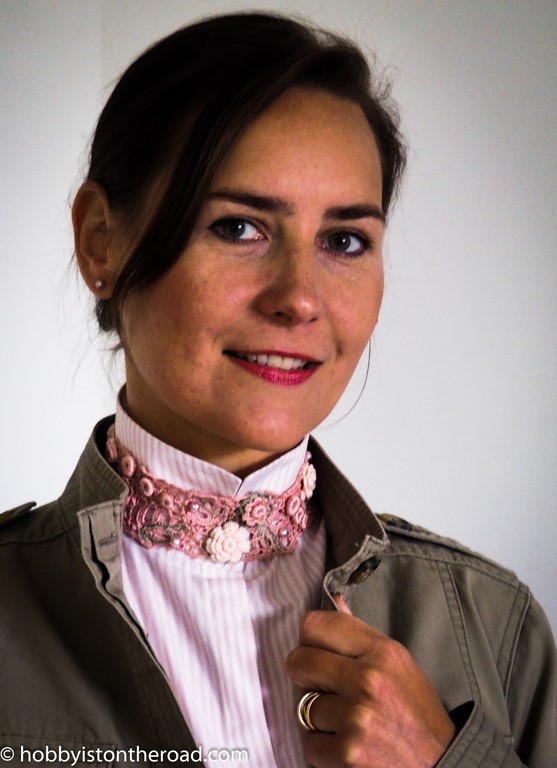
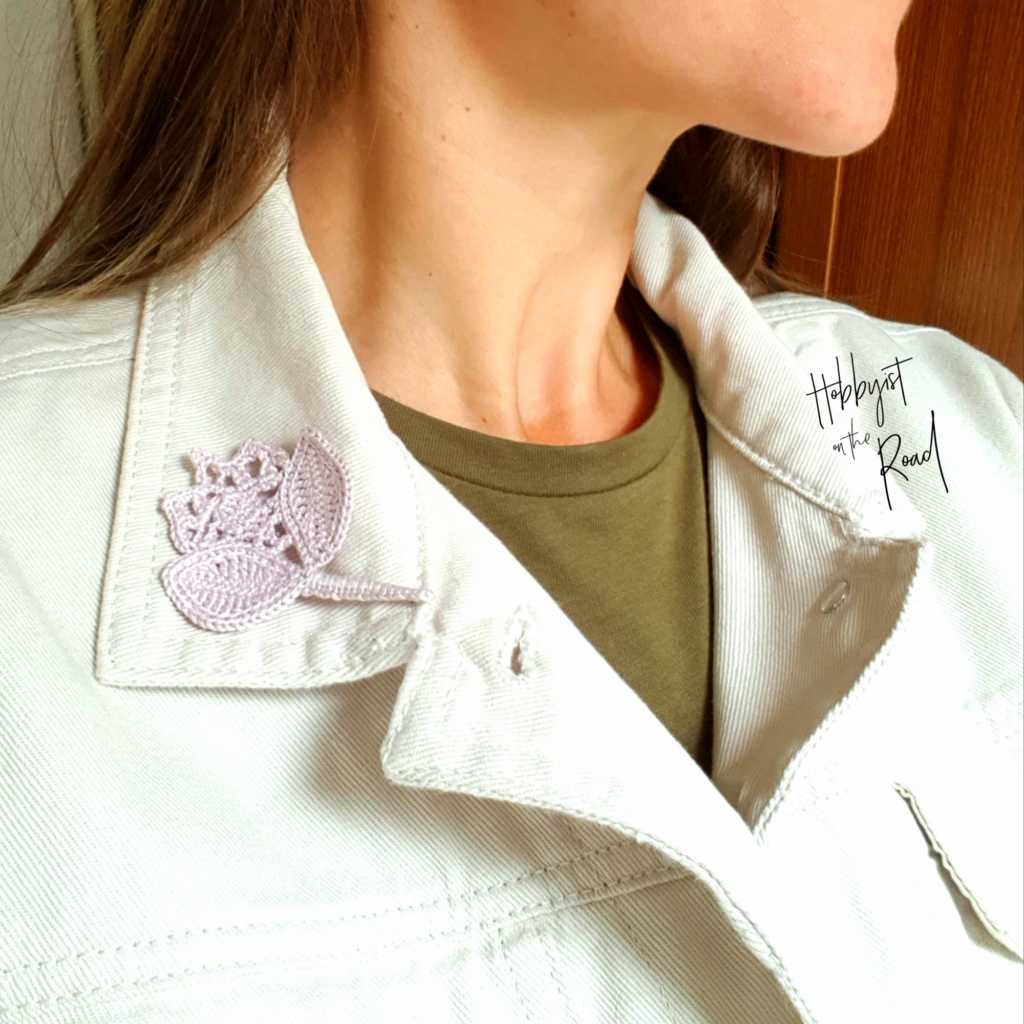
2. Use the small Peony as an applique décor element on your outfits.
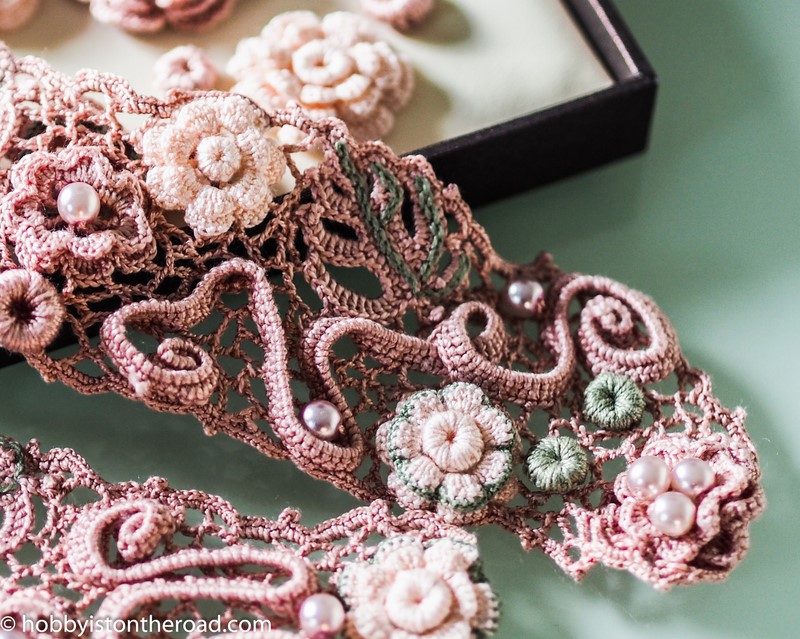
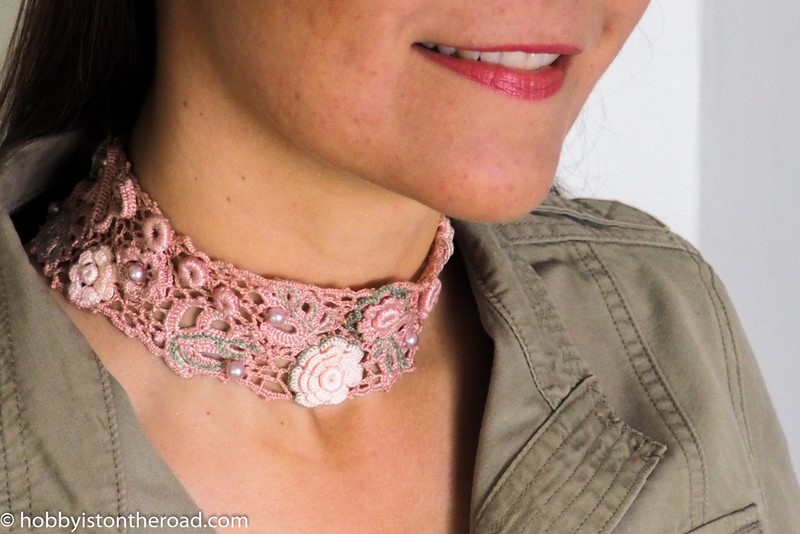
3. Incorporate the stylized peonies into an Irish crochet project – a napkin, picture with lace, cushion cover or a little handbag.

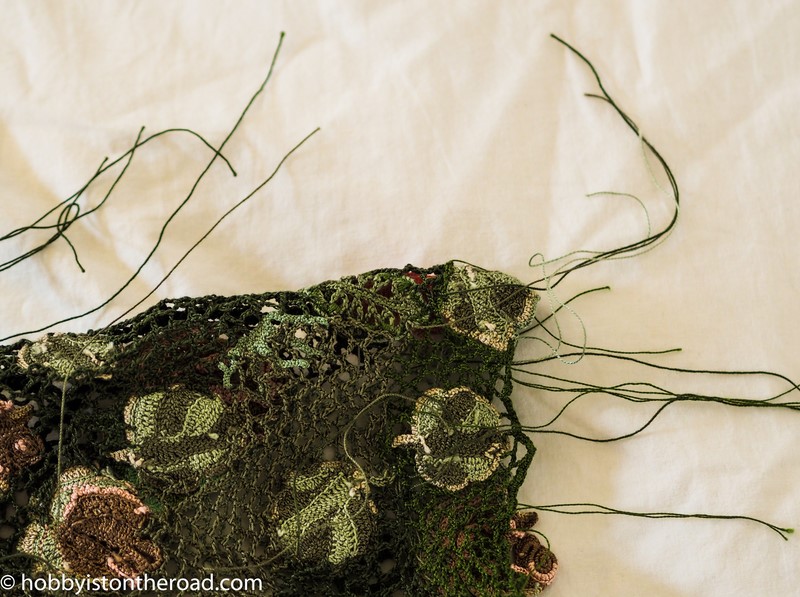
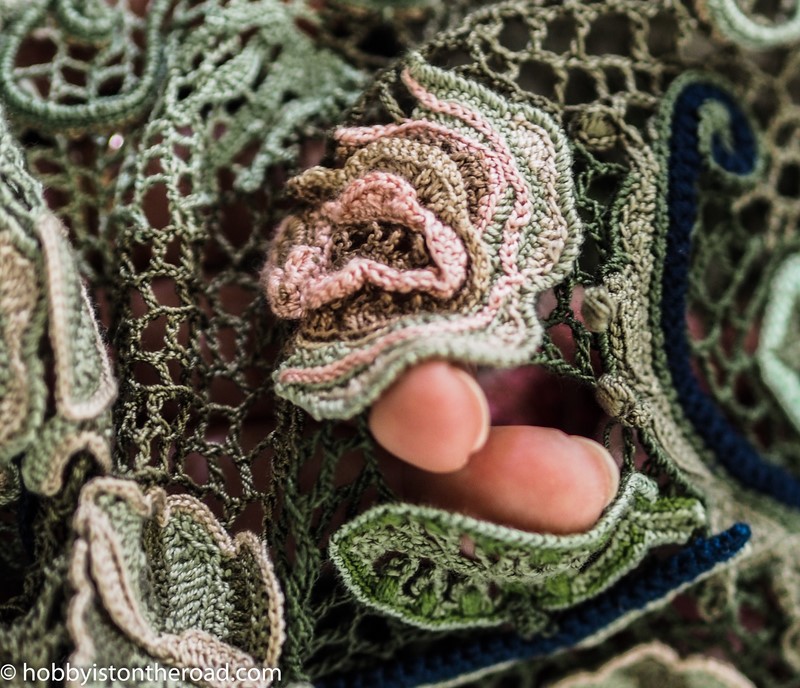
For the purposes of demonstration, I quickly crocheted some lace for the Peonies, so as to give you an idea of how they would look.
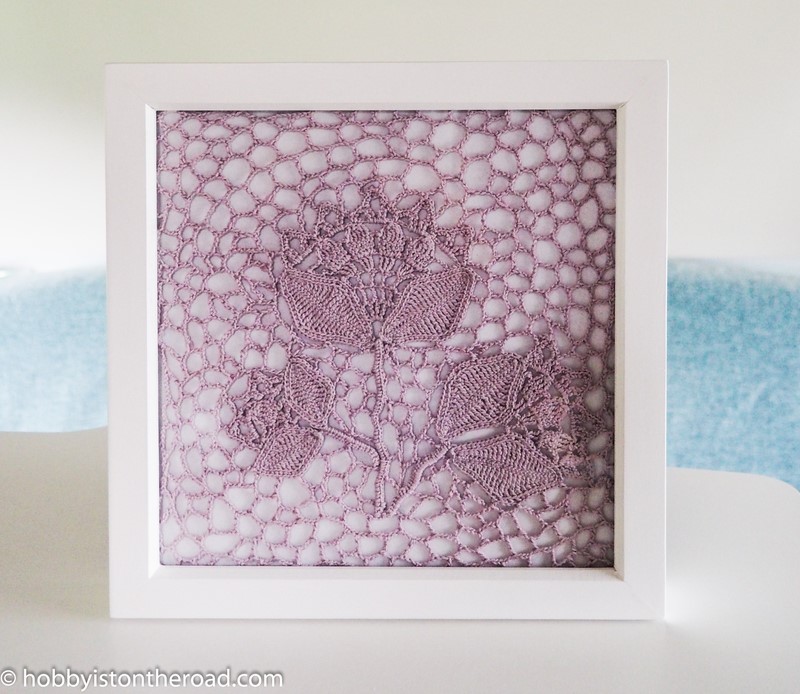
Ideally, I should have used a thinner thread for the lace, but as I am travelling at the moment, I have to use the materials I’ve got with me.
So the StylizedCrochet Peonies Flowers pattern is complete and I am off to create another element for my new Irish crochet project.
Get this Stylized Crochet Peonies Pattern:


Create beauty one stitch at a time!
Like this post?
Pin it for later!