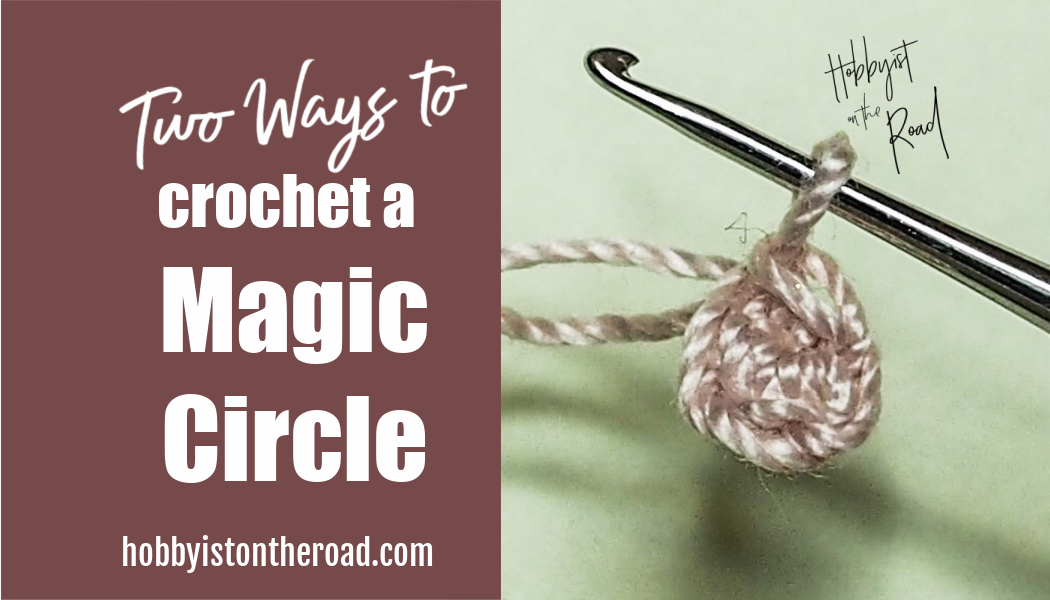
Beginning crocheters often wonder, how to start crocheting in a circle so as it would come out neat and tidy every single time.
Magic Circle is the answer.
In the videos below I show you two ways how to make a magic circle. Choose the one that you find easier, the finished item will look exactly the same.
Variation 1
I sometimes use this first variation when I work with thicker yarn.
Variation 2
As a rule, I usually go for this second variation, especially when crocheting with fine thread and a small hook. I find that by doing it this way, I use up less yarn.
This technique is used when starting all sorts of projects – hats, round napkins, amigurumi toys or anything else where you need to start a circle with no hole in the middle.
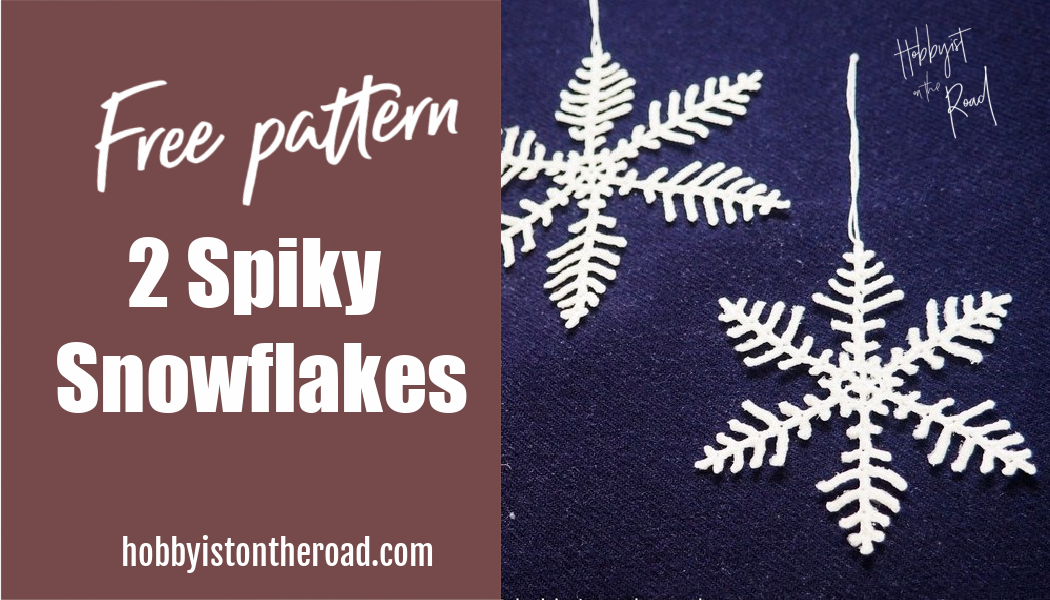
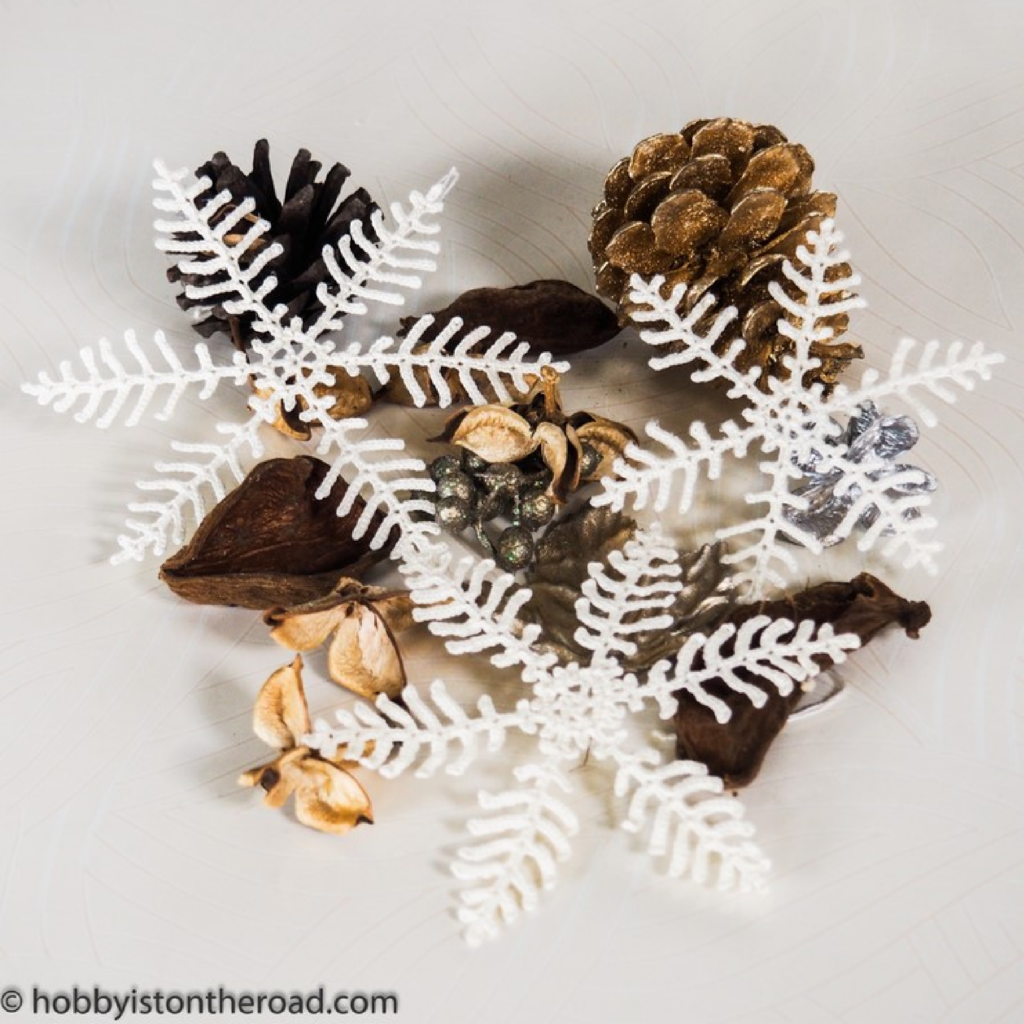
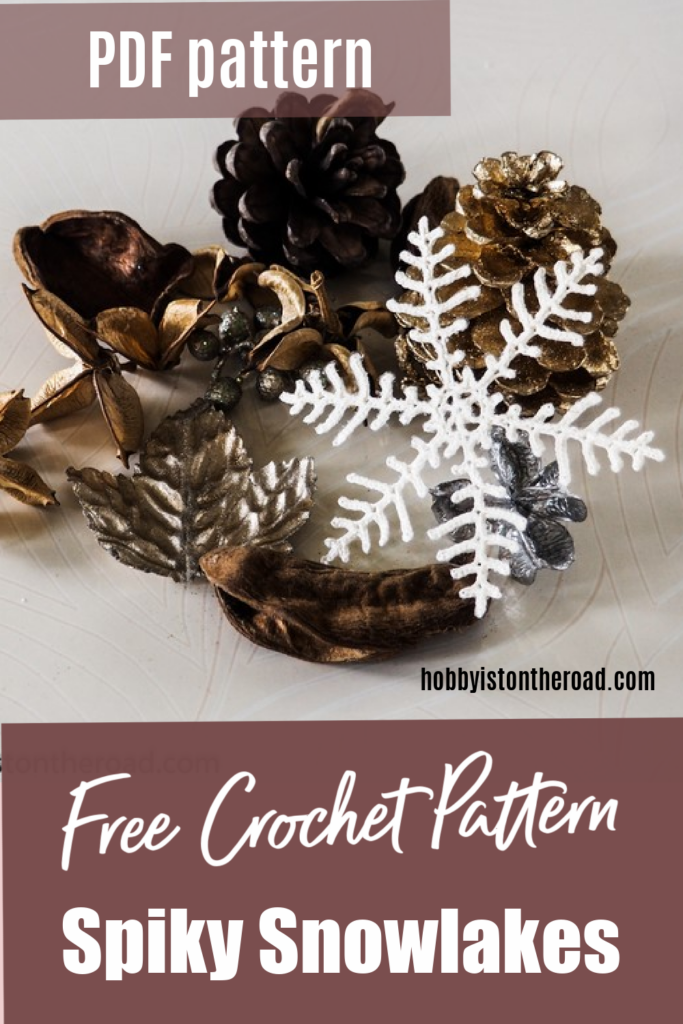
Crochet Spiky snowflakes and decorate your Christmas tree, home or office this Holiday Season!
These spiky snowflakes also make a beautiful unique gift for anyone who appreciates handmade items.
To get your FREE Spiky Snowflake pattern:
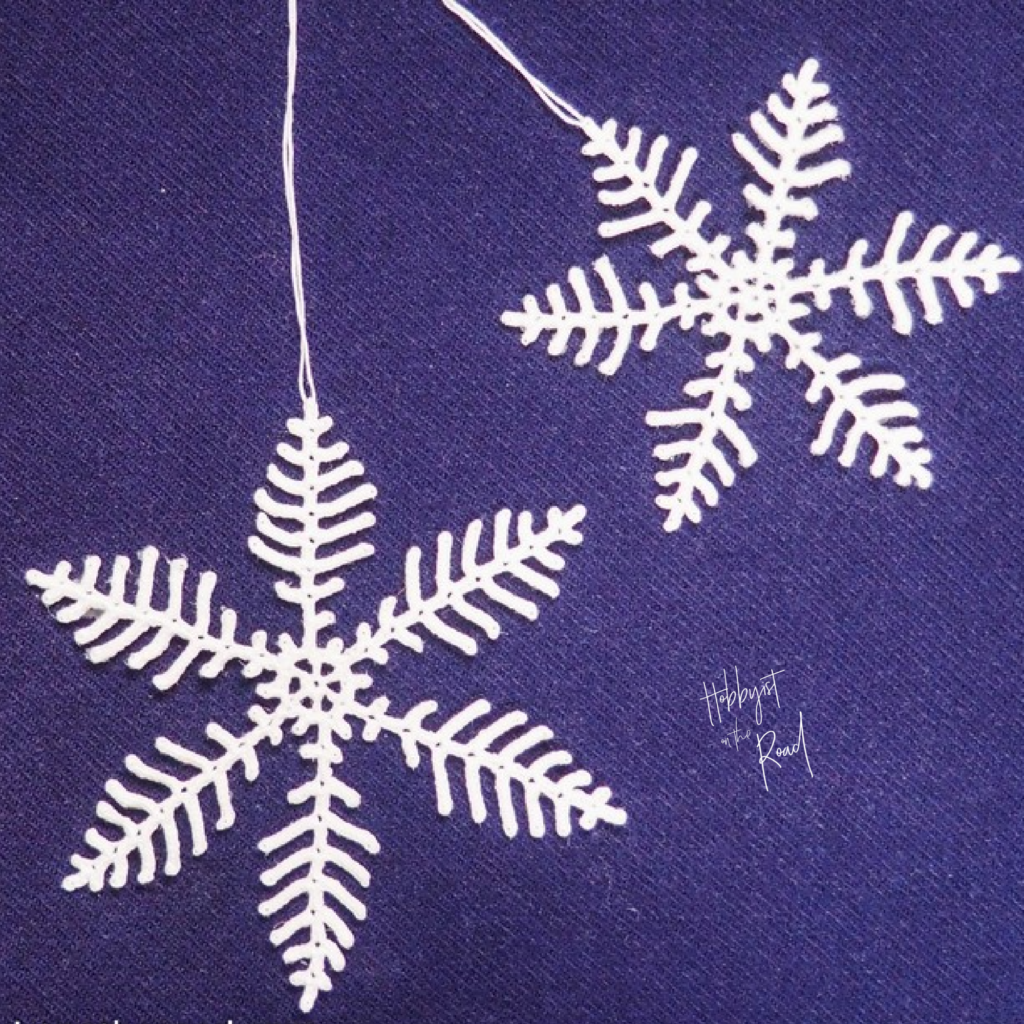
I created this spiky snowflakes pattern after looking at lots of real snowflake photography online. So this pattern resembles a spiky snowflake variety in real life.
But to be honest, I found so many real snowflake variations that I realized, you can crochet almost any kind of imaginary snowflake and it will resemble a real-life one.
One common snowflake feature though, is that each snowflake always has 6 ‘branches’. That’s apparently, a scientific fact. But don’t quote me one that! I am only a crocheter and not a snowflake scientist J
It is a very easy snowflake to crochet and is perfect for beginning crocheters because you need to know only very basic stitches – slip stitch, chain, double crochet (US terminology).
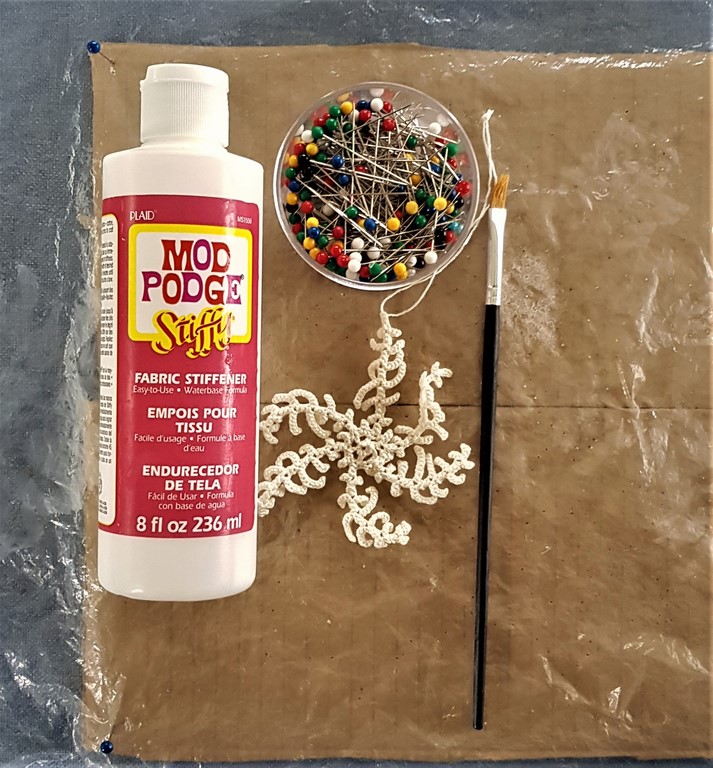
But you can also use homemade stiffeners such as water and glue mixture. Make sure the stiffener is strong enough to hold delicate branches and elements of this Spiky Snowflake.
For laying out and drying my snowflake, I use a soft board (a flat cushion will also work), put a piece of cardboard on top of it with a plastic bag covering.
For ease of access, I also use a small painting brush to apply the fabric stiffener. You can also apply your fabric stiffener with your fingers.
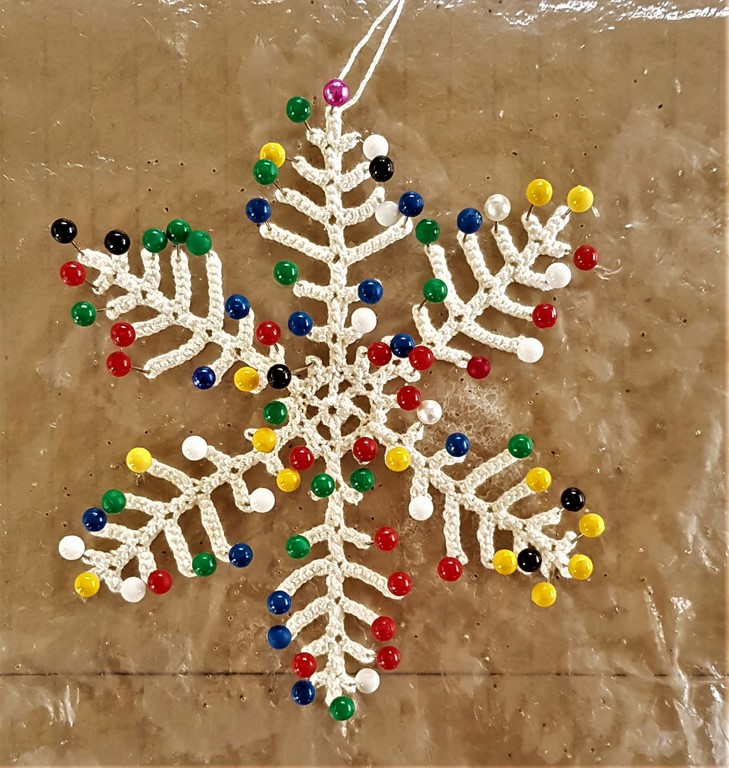
In many cases crocheters first apply the fabric stiffener and then lay out their snowflake to dry. In this case, I reverse the process because the snowflake has lots of small details, and it takes time to lay them out and pin them down precisely, the way I want them to look.
So I first lay out my snowflake and pin each detail in the way I want it to look in the final version. I prefer to lay it out with the wrong side facing up. This particular snowflake design has lots of small spikes, so I need quite a few pins to keep each spike in shape.
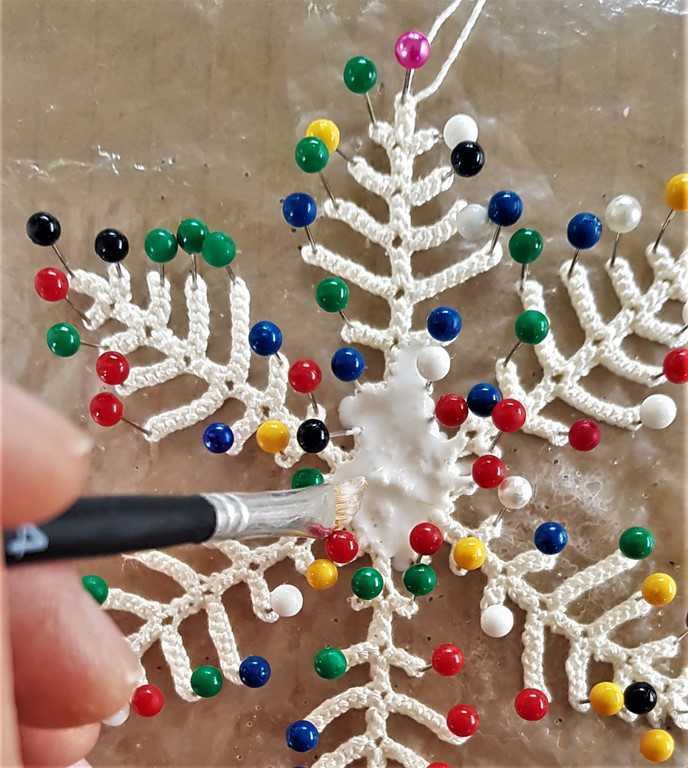
I then take my paint brush and apply the fabric stiffener quite generously, especially around the base of each branch. Make sure that each corner, each little spike and each branch vein have enough stiffener on them, so as the snowflake would hold its shape perfectly when dried.
Leave it to dry out.
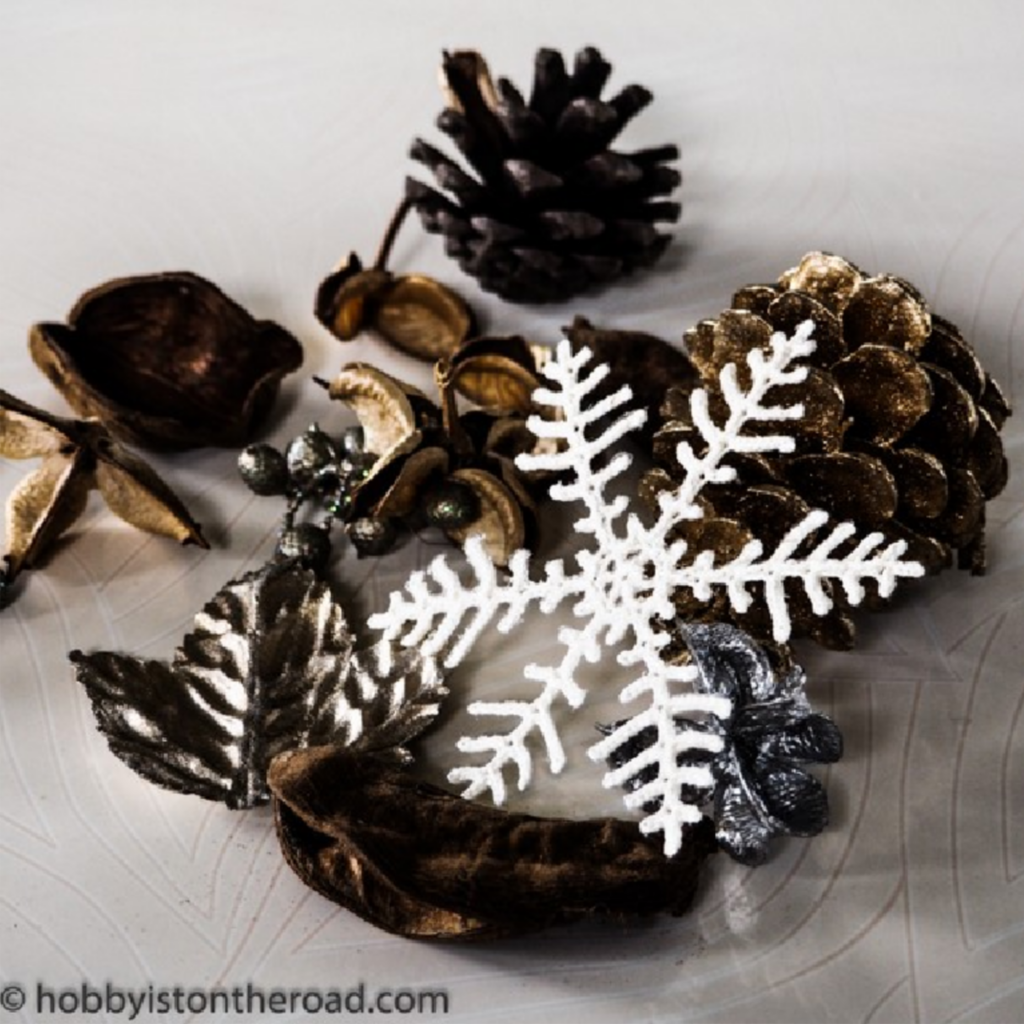
24 hours later (or maybe even less)…
Voila! Your snowflake is ready for beautiful winter décor!
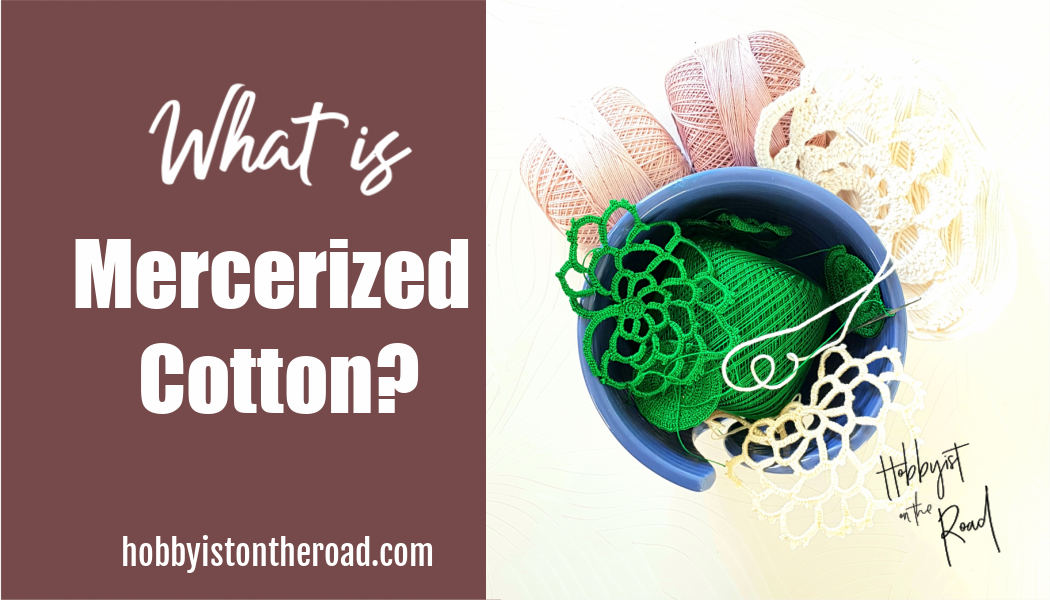
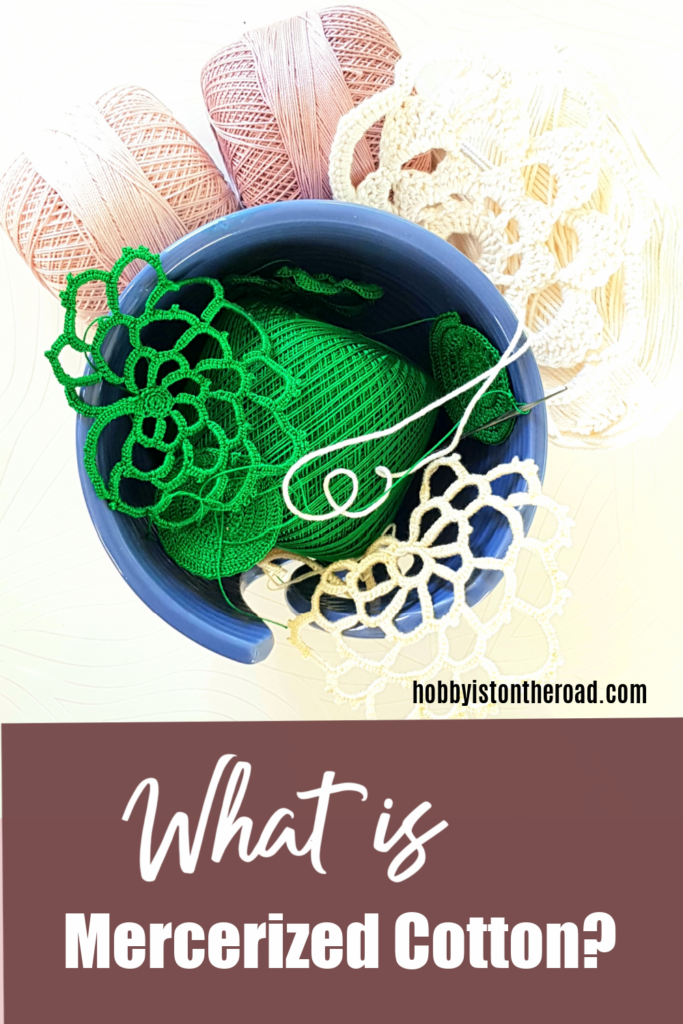
When you go shopping for cotton yarn or thread, you may have noticed that sometimes the label says 100% cotton while other times it says 100% mercerized cotton.
So what is mercerized cotton? And why is it important for your handmade projects?
I filmed this short video explaining what mercerization process means and how it affects the final finish of your crochet or knit item.
I often use this type of cotton thread in my projects. By the way, pearl or perle cotton has also gone through mercerization process.
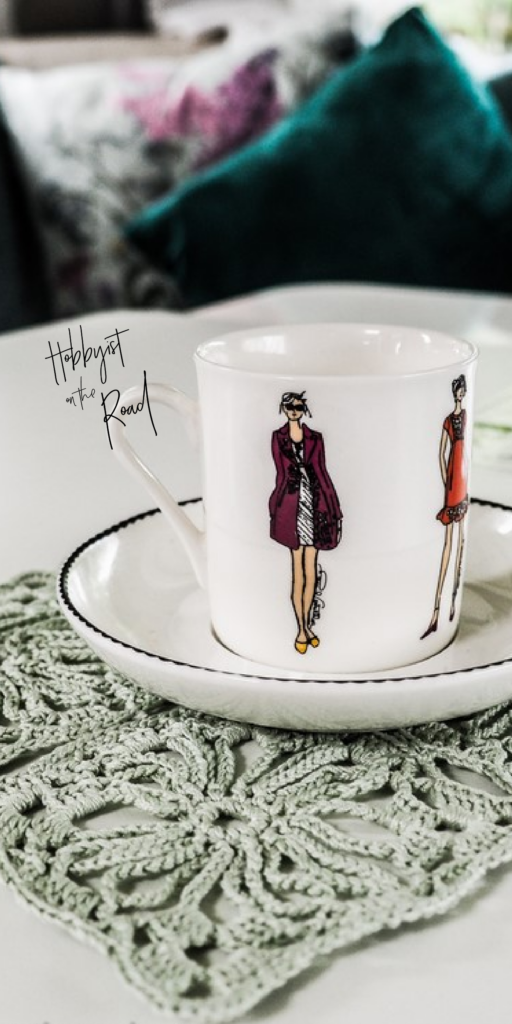
I find that accessories or dressy outfits made from mercerized cotton look particularly good.
Here are the projects where I used this type of thread:
A little story about this granny square pattern, which I have called Auntie Monika’s Granny Squares.
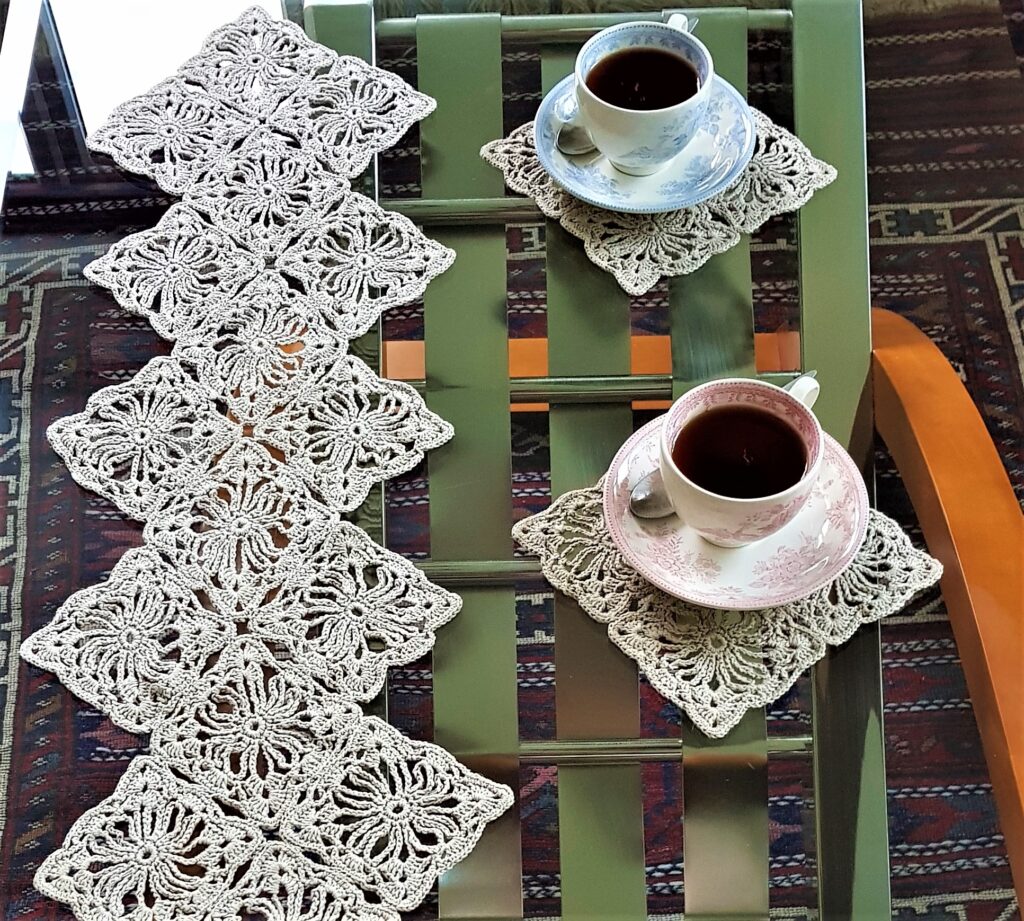
A couple of years ago, I inherited a couple of small handmade items when my Auntie Monika passed away. Among them, there was a set of crochet granny square napkins with a table runner. They were made from a very simple, crude-looking thread.
The set was lying there peacefully in my cupboard until one day I came rummaging around looking for some napkins for my glass dining table.
At first, I couldn’t find anything suitable, but then I noticed Auntie Monika’s set of granny square napkins…
I picked them up and thought to myself they will have to do for now until I find something better…
…and placed them on my glass table.
Suddenly, an unexpected transformation!
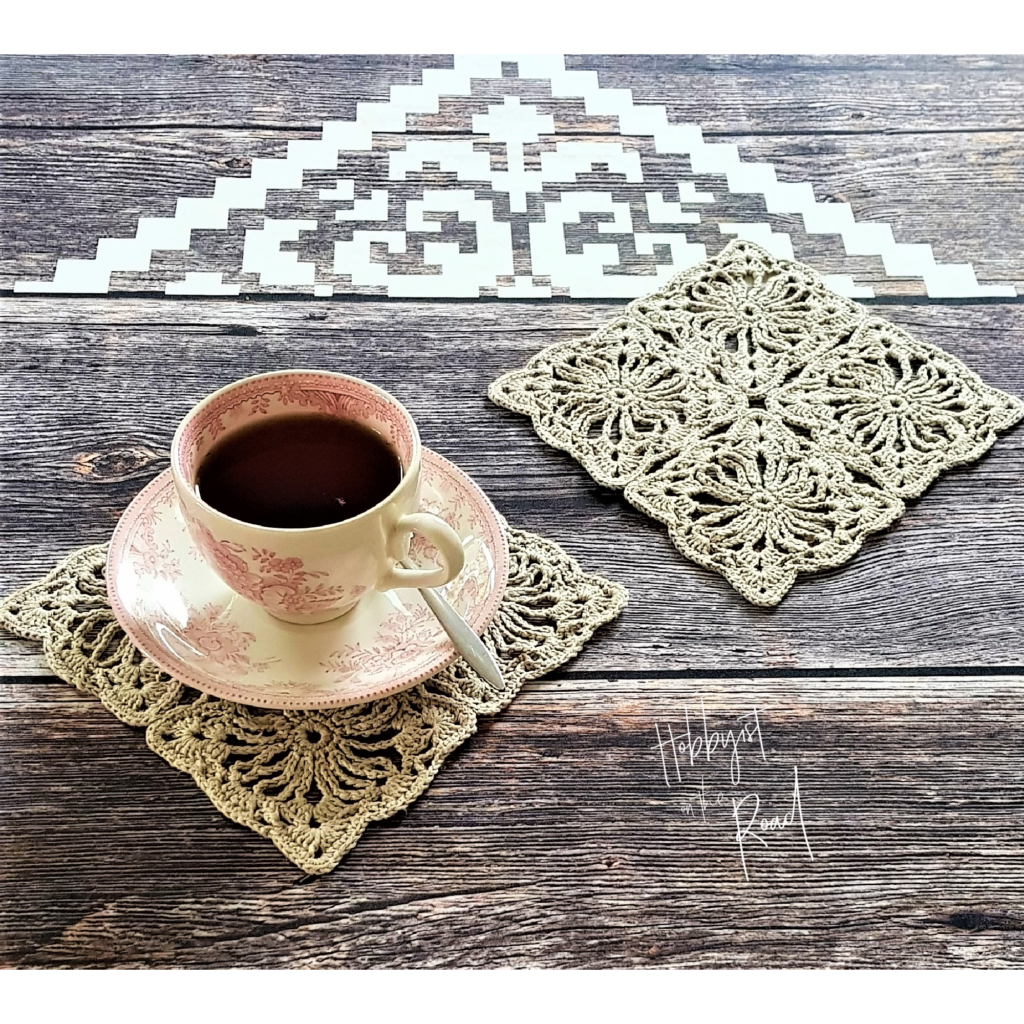
These granny square napkins transformed from something ordinary-looking, something I had seen a million times before, to unique table decor enhancing my contemporary and somewhat eclectic setting.
And it didn’t matter that the napkins were about 50 years old, made from the crudest thread you could find.
Suddenly, from an interim fill-in item, Auntie Monika’s granny square napkins transformed into something I absolutely love!
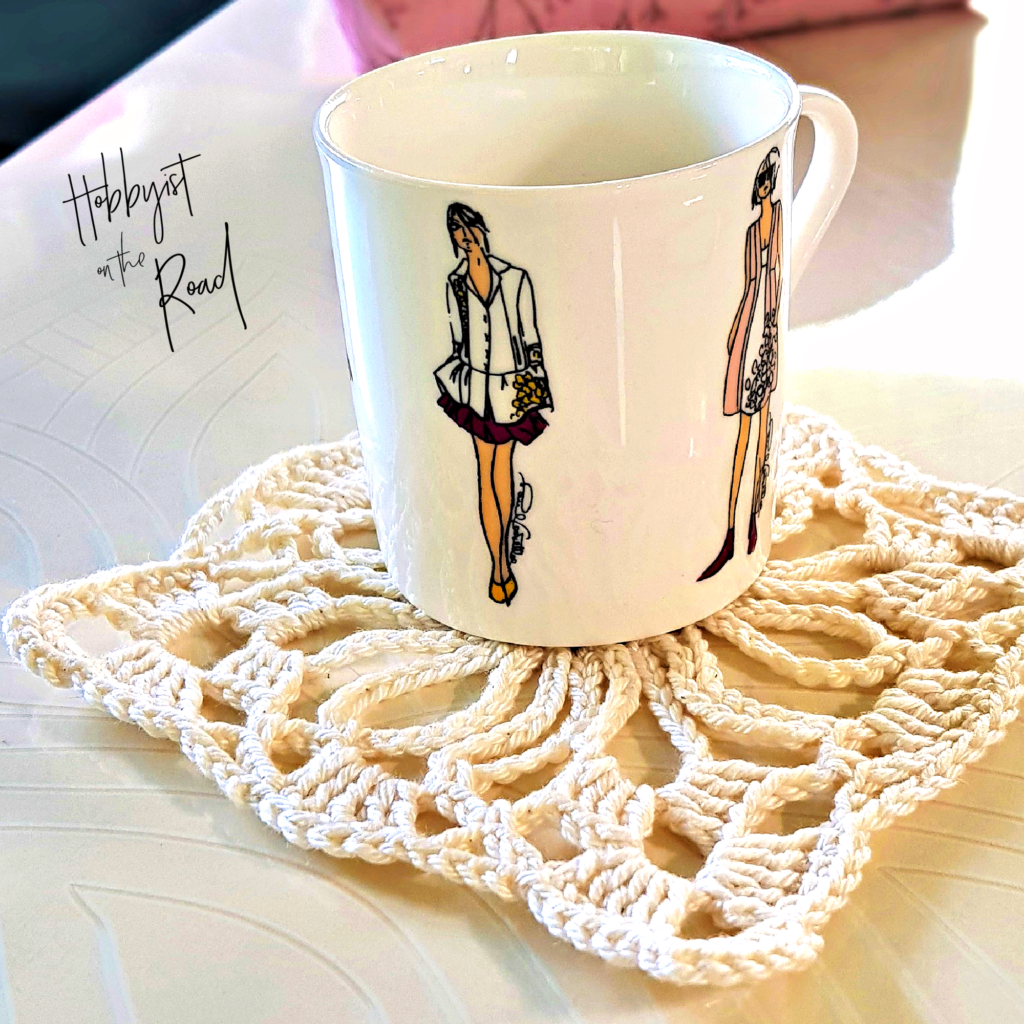
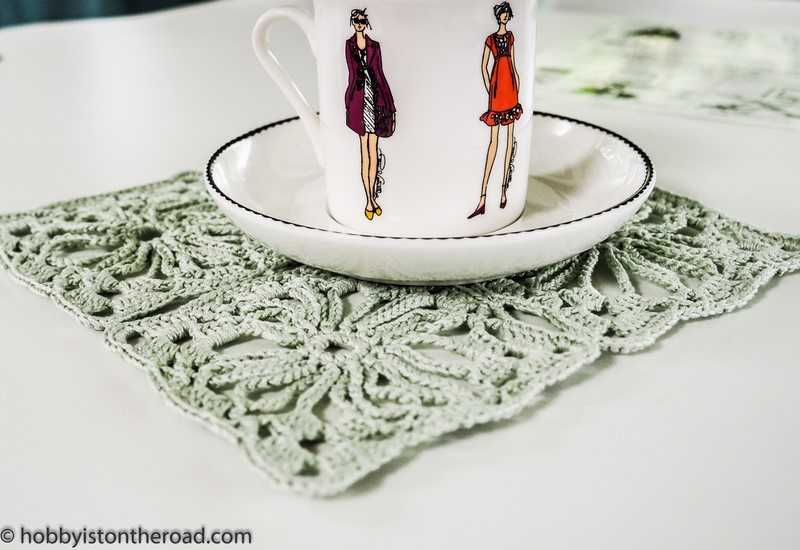
I use them on my glass dining and coffee tables, I use them in my caravan. I use them as napkins for coffee cups as well as for placing hot items such as coffee pots or hot serving bowls.
And a huge bonus to all this experience is that every time I pick up the napkins, I spare a little thought to my auntie Monika, who crocheted these delightful napkins all those years ago.
My auntie didn’t leave the pattern. In fact, crochet and knitting was something she did but didn’t really talk about. For people of her generation, it was something ordinary, something everyone could do, like cooking a meal or weeding one’s garden.
But I think, these delightful granny squares deserve to be shared with the world!
So I reverse-engineered the pattern, wrote it down, took lots of process pictures and am happy to say the pattern is available now!Click HERE.
These granny square napkins are so quick and easy to make. Plus, as any granny square, they have lots of potential uses!
For Step-by-step instructions downloadable PDF pattern:
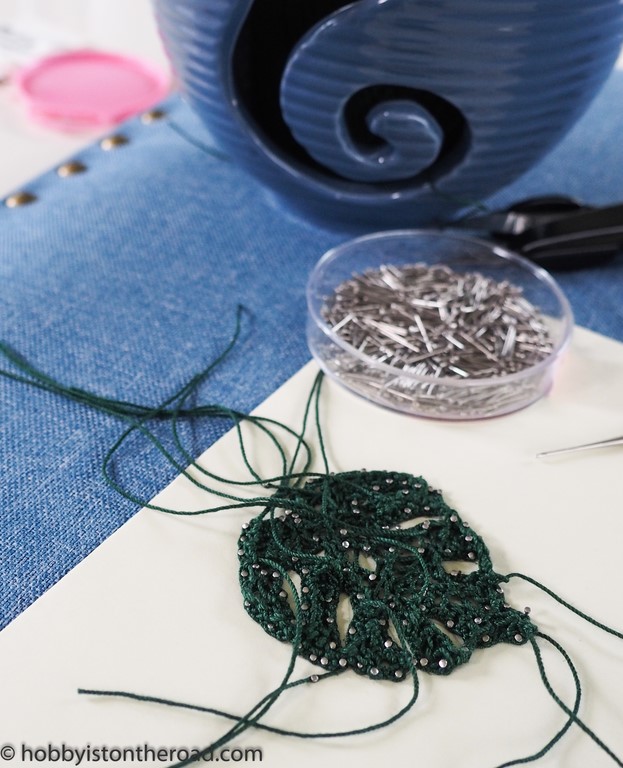
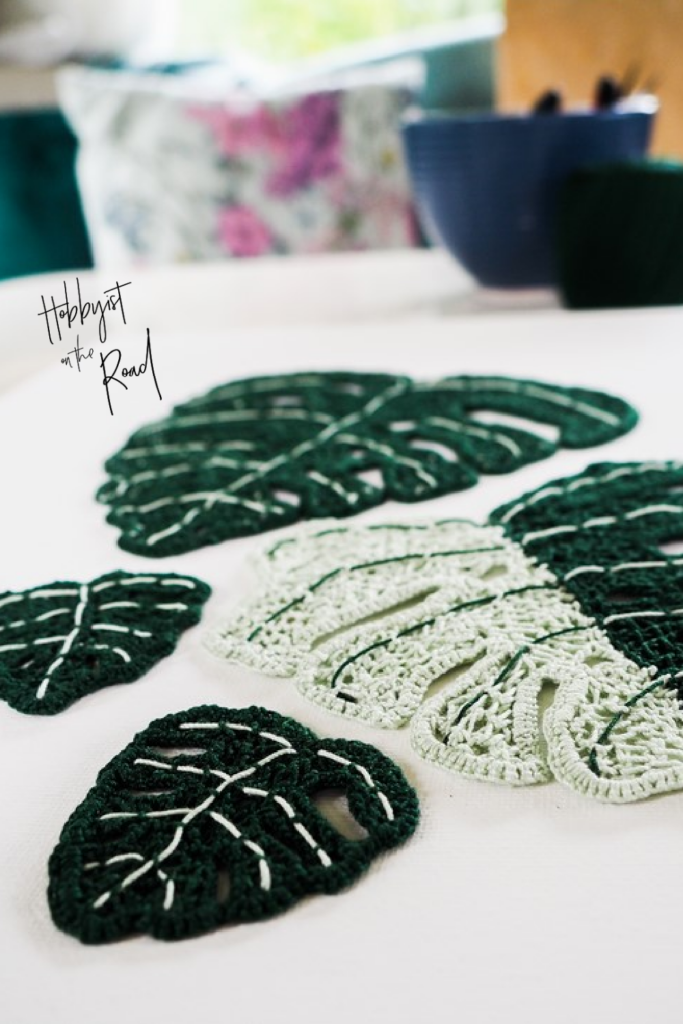
Materials and Tools used for Monstera Leaves project:
The yarn is 100% mercerized cotton 100g/460m approx.
2. 1mm hook for two larger leaves and 0.75mm hook for the smallest leaf.
You could potentially go up to 1.5mm hook, but anything larger than that, will make the process very difficult as you will be crocheting on a flat surface.
3. Soft worktop or a flat cushion.
4. Pins, scissors, needle.
5. Printer to print out Monstera Leaves drawings.
The way the process works is:
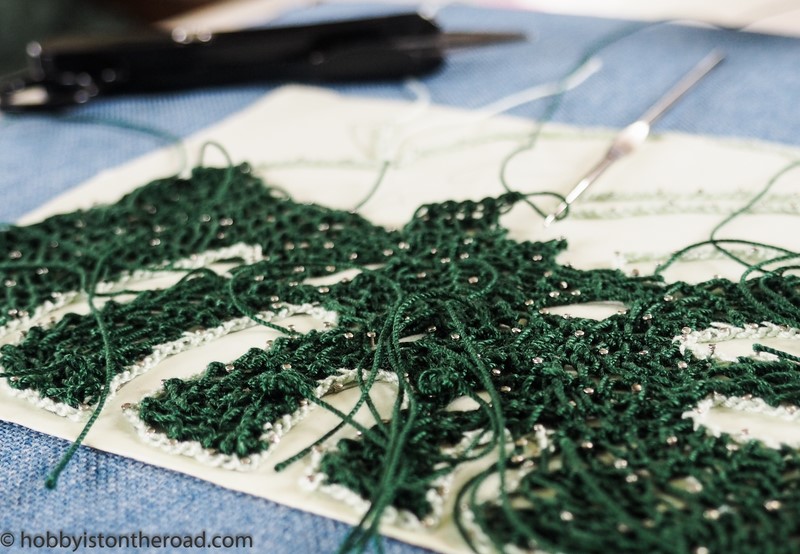
You attach your drawing of a Monstera Leaf to a flat soft worktop (or a cushion).
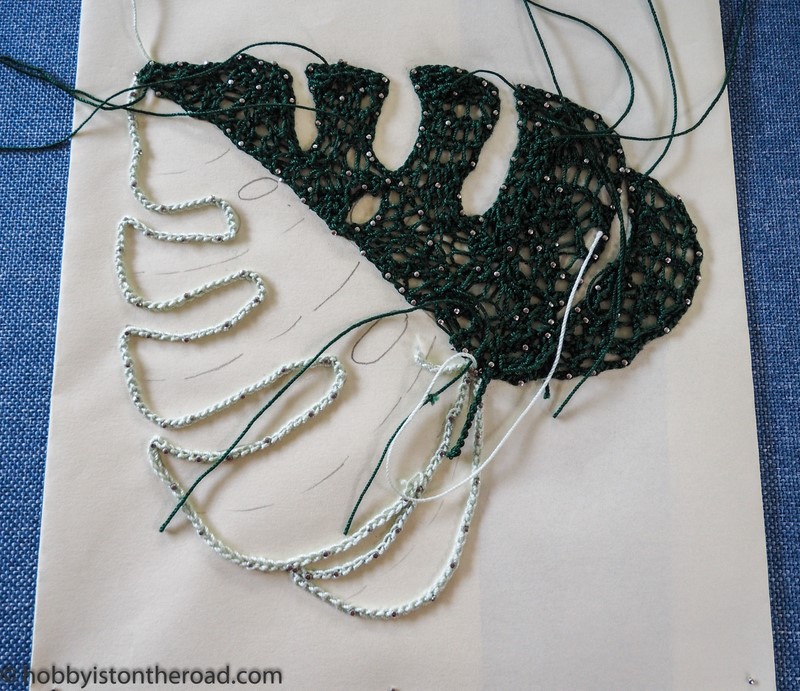
You crochet irregular Tunisian lace looking at the wrong side of your crochet Monstera leaves. This is the same procedure as in any Irish crochet project when you are working on the lace. Keep attaching your lace to the surface as you go along.
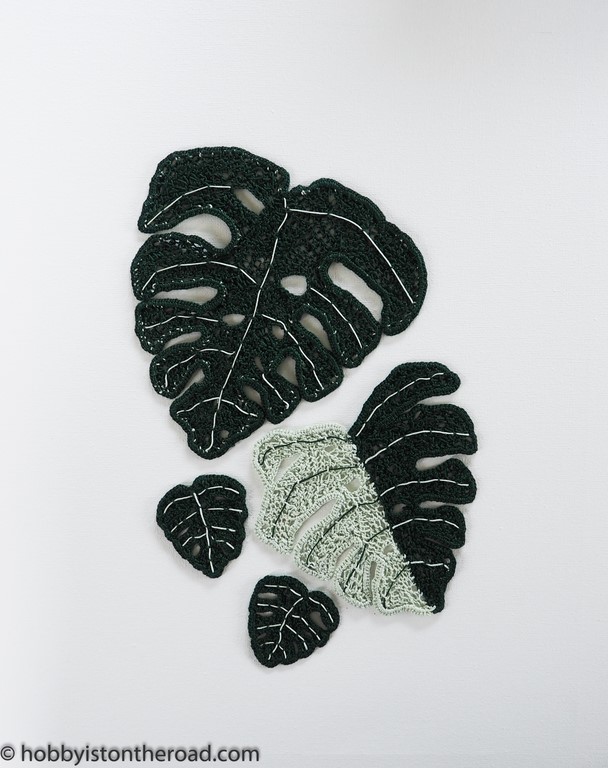
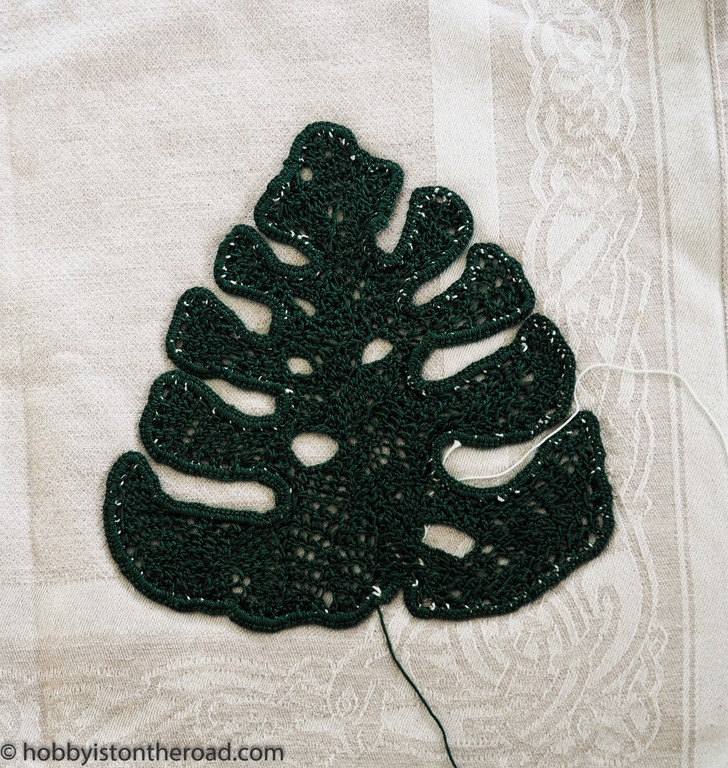
After you have filled the space with the lace, remove your crochet Monstera leaves, turn them around and see the real picture. Finish off the edges, sew in the thread ends. And now repeat the process with two smaller leaves.
Remember to block your Monstera leaves with a steam iron, otherwise your leaves will not be completely flat.
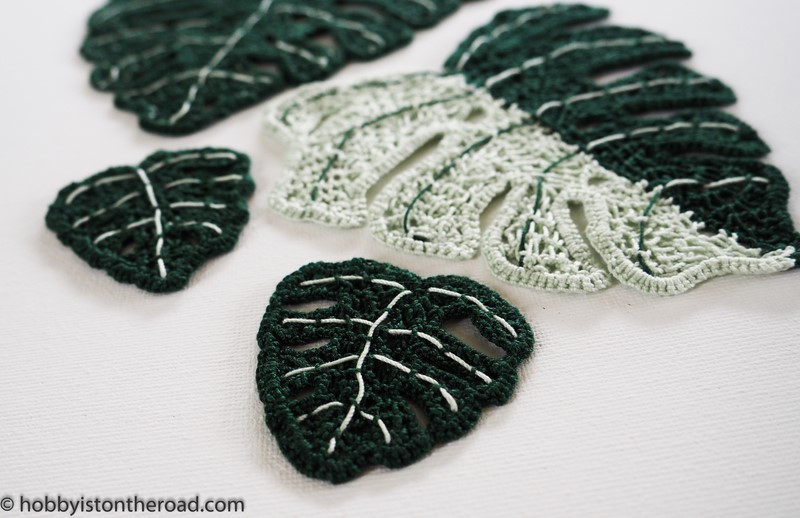
Embroider leaf veins with a contrasting thread using simple running stitch.
Voila!
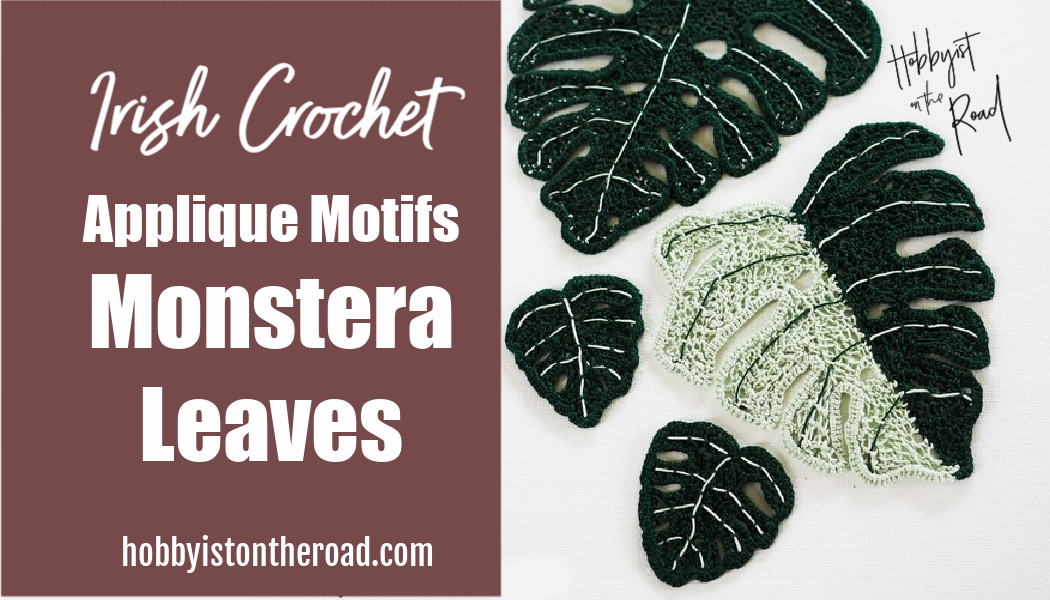
You’ve got three beautiful crochet Monstera Leaves!
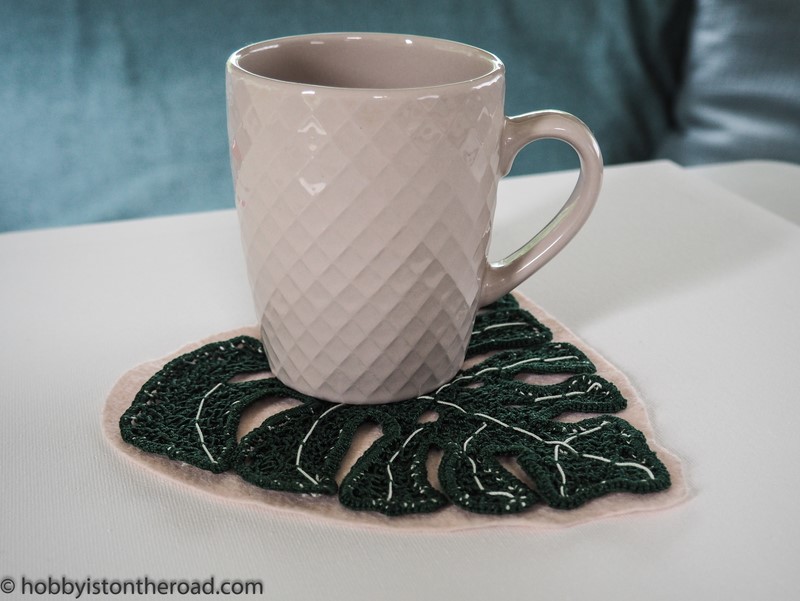
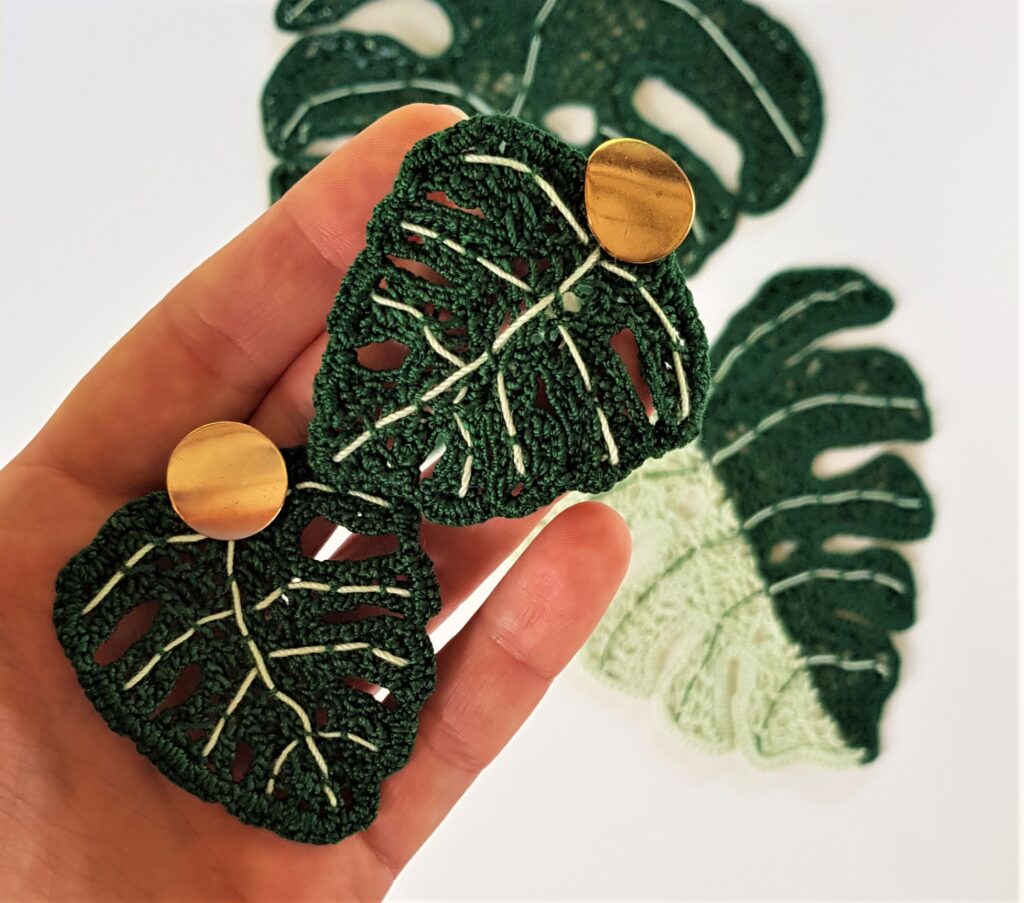
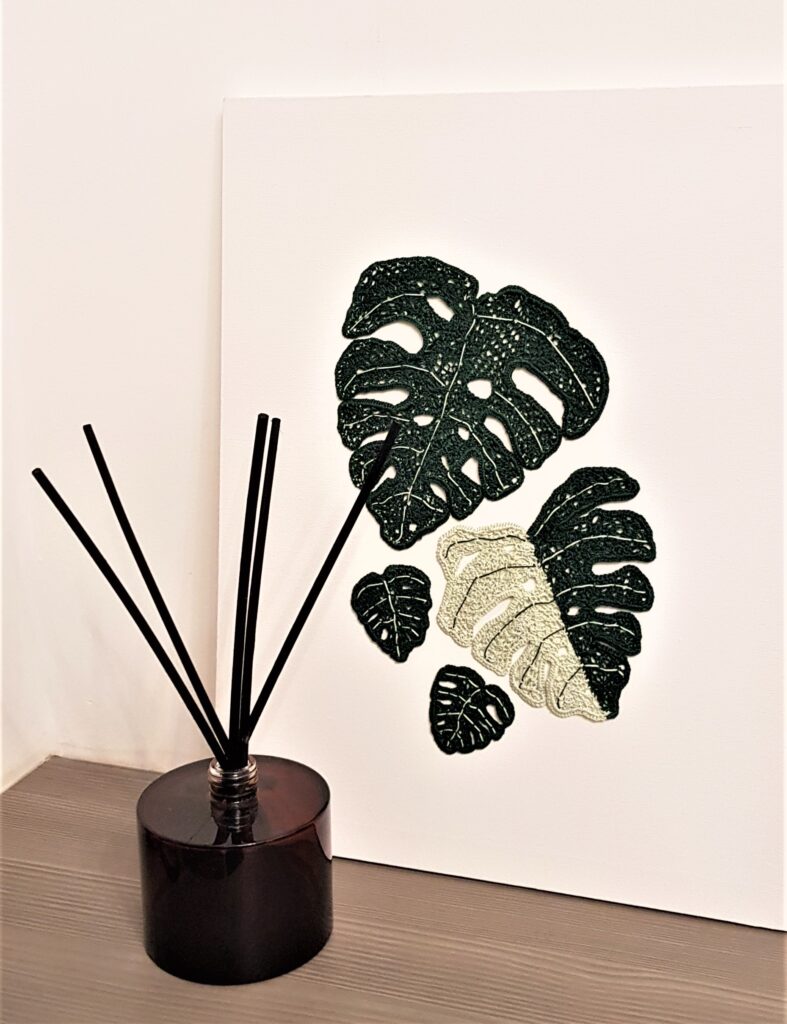
You can make the larger leaves into coasters, use the smaller ones for accessories, such as earrings, or do what I did – create a crochet canvas!
A crochet canvas picture was the first for me. I only bought the canvas in order to have a white background for taking pictures…
But a week later it ended up on the wall!
You never really know which direction your crochet project will take you!
For Step-by-step instructions downloadable PDF pattern: