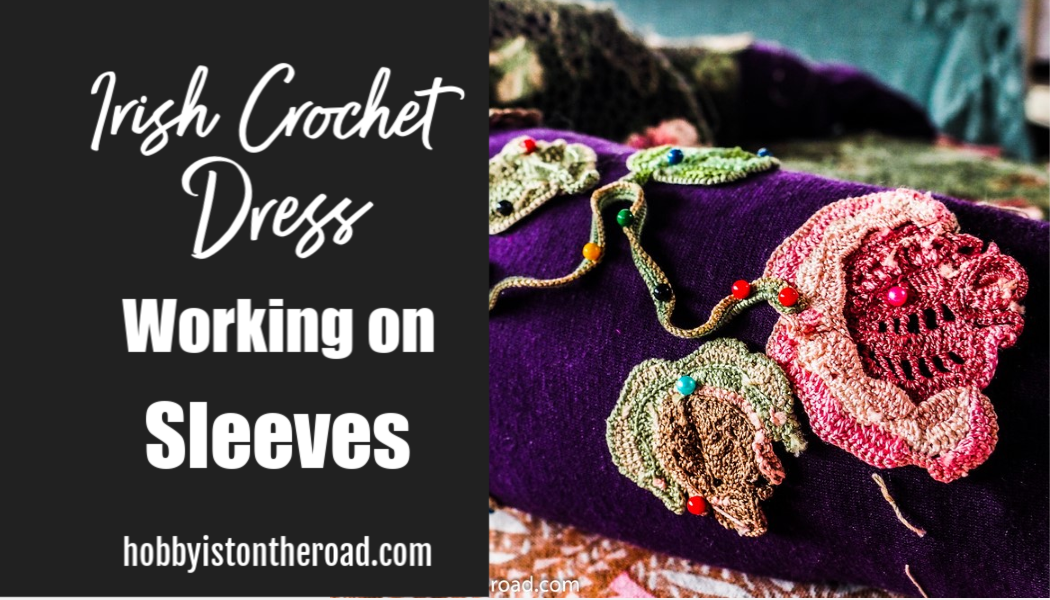
Hello my crochet friend!
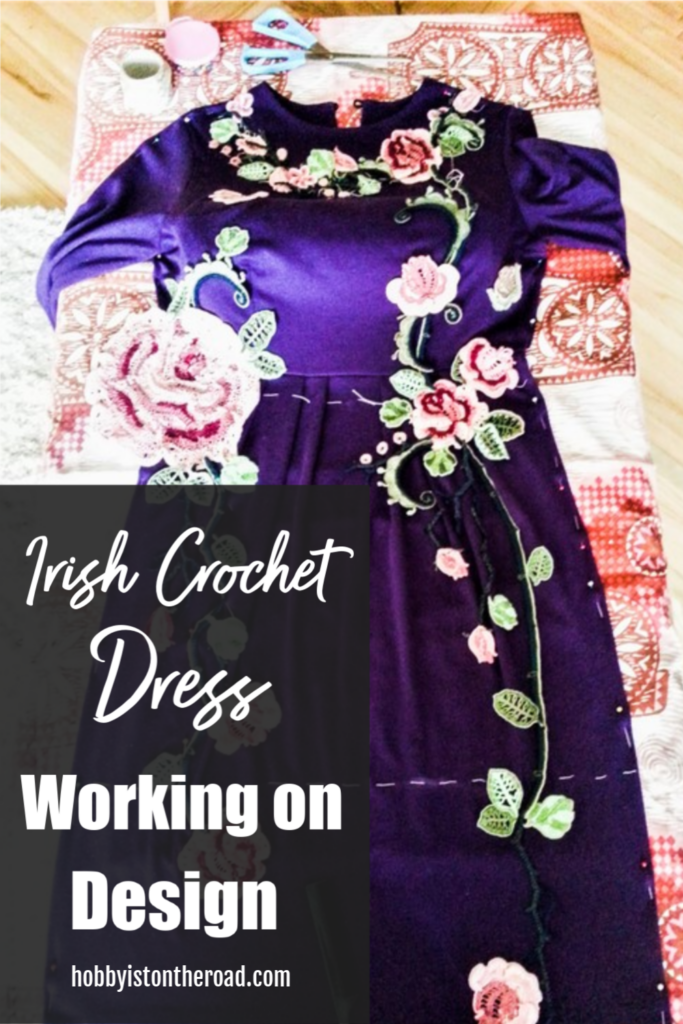
So my Irish crochet dress is finished…
well…
kind of…
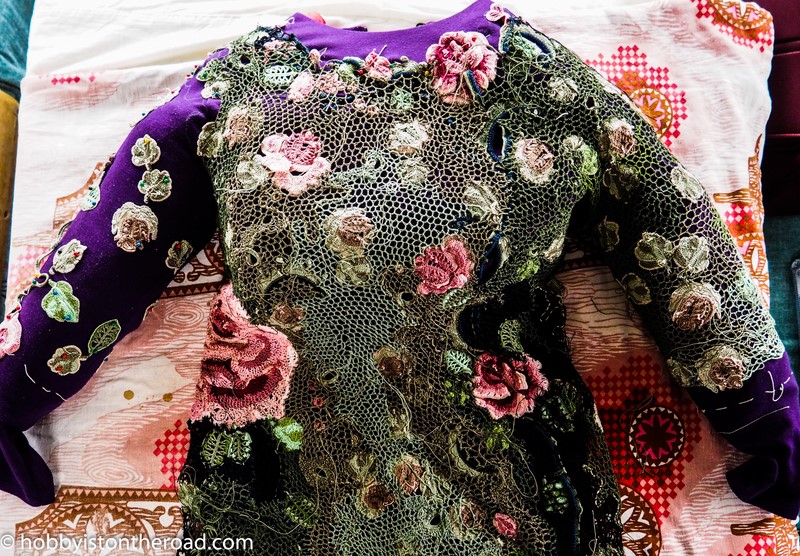
I’m at that stage where I’ve completed the crochet part – sleeves and all…
…but I can’t really call the dress finished, hence the title – ‘the annoying bit’.
So yes, I’ve completed the sides and the sleeves, tried the dress on only to realise that when I finished the dress, it wasn’t really finished.
There was another mountain to climb!
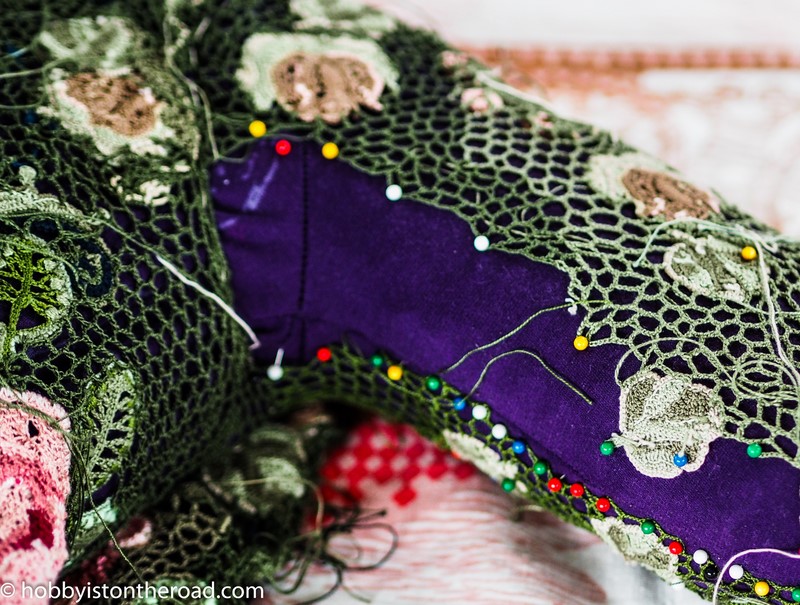
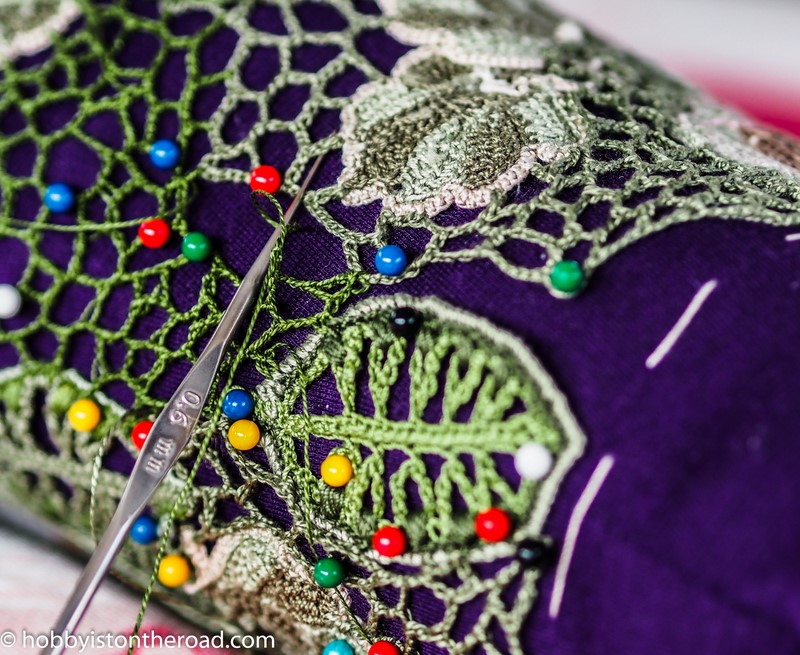
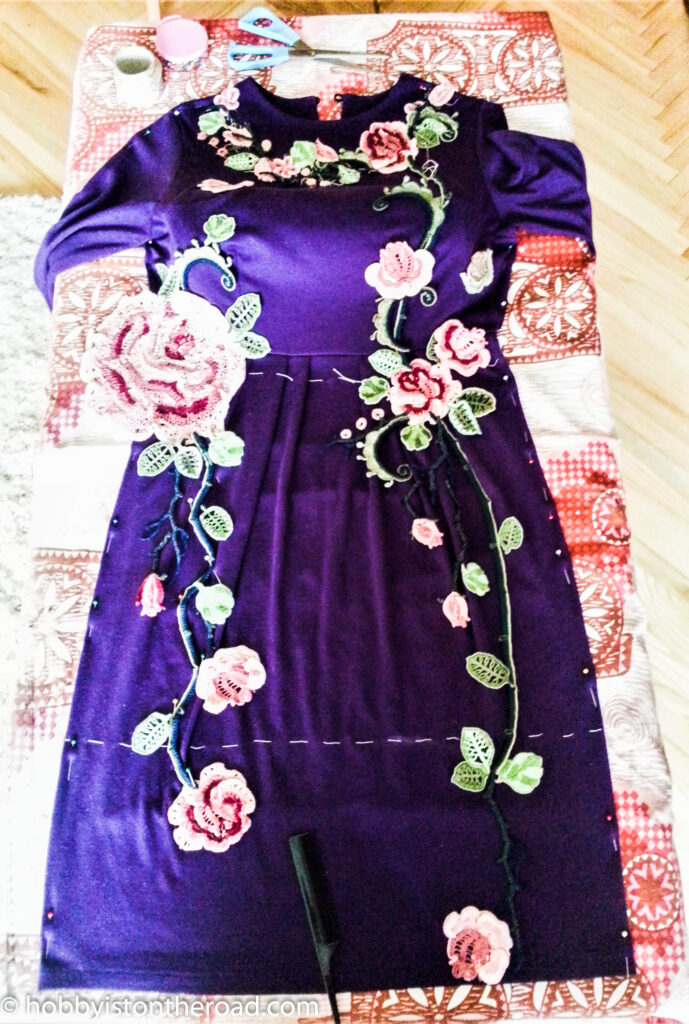
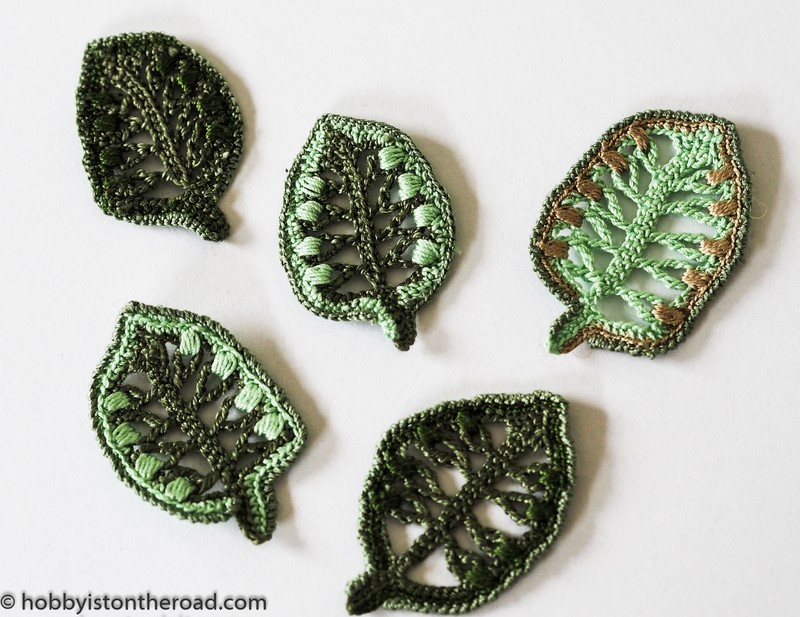
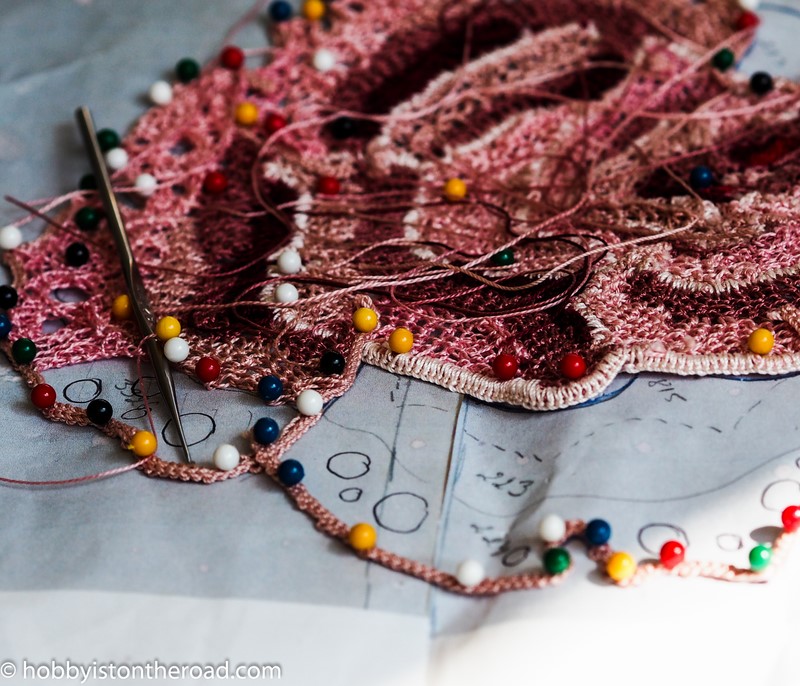
The lace at the bottom of the dress and sleeves had to be evened out and completed with a simple single crochet line and a little picot here and there.
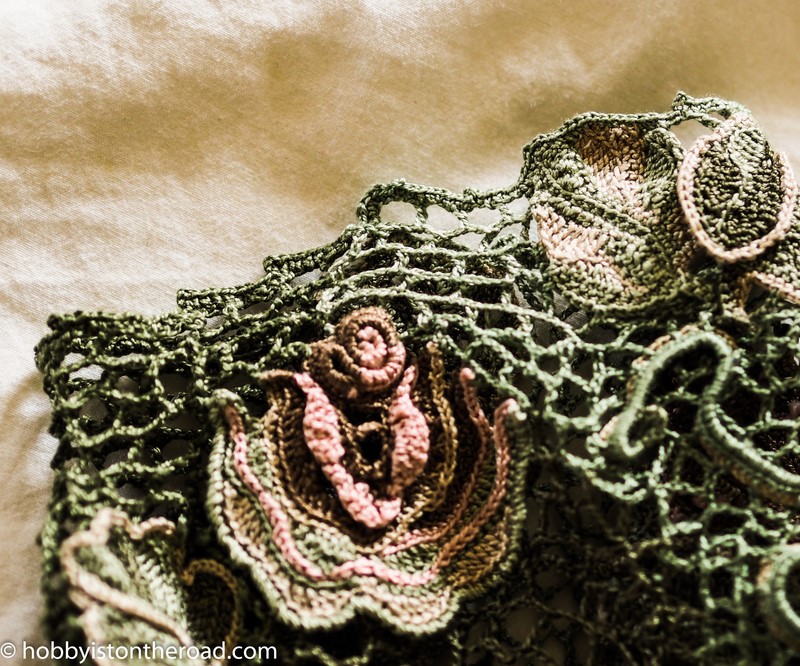
That finishing single crochet line was, thankfully, very easy and quick.
But the ‘evening out of the lace’ bit was quite tricky.
While the bottom of the dress doesn’t have to be as even as in sewing, it still has to look somewhat even, which I’m still not sure about.
It’s just that on a flat table the bottom looks even, but when you wear the dress because of different elements on different sides, there seems to be an illusion of one side being slightly shorter…
I’m still thinking whether or not I should do something about it.
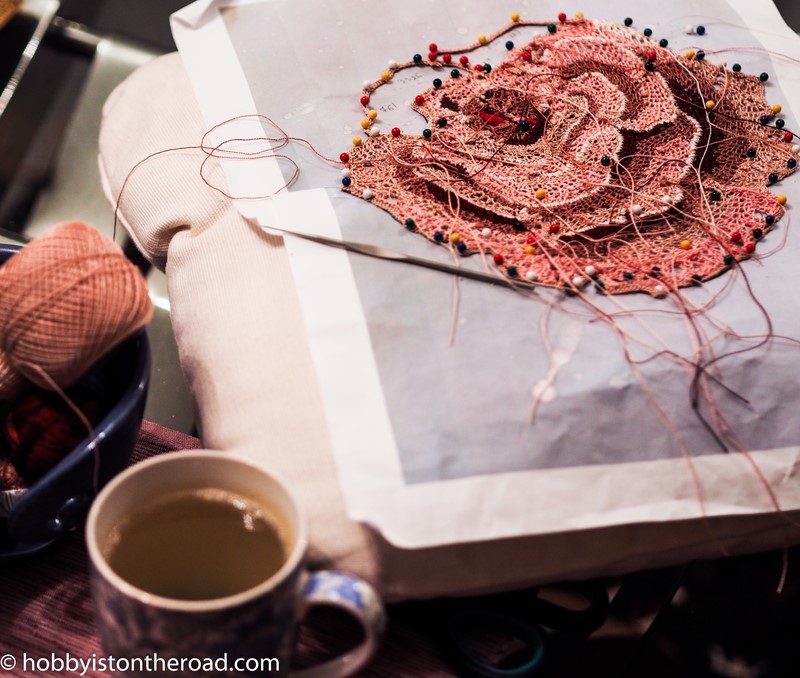
Another very time-consuming bit is the weaving in and hiding of yarn ends – there are hundreds of them!
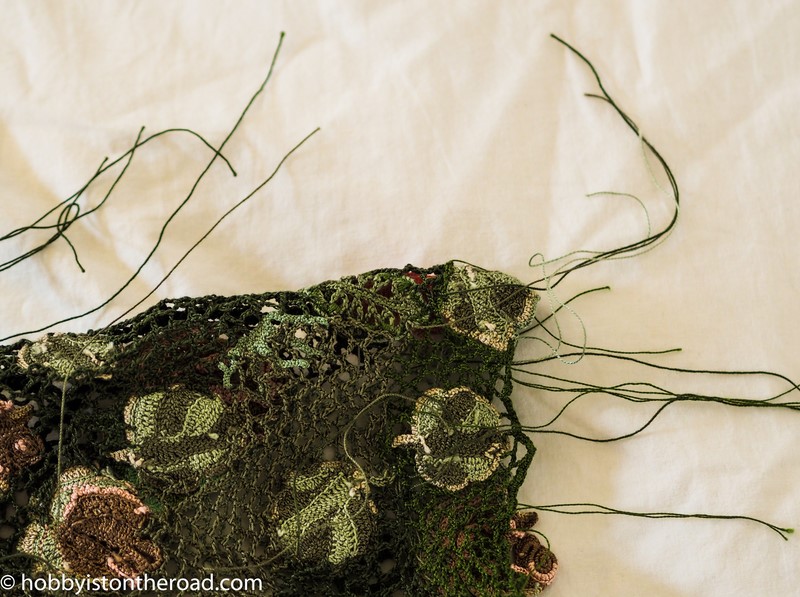
And although I’ve been working on them for the last number of days now, I’m still nowhere near to being finished…aargh…
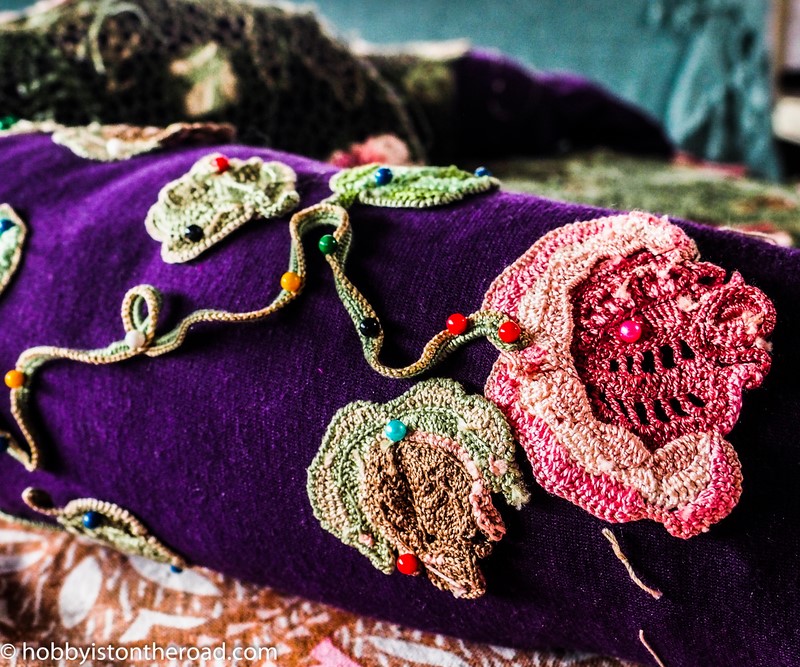
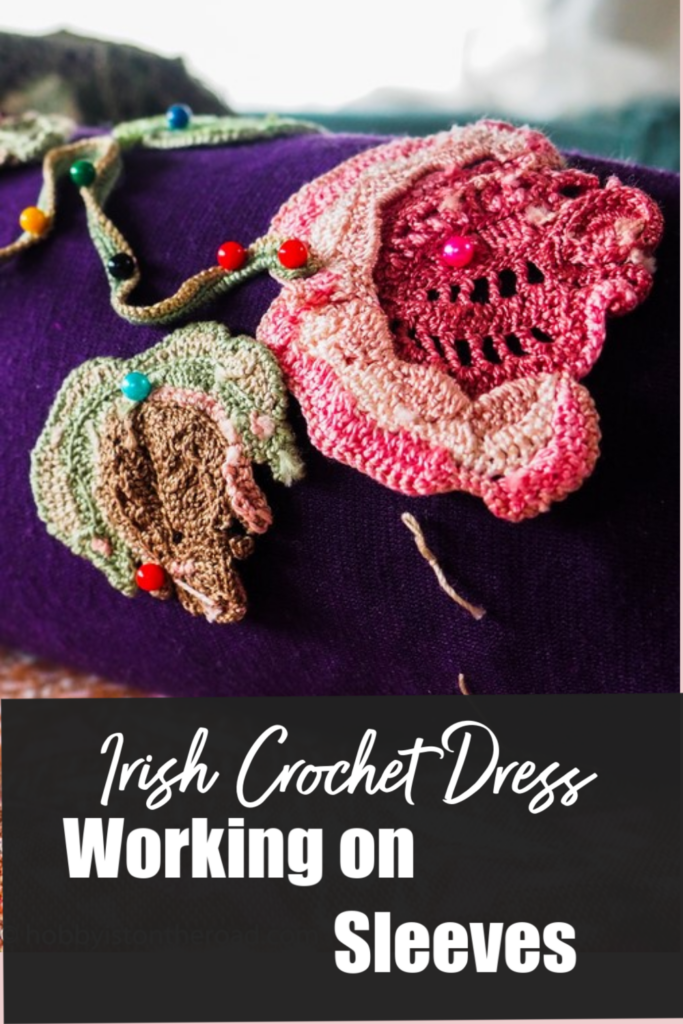
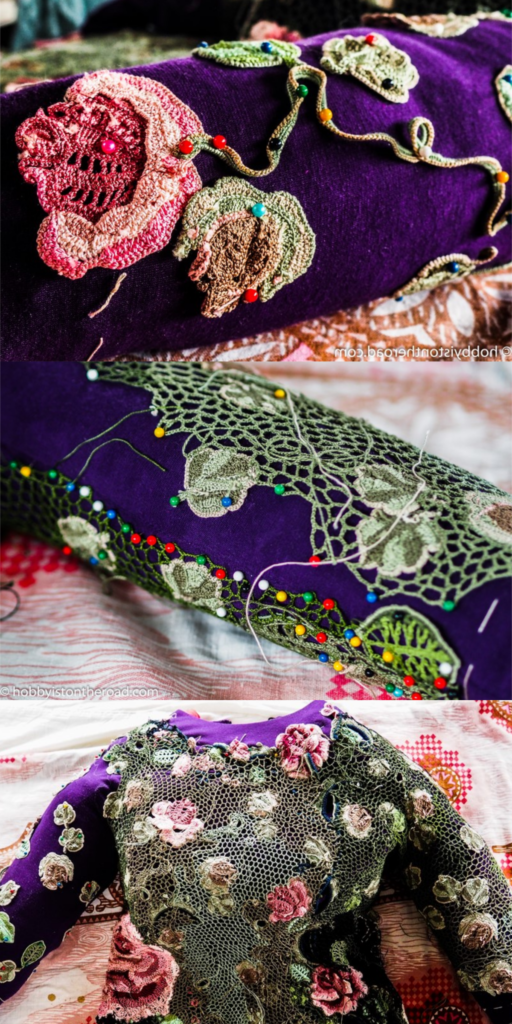
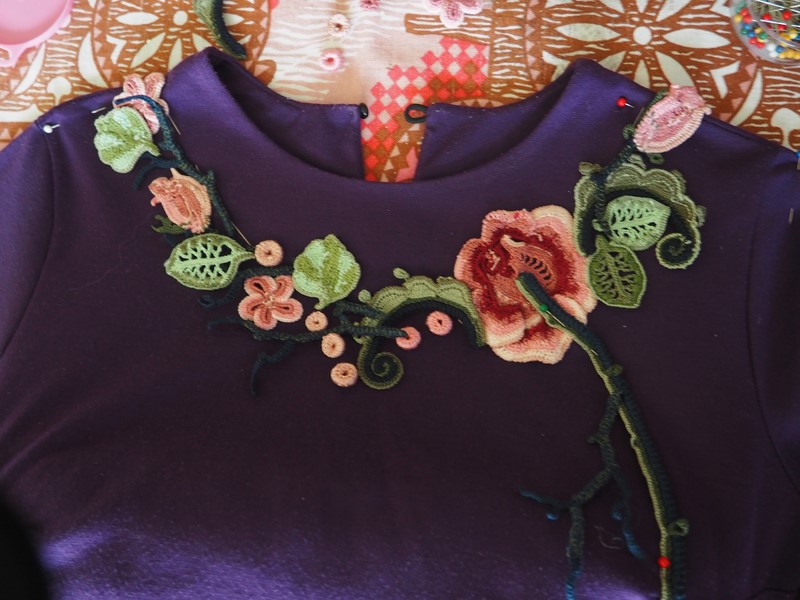
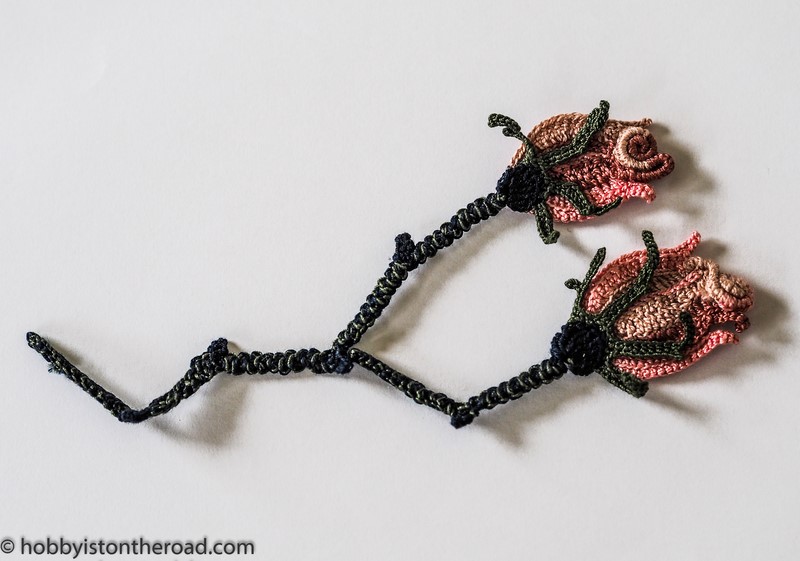
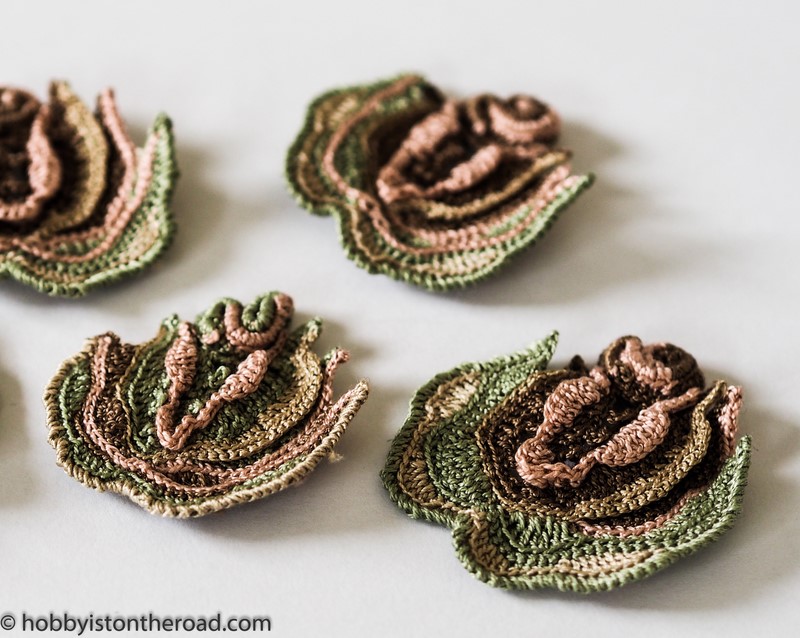
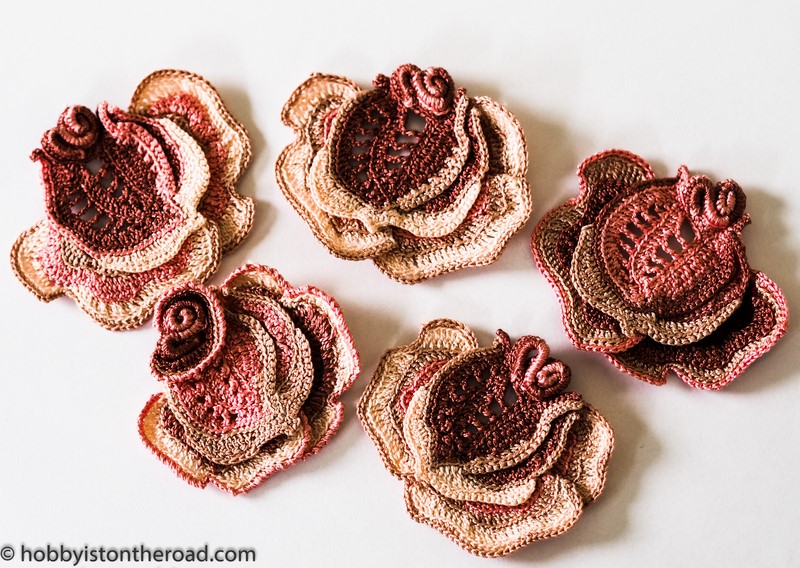
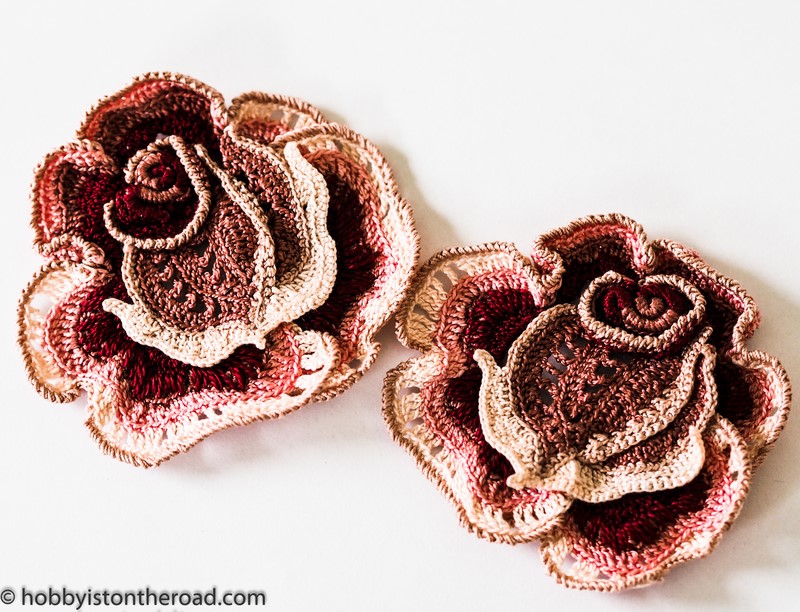
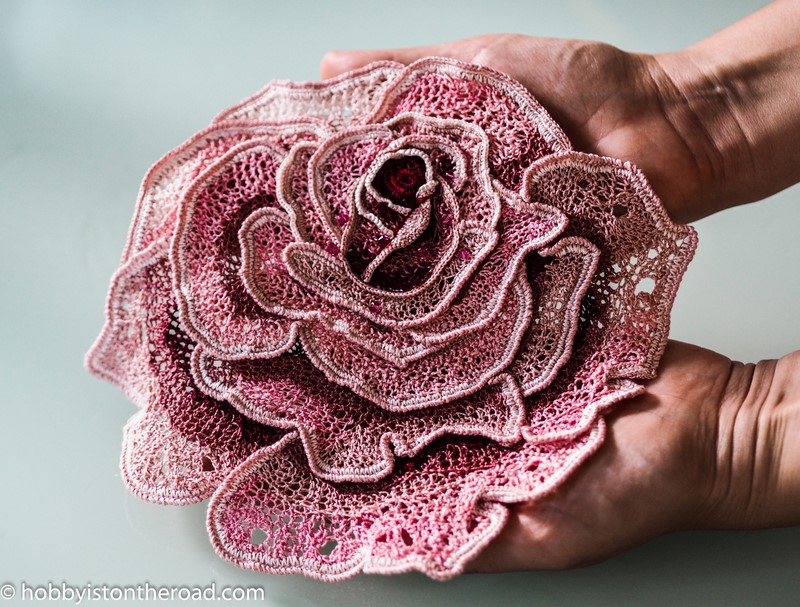
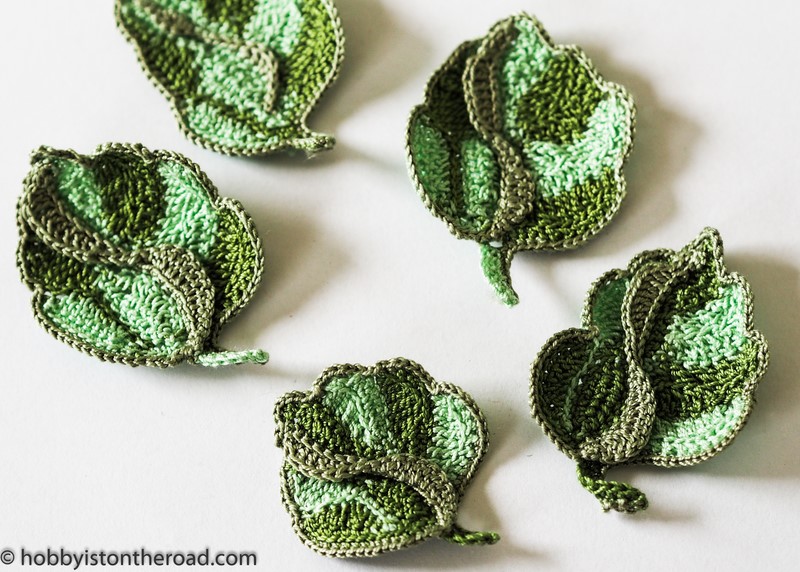
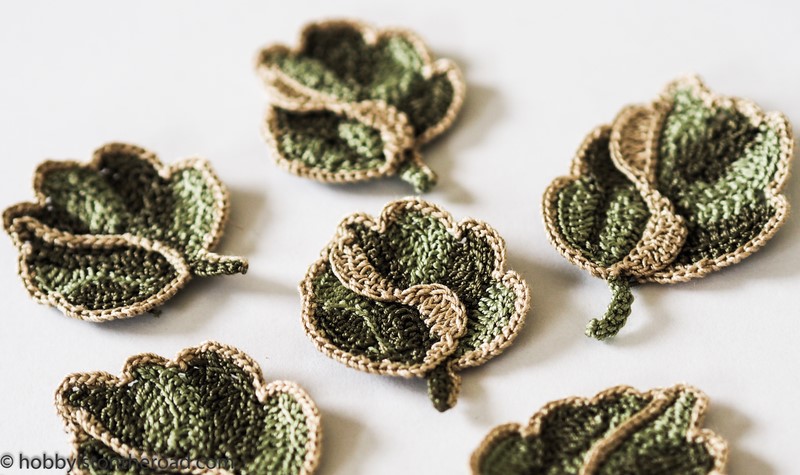
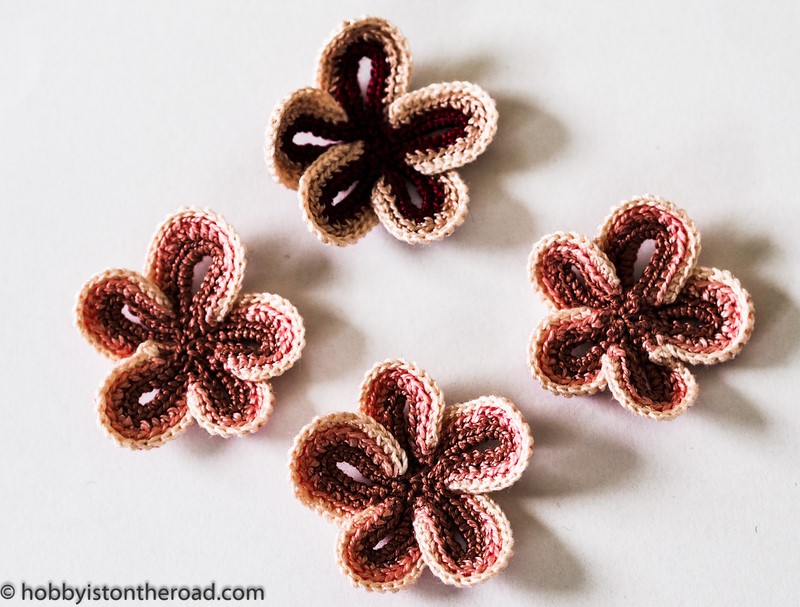
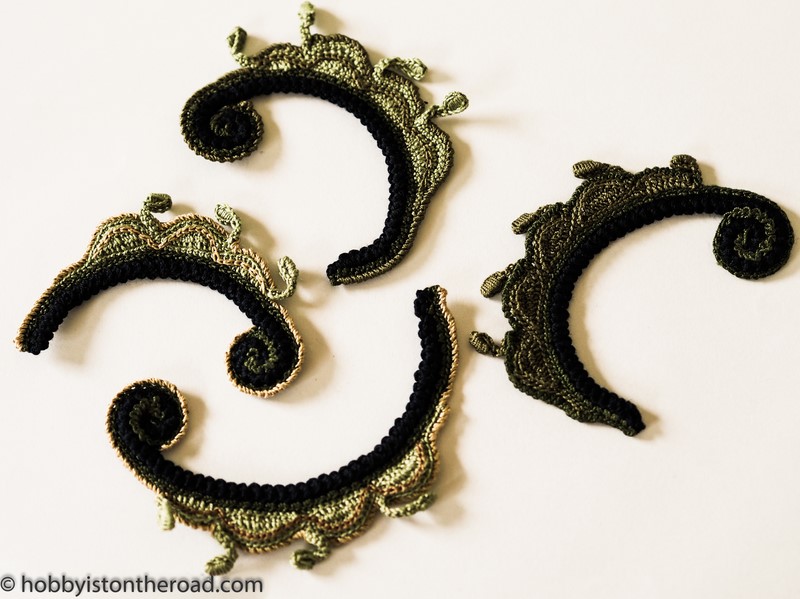
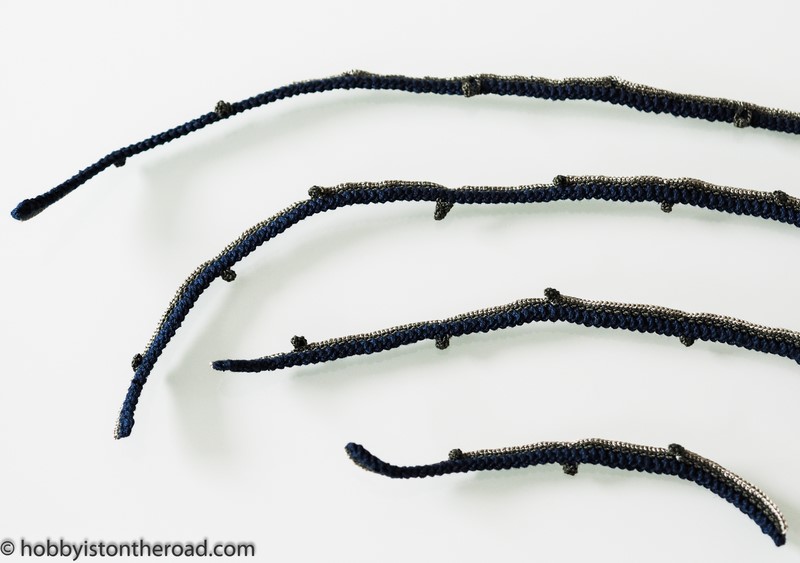
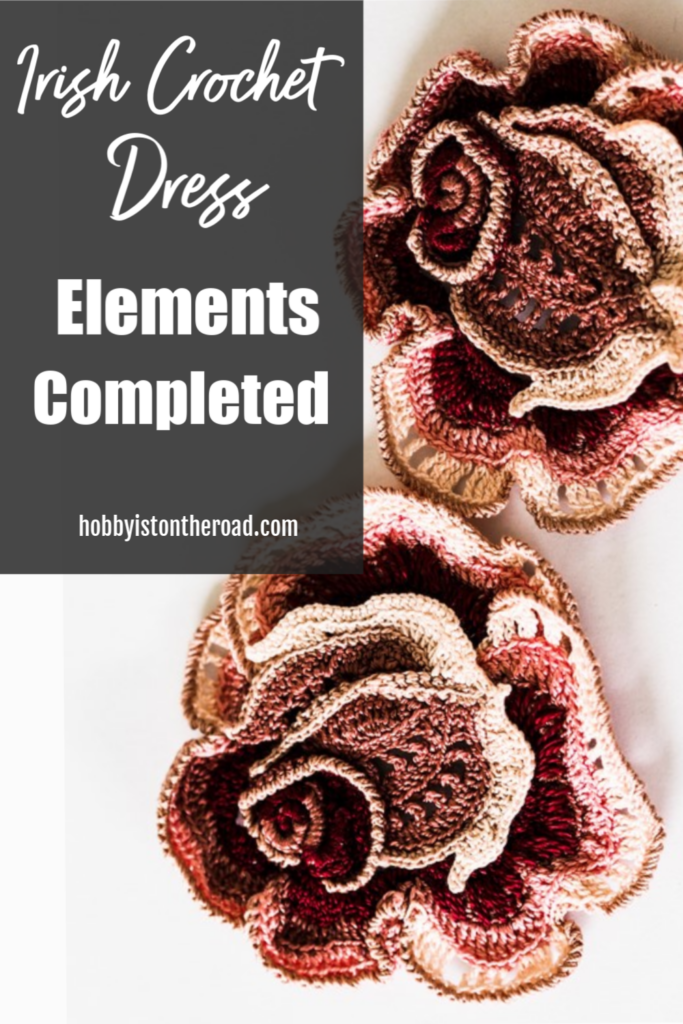
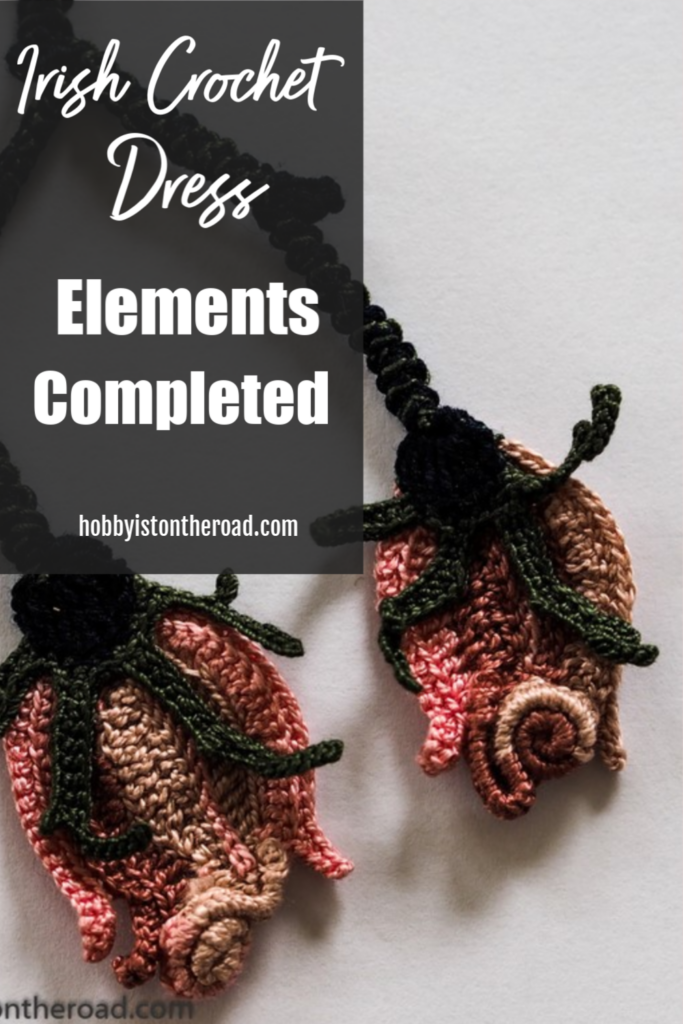
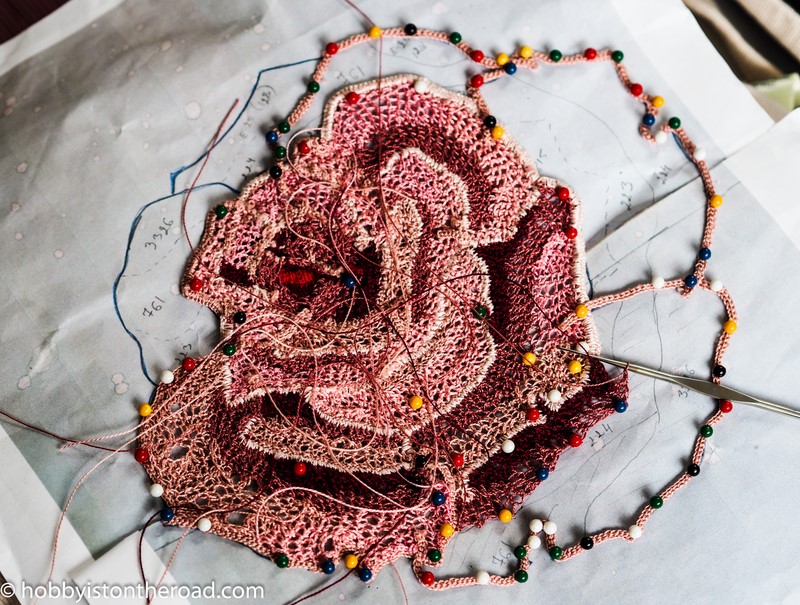
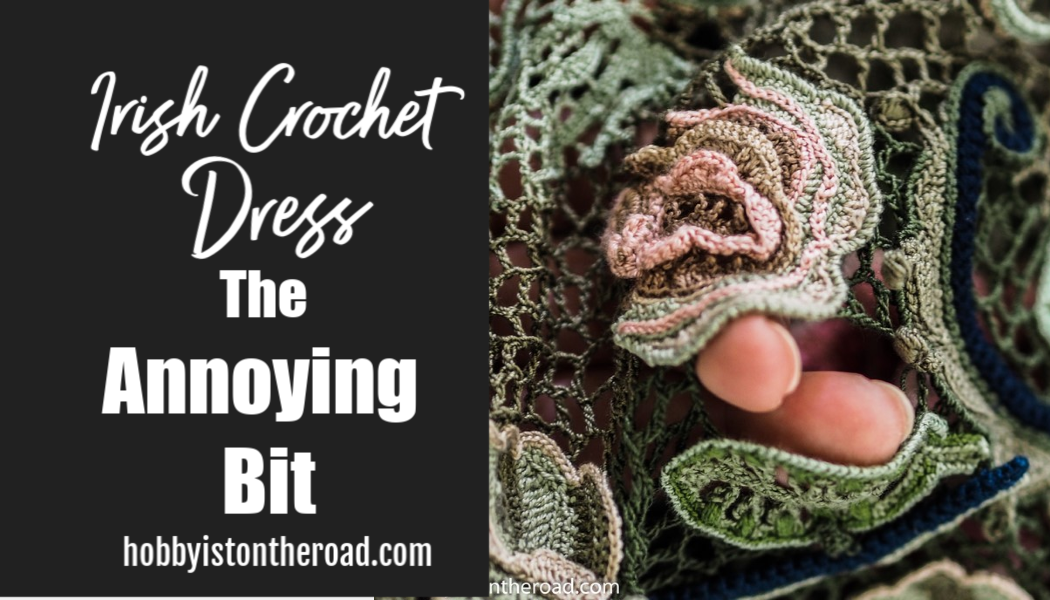
The dress has many overlapping elements like this rose and leaf.
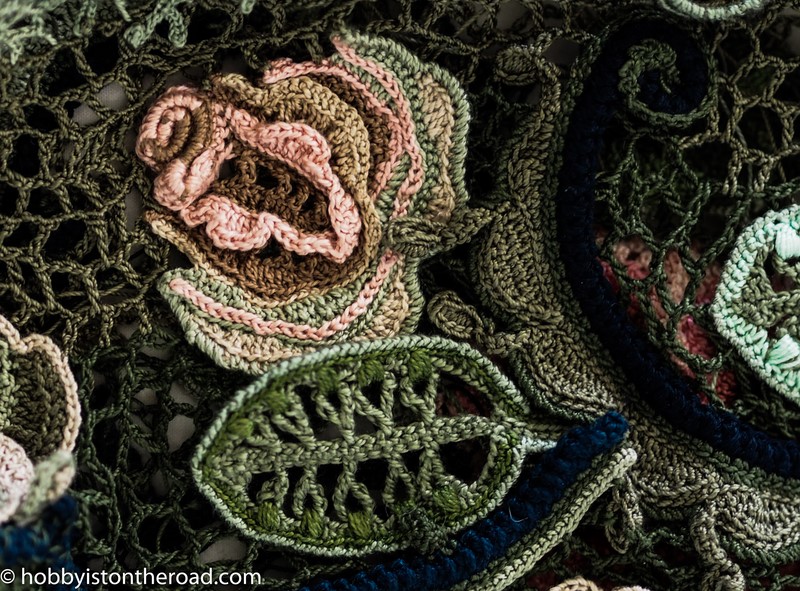
As I was crocheting the lace, I didn’t realise I had to crochet some lace to join the overlapping sides of the elements to avoid holes like this:
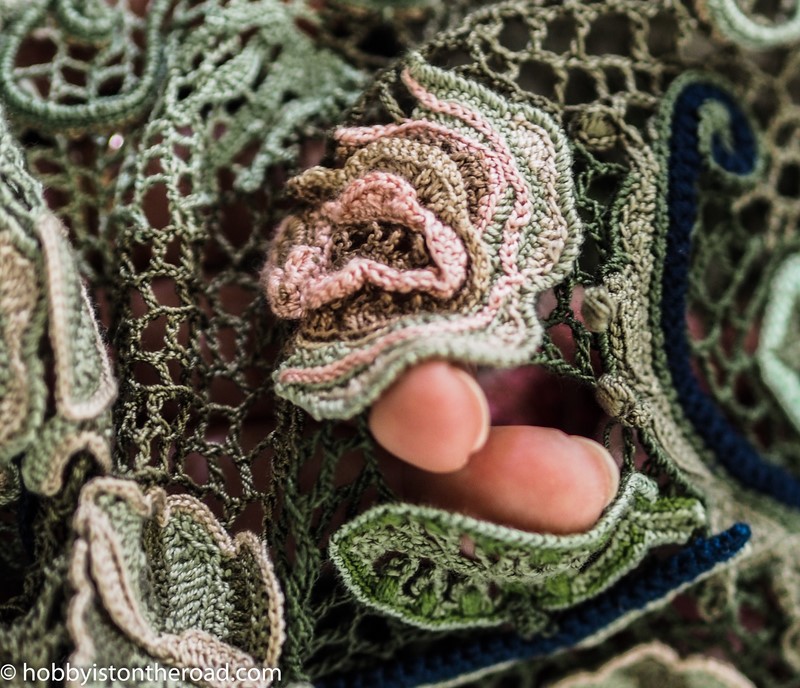
I actually thought I had finished fixing the overlapping elements, but as I was taking photos for this post, I discovered a few more that have to be corrected…
When the sleeves were finished and I tried on the dress, I realised that the neckline will have to be adjusted.
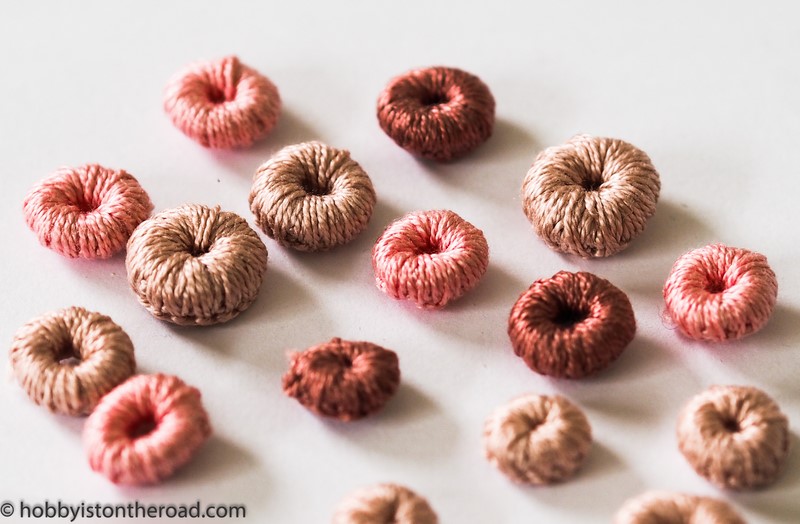
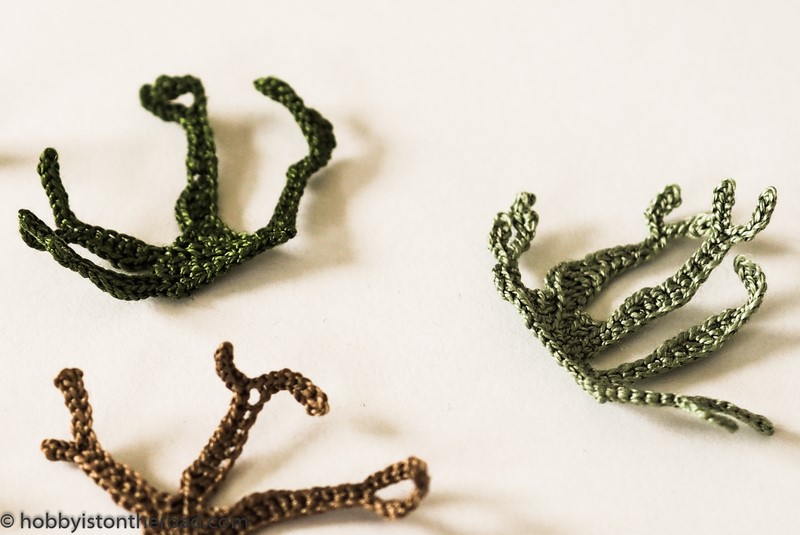
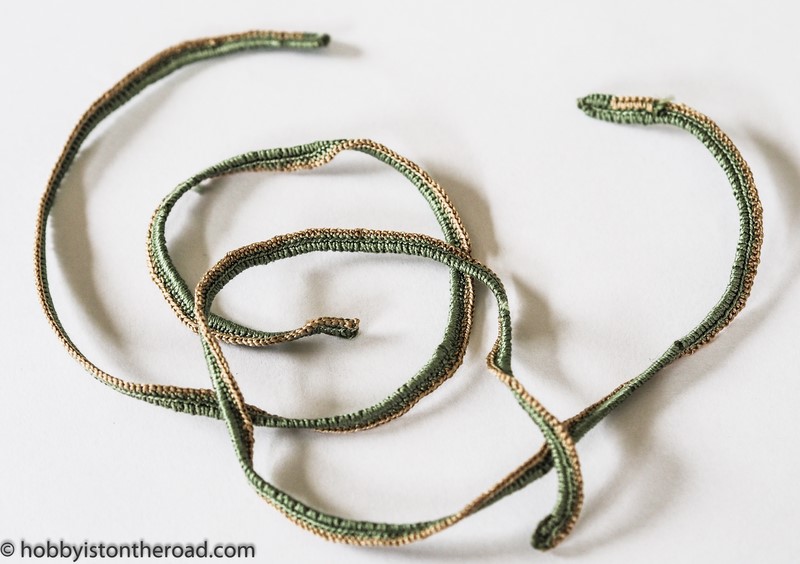
All of a sudden, because of the weight of the sleeves, the neckline became too wide which meant I had to add another layer of leaves-flowers-branches on the shoulders and the back in order to adjust the way the dress sits.
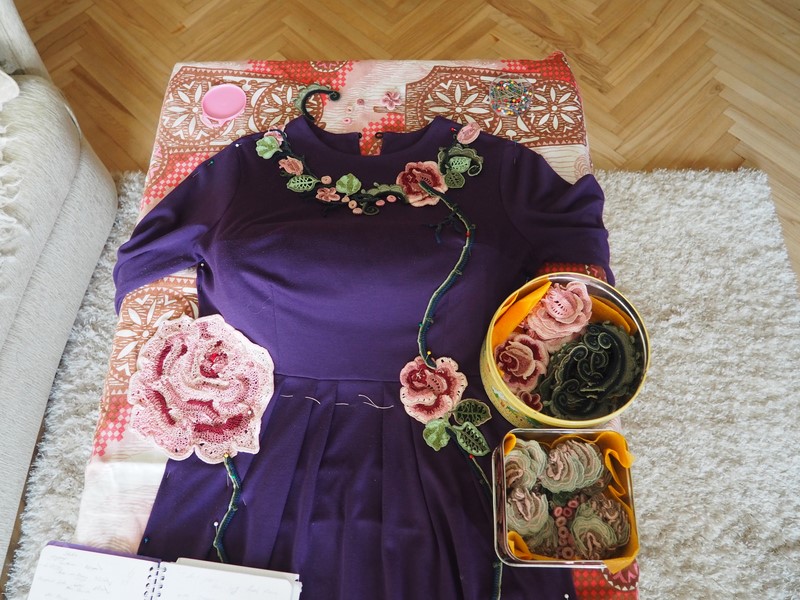
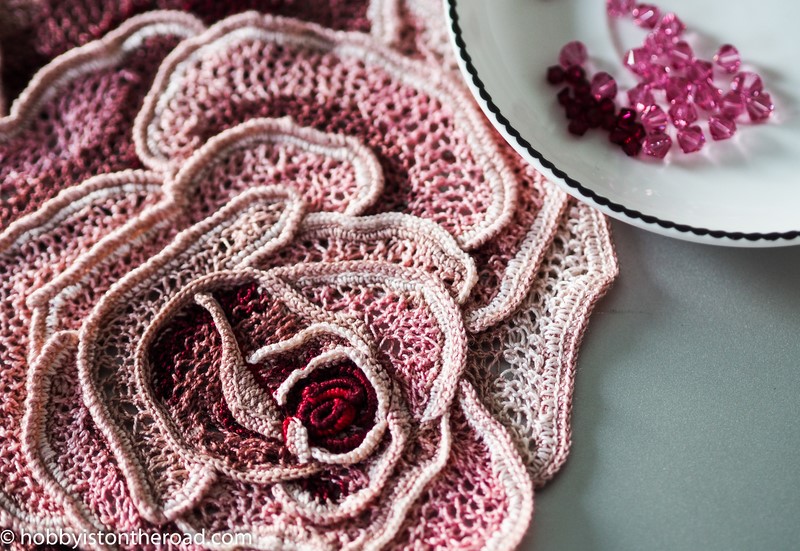
The last elements I’ll be working on when all the above are finished is the little Swarowski beads.
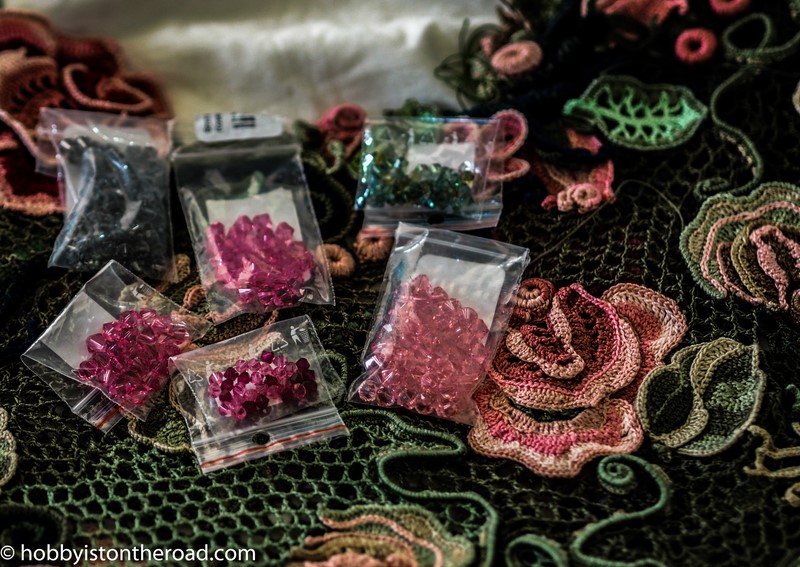
I’ll sew them on in the centre of each bigger rose and some leaves around the neck. The beads will add some sparkle, especially when I wear the dress in the evening with artificial lighting.
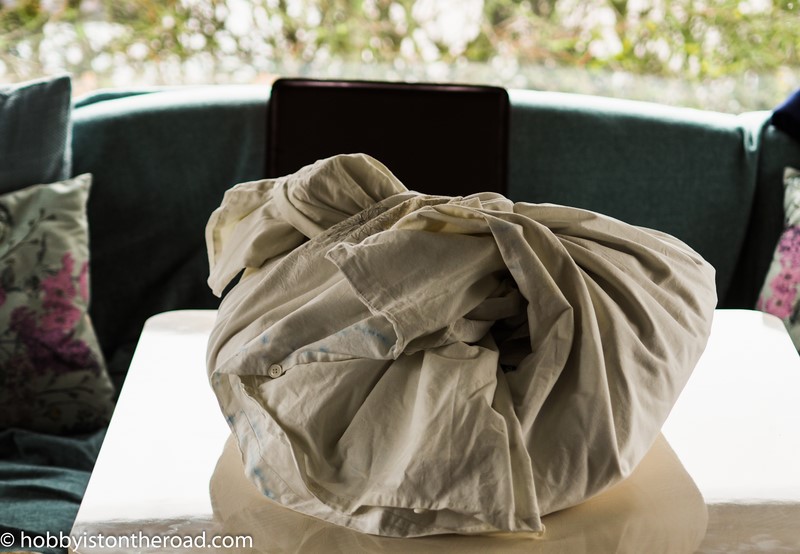
So this is where I am at. I consider all of the above such an annoying bit of the whole process!
My original plan was to have the dress finished-completed-done-and-dusted a week after I completed the sleeves…
…but here I am, a month later, I’m still working on the annoying bit 😀
Create beauty one stitch at a time!
Previous posts in this series:
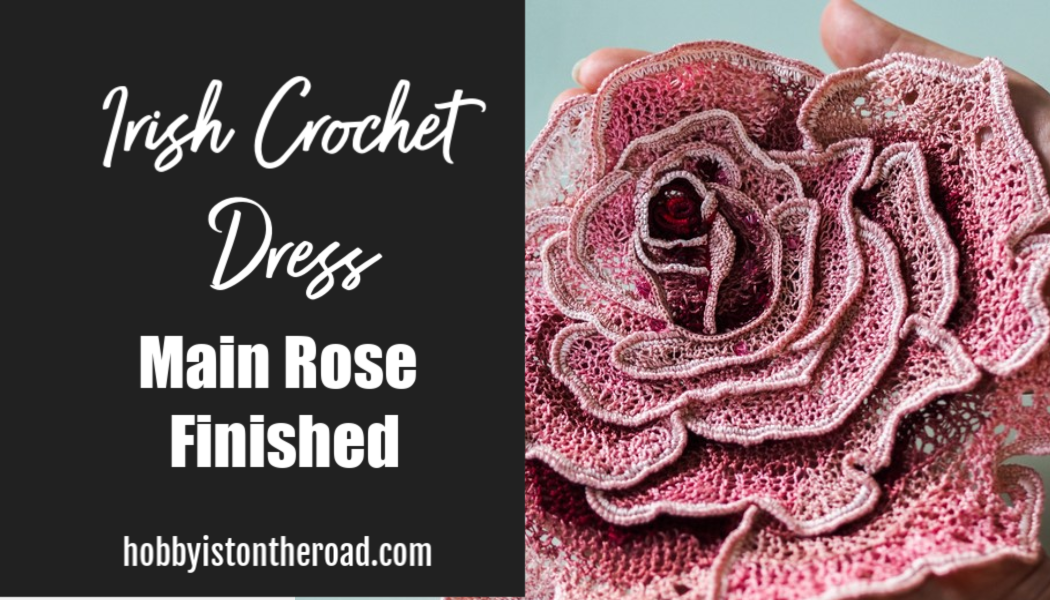
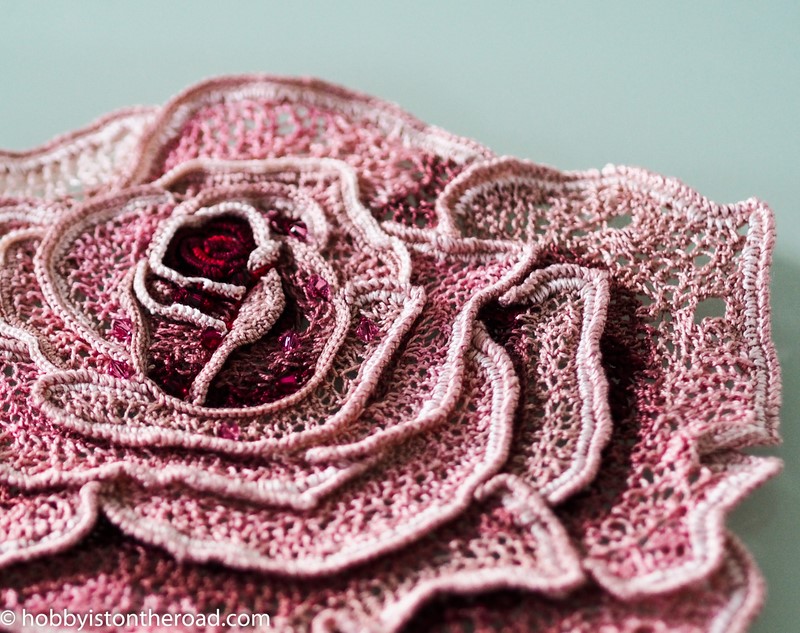
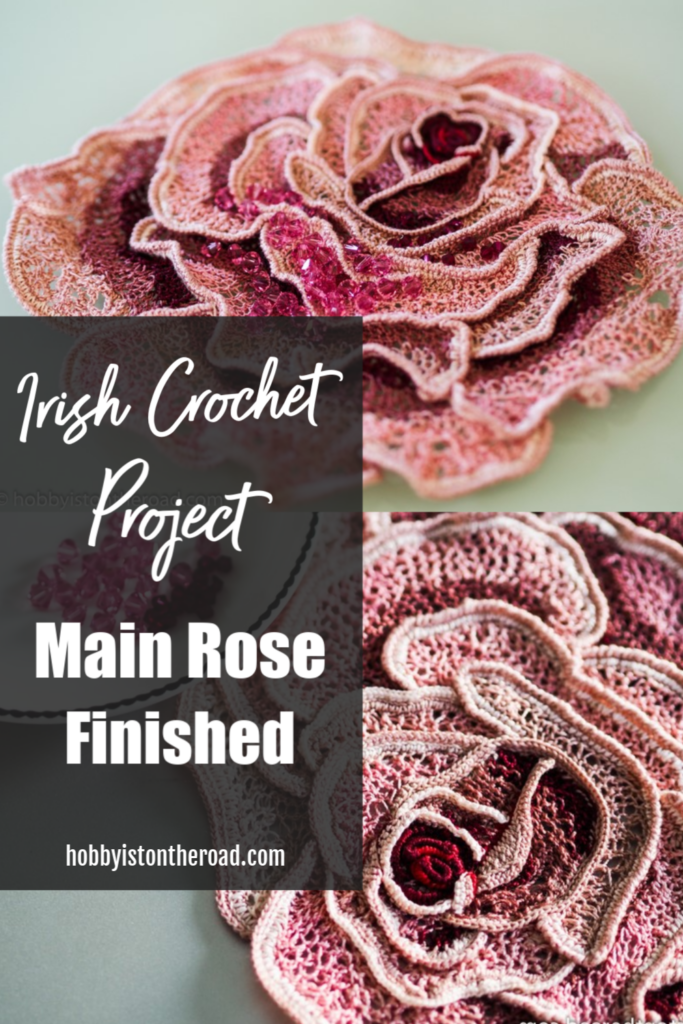
2. Irish Crochet Dress: Main Rose
3. Irish Crochet Rose Finished
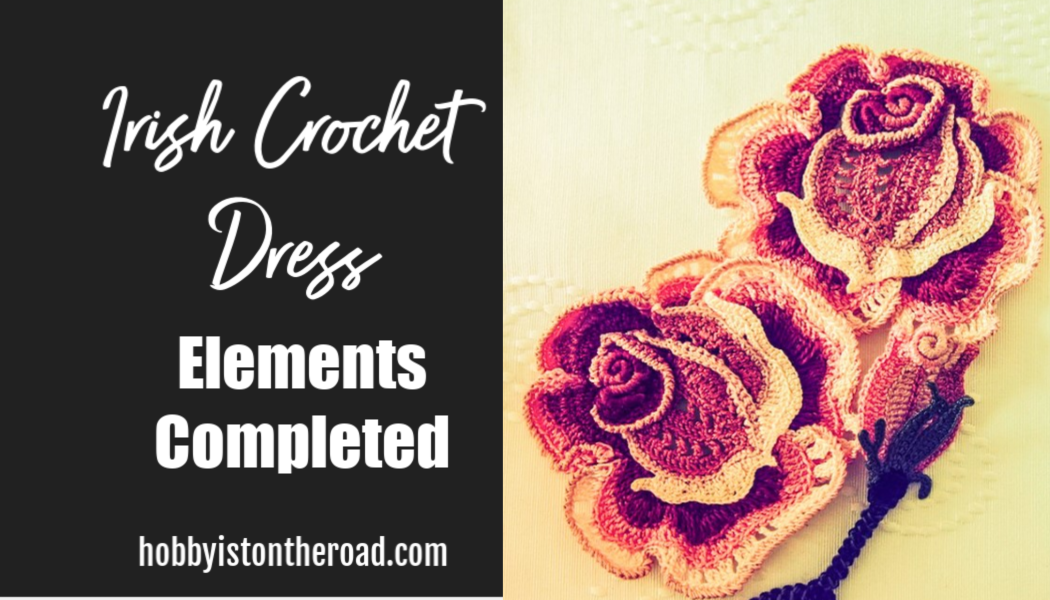
4. Irish Crochet Dress: Elements Completed
5. Irish Crochet Dress: Design
7. Irish Crochet Dress: Picture Emerging
8. Irish Crochet Dress: A Quick Update